
Objective
You have a shell script in a Git repository. The goal of the tutorial is to execute the shell script. This process will include:- Copy the shell script from a Git repository
- Execute the shell script
Checklist
Checklist | Description |
|---|---|
Azure Tenant Id | Azure Tenant Id for the company |
Azure Subscription Id | Azure Subscription where the Web App exists |
Azure Client ID | Client ID to connect to desired Azure Subscription |
Azure Client Key | Password for the Client ID |
Azure CLI installation | Azure CLI needs to be installed on the Target where the plugin operation shall run. Please see https://learn.microsoft.com/en-us/cli/azure/install-azure-cli-linux?pivots=dnf for information on installing the azure-cli package. |
Azure CLI in class path | Azure CLI should be added to the classpath in target. Else the path can also be set under FlexDeploy environment level property |
Azure PowerShell | Azure PowerShell needs to be installed on Windows OS and path should be added to the classpath in target. Please refer to https://learn.microsoft.com/en-us/powershell/azure/install-azps-windows?view=azps-10.0.0&tabs=powershell&pivots=windows-psgallery |
Configure cloud account
First, an Azure account needs to be configured under Topology. FlexDeploy will connect to the right Azure Subscription with provided details and do the execution.- Navigate to the Integrations from the left-hand pane
- Navigate to the Cloud tab under Topology
- Navigate Create a new Cloud account of provider type “Azure” with the “+” button.
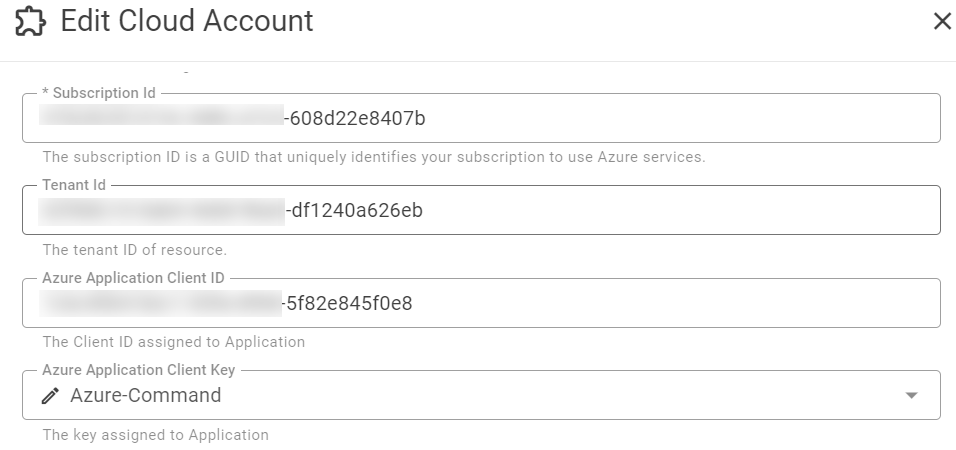
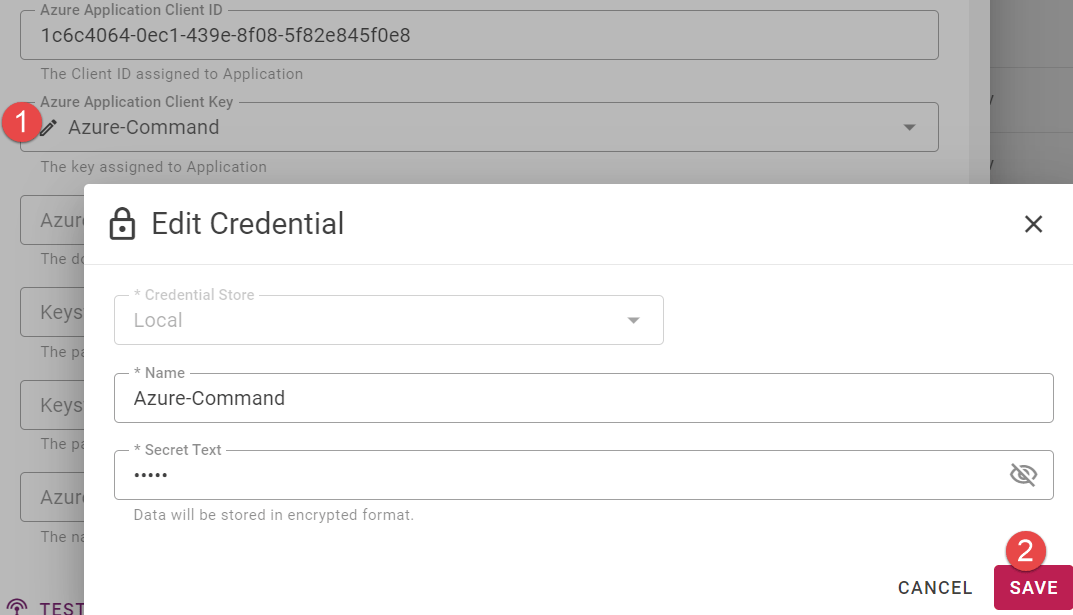
- Client Key is a password field and hence needs to be kept hidden. To update the same click on the pencil icon as shown below
- next update the Client Key value under Secret Text. This is to make sure no one else can retrieve the password
Git repository structure
The Git repository should contain shell script to execute. The Sample Git repository structure is given below:Build Workflow
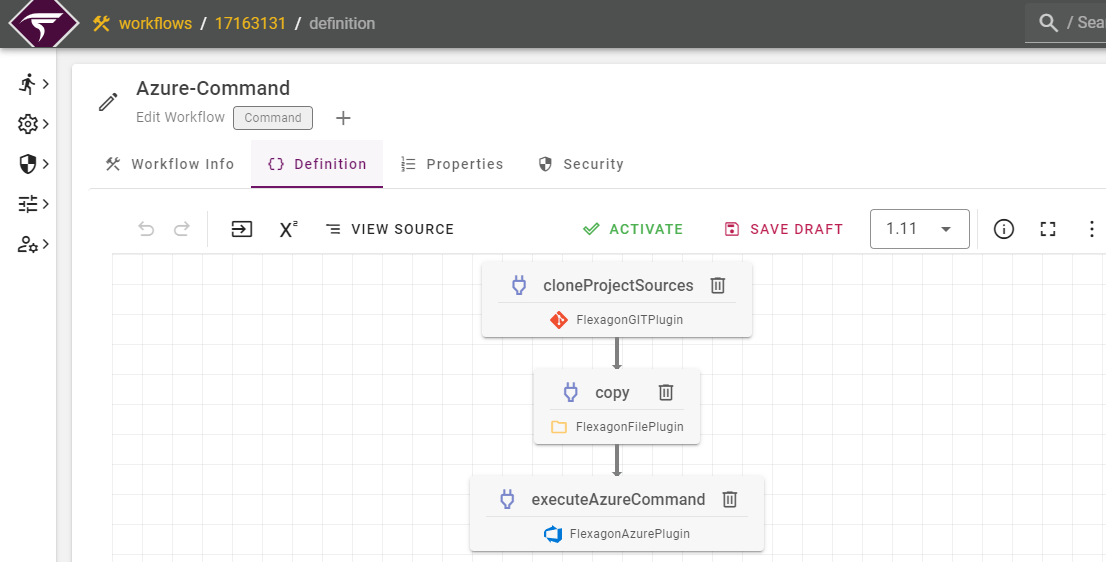
Navigate to Workflows and create a build workflow using the :Create_Button: button as highlighted below.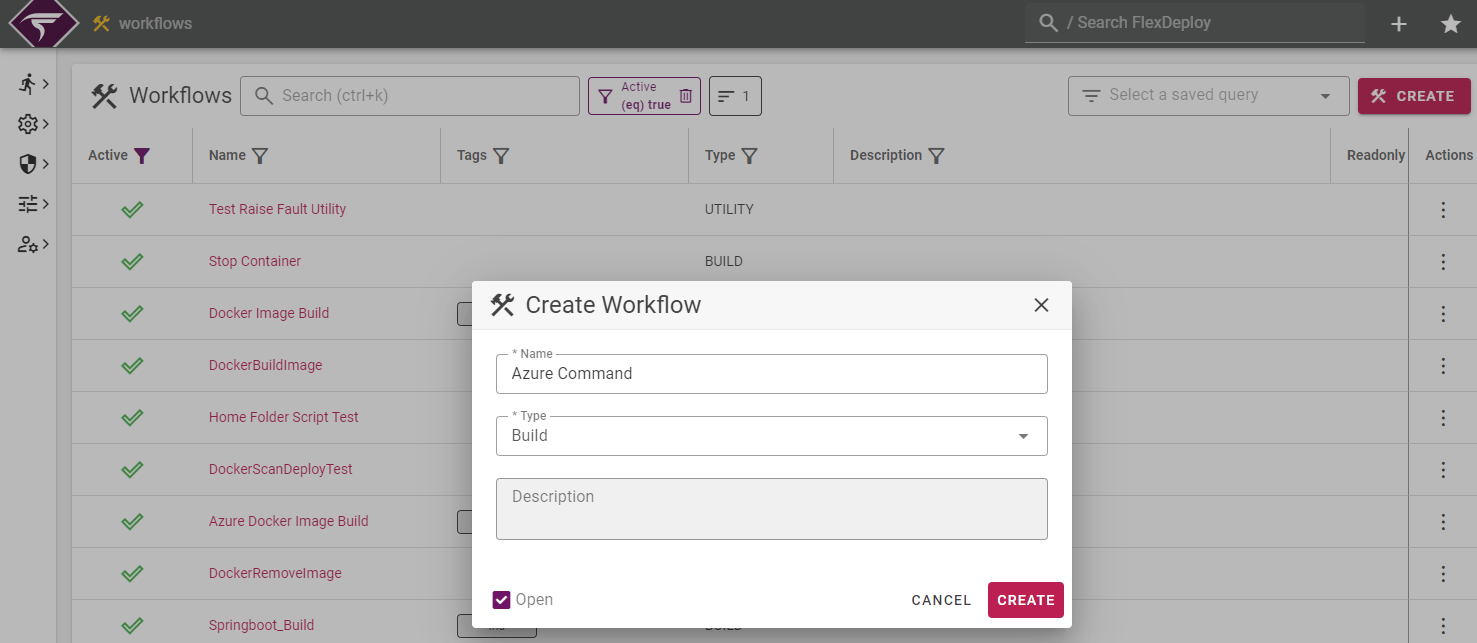
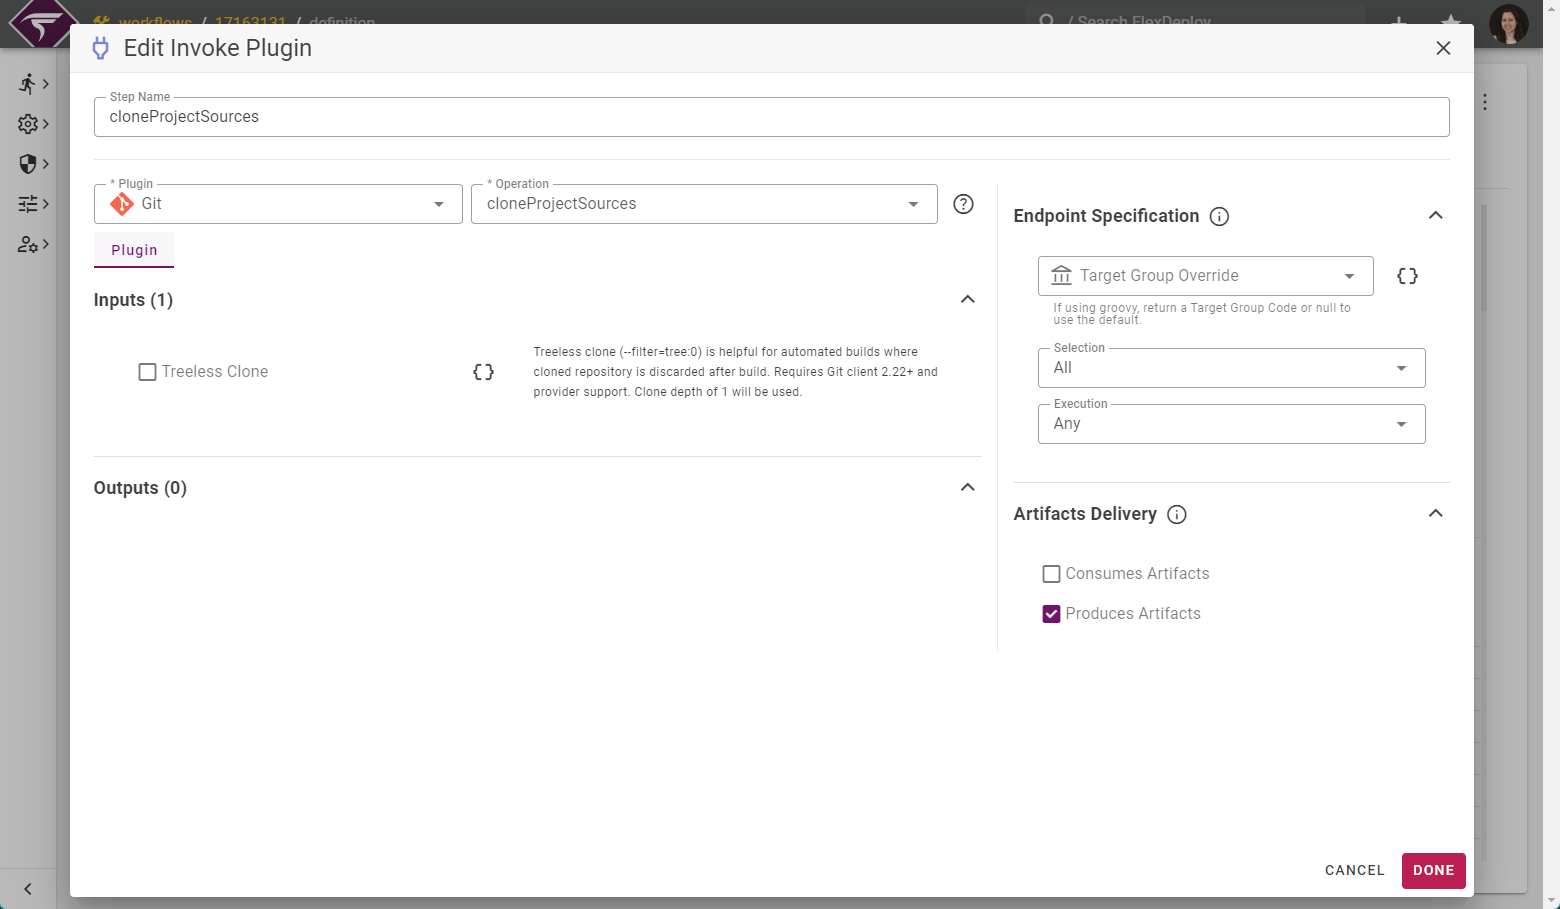
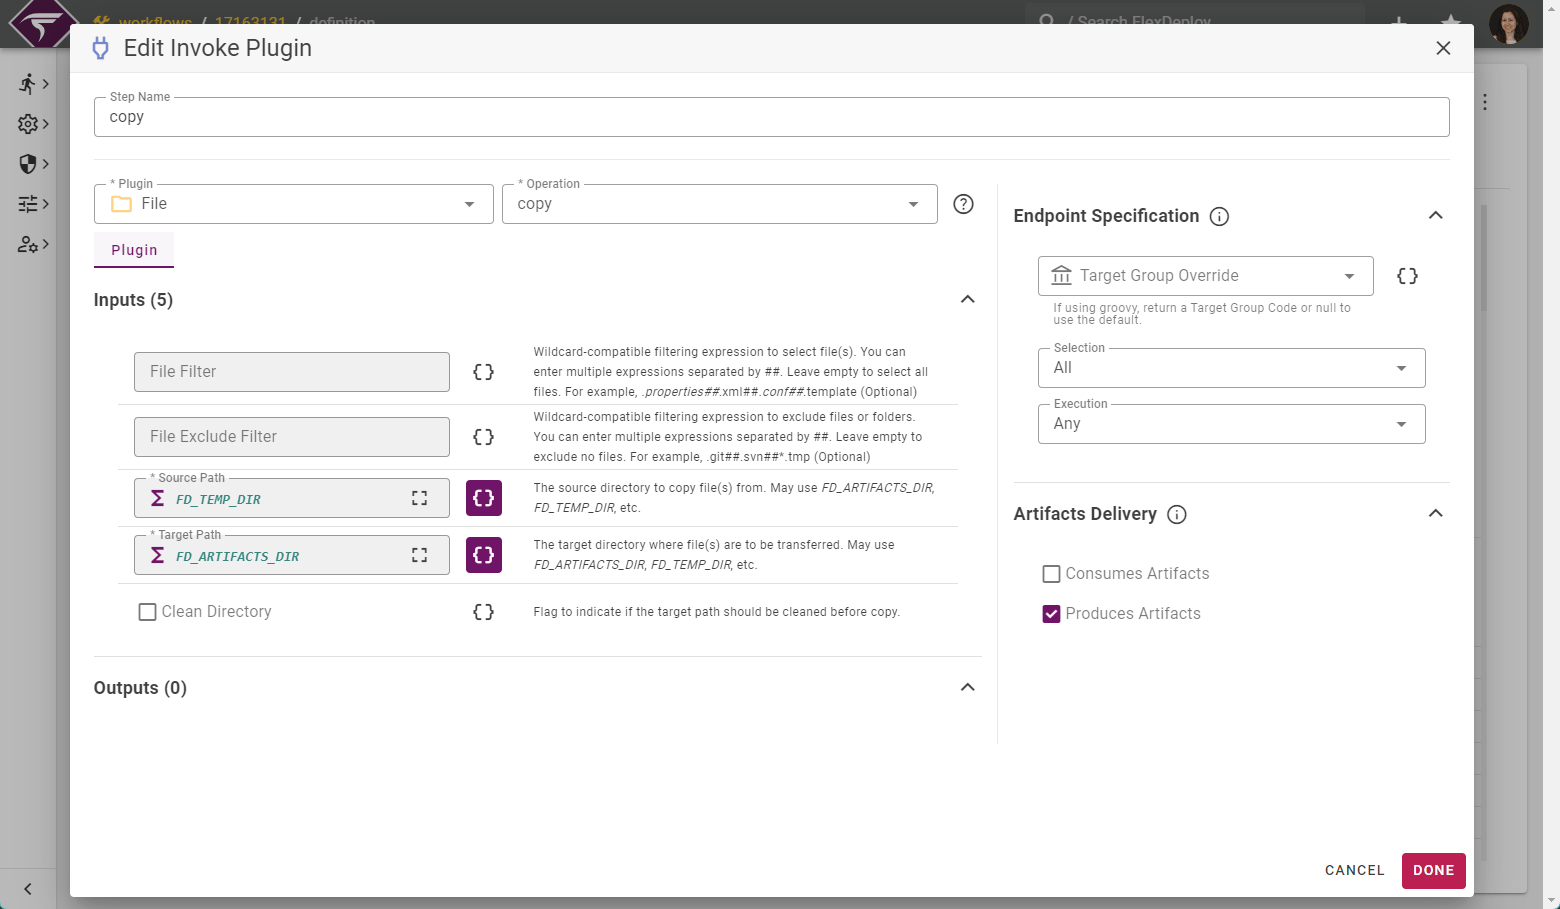
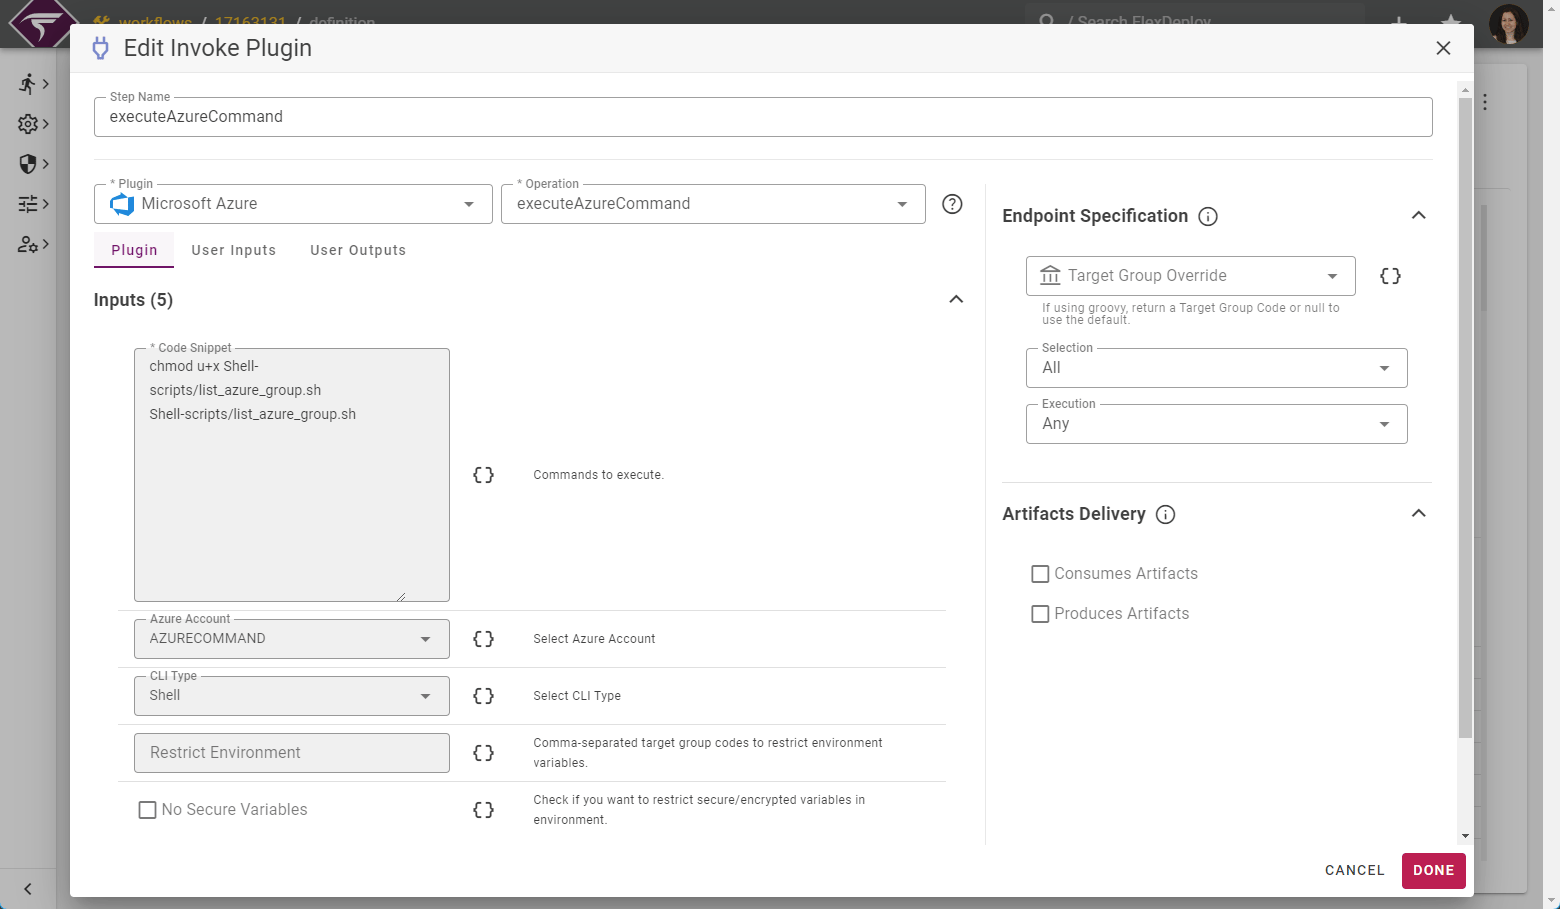
Project Configuration
Project Detail
Navigate to the Project tab and create a Project with a logical name(Azure-Command in this case)Source Control
Configure the Source SCM repository under Source Control as shown below.- To configure Project specific Source Control one first need to navigate to the Project Configuration tab.
- Next, expand the SOURCE CONTROL option from the left-hand pane.
- Select the appropriate Source Control Type
- Configure Source Repository. For detailed steps of Source Control configuration please refer to Configure Source Control in FlexDeploy
Project Properties
To configure Project specific settings one can navigate to Configuration Properties as shown below.-
To configure Project specific settings one can navigate to the Project Configuration tab as shown above.
- Next, select the PROPERTIES option from the left-hand pane.
- Select the target Azure Cloud Account.
Target Properties
Topology
Navigate to the Topology from the Menu. The Page with the Target Groups, Environments and Endpoints sections will be displayed. Choose a Target Group on the left. You will see a list of Environments on the right with colored circles representing each Target.Properties | Mandatory field | Description |
AZUREACCOUNT | Optional | Azure cloud account name |
Azure CLI | Optional | Directory Where Azure CLI is installed |
GIT Path | Optional | Path to the Git executable. Required only if git is not on PATH. |