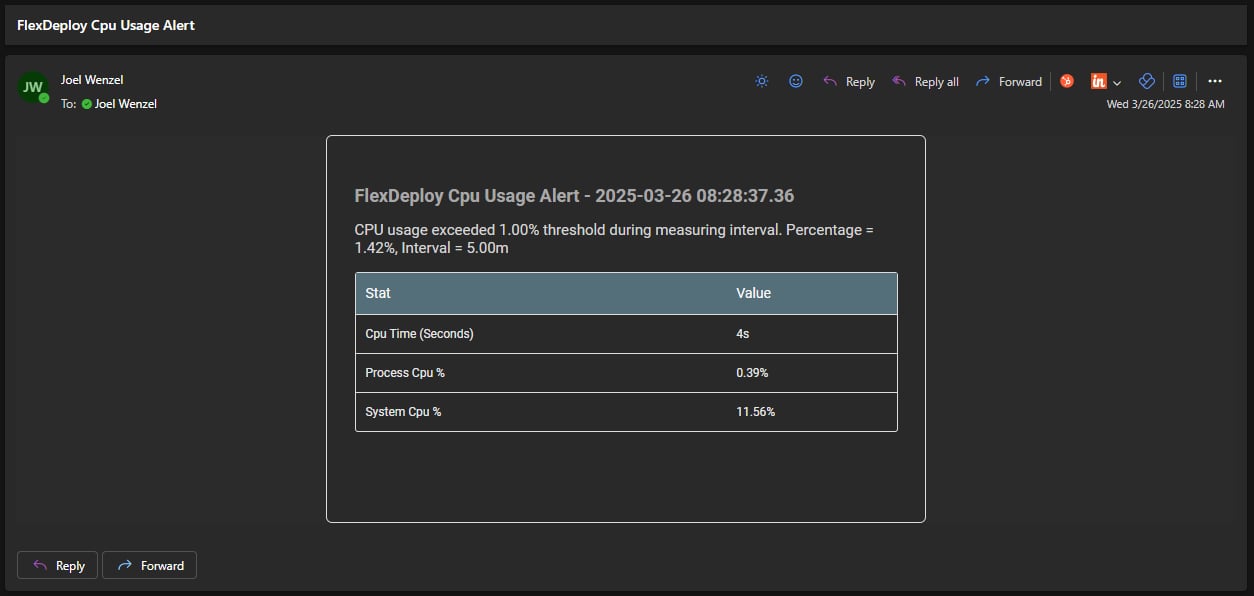
Health Monitoring allows the configuration of Alerts to monitor specific metrics related to the health of the FlexDeploy application. Available metrics vary from resource consumption to execution statistics.
Alert Definitions
Health Monitoring is driven through the configuration of Alerts. Each Alert monitors a metric that is measured at regular intervals with the Condition script being evaluated each interval and triggering Alert Notifications if appropriate.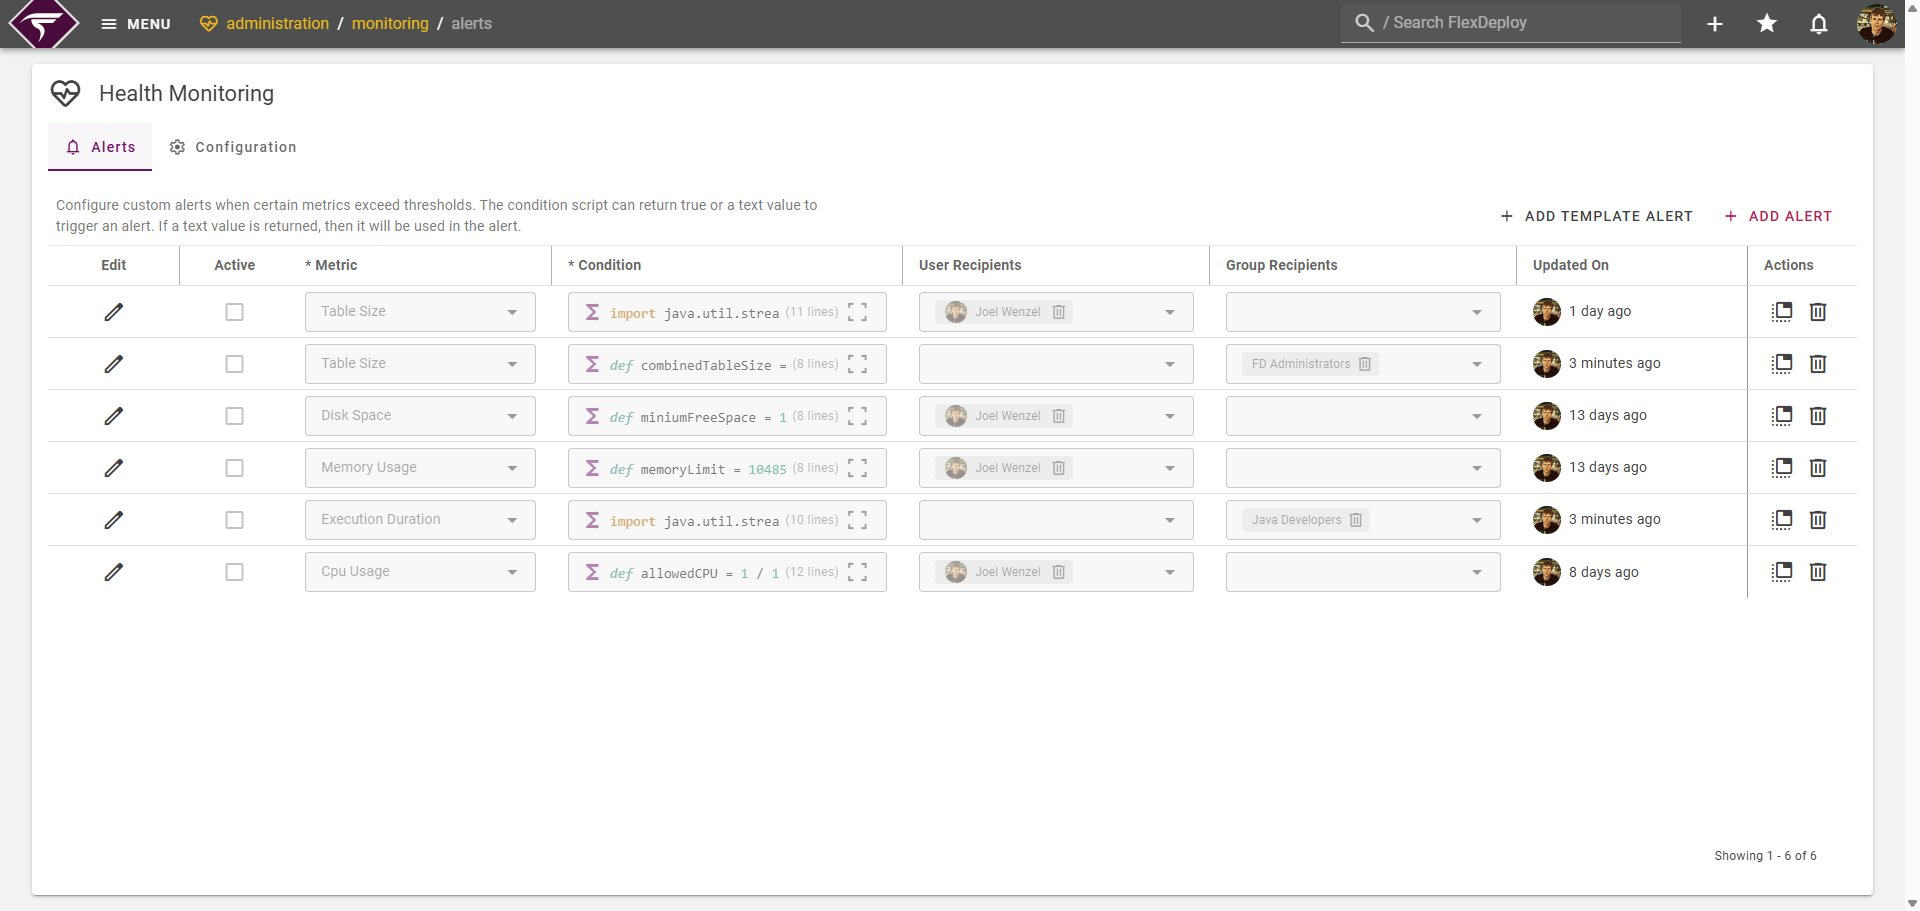
- Active - Whether the alert is active or inactive. Inactive Alerts will still be displayed in the table but will not monitor or send any notifications.
- Metric - The specific metric that will be monitored in this Alert. See below for a complete list of metrics.
-
Condition - Each metric will produce a unique set of results during a monitoring window. The Condition script can evaluate these results via the
resultsvariable and returntrueif an alert should be triggered. The script can also return a text value or string, which will trigger an alert with the text value in the alert message. See Editing Alerts below for a more in depth look at the Condition script. - User Recipients - Specific Users that notification alerts should be sent to.
- Group Recipients - Specific FlexDeploy Groups that notification alerts should be sent to.
Adding Alerts
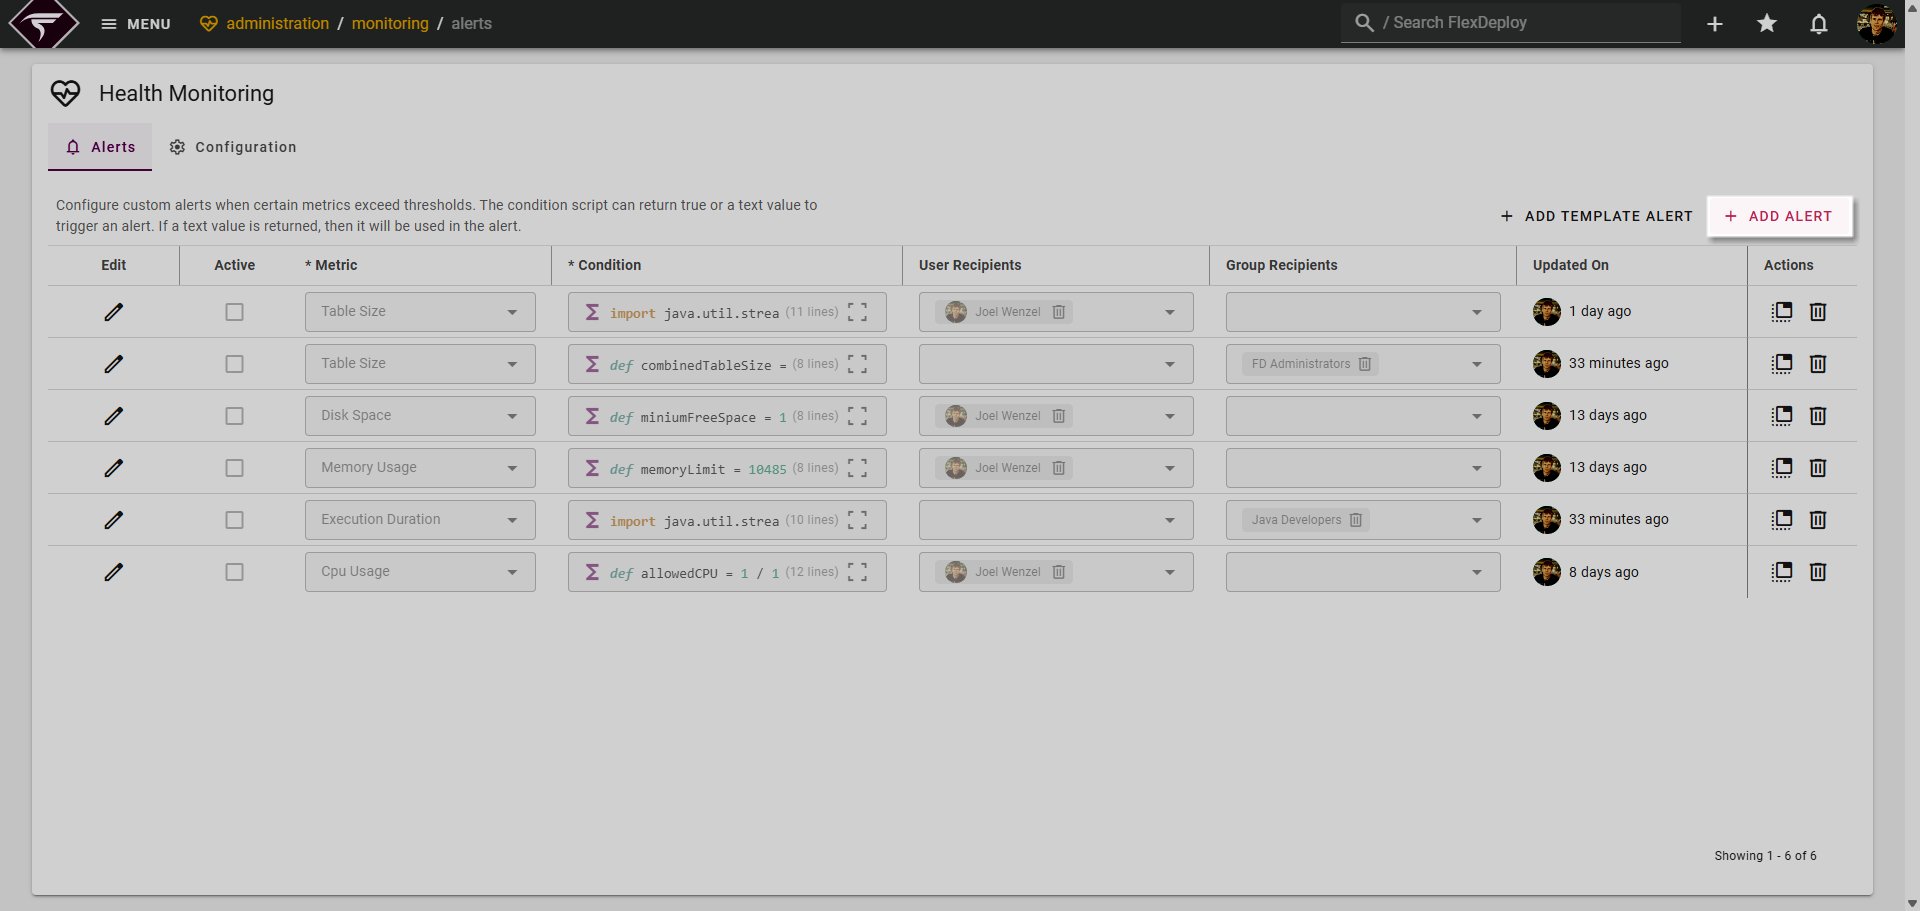
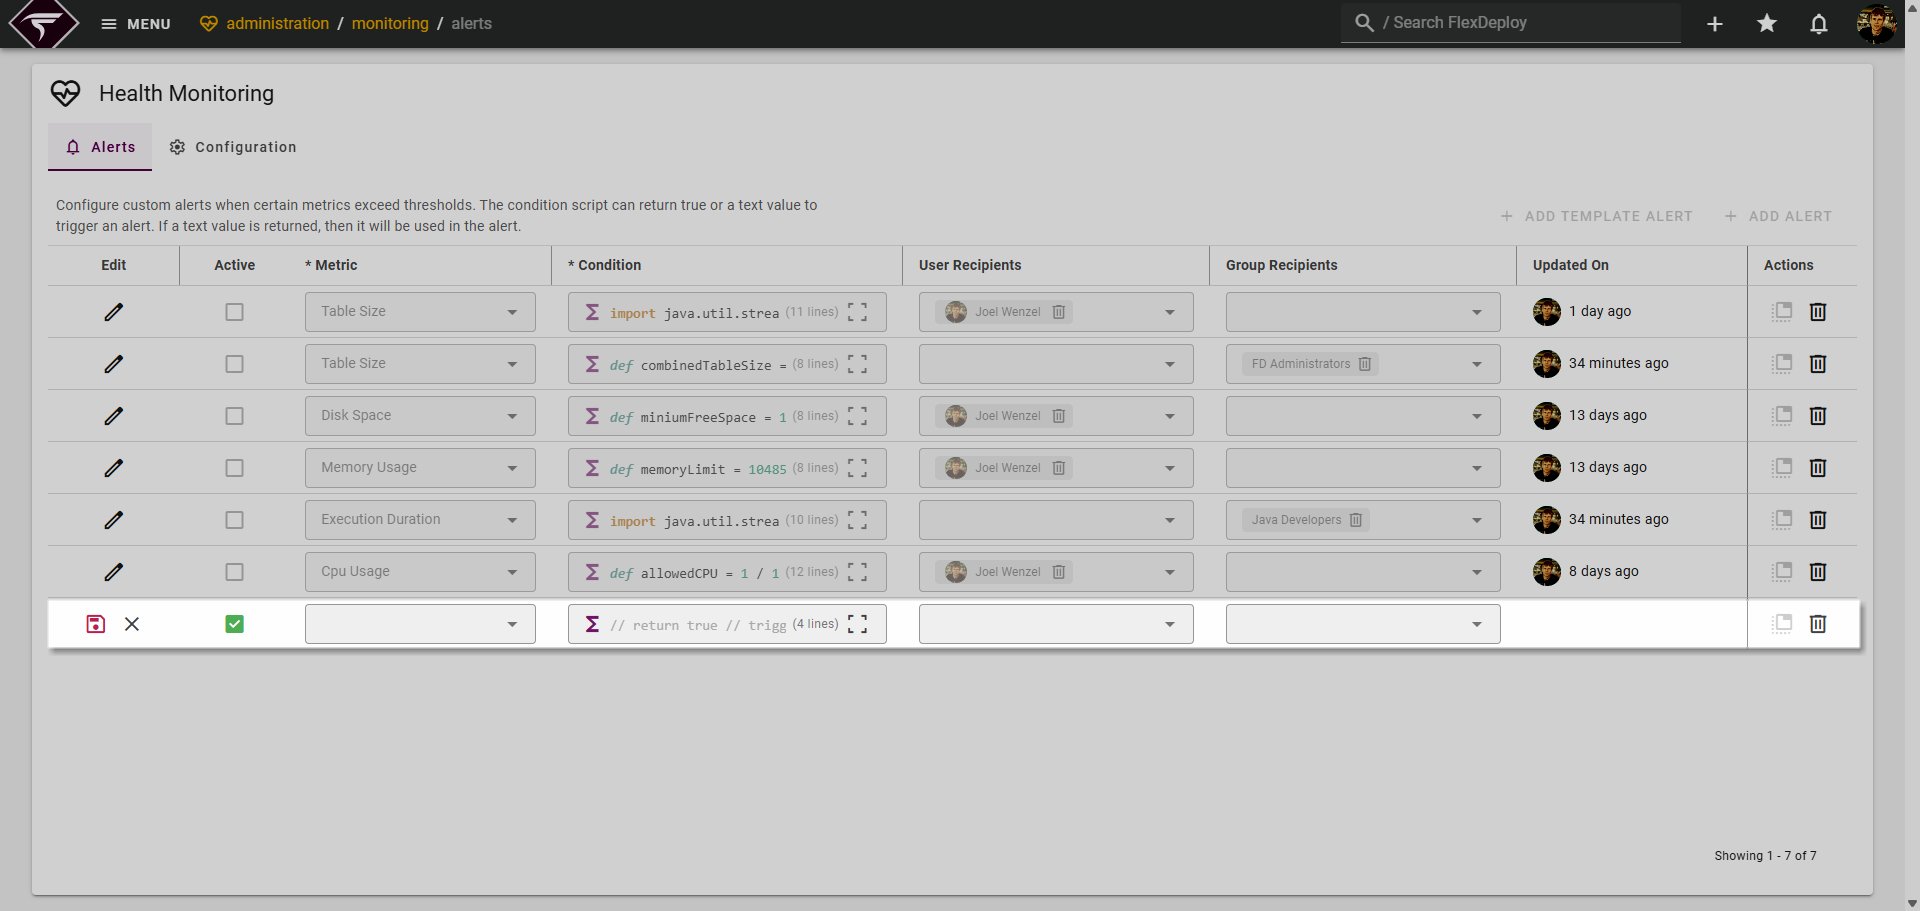
To add a new Alert, simply click the ADD ALERT button.
Alert Templates
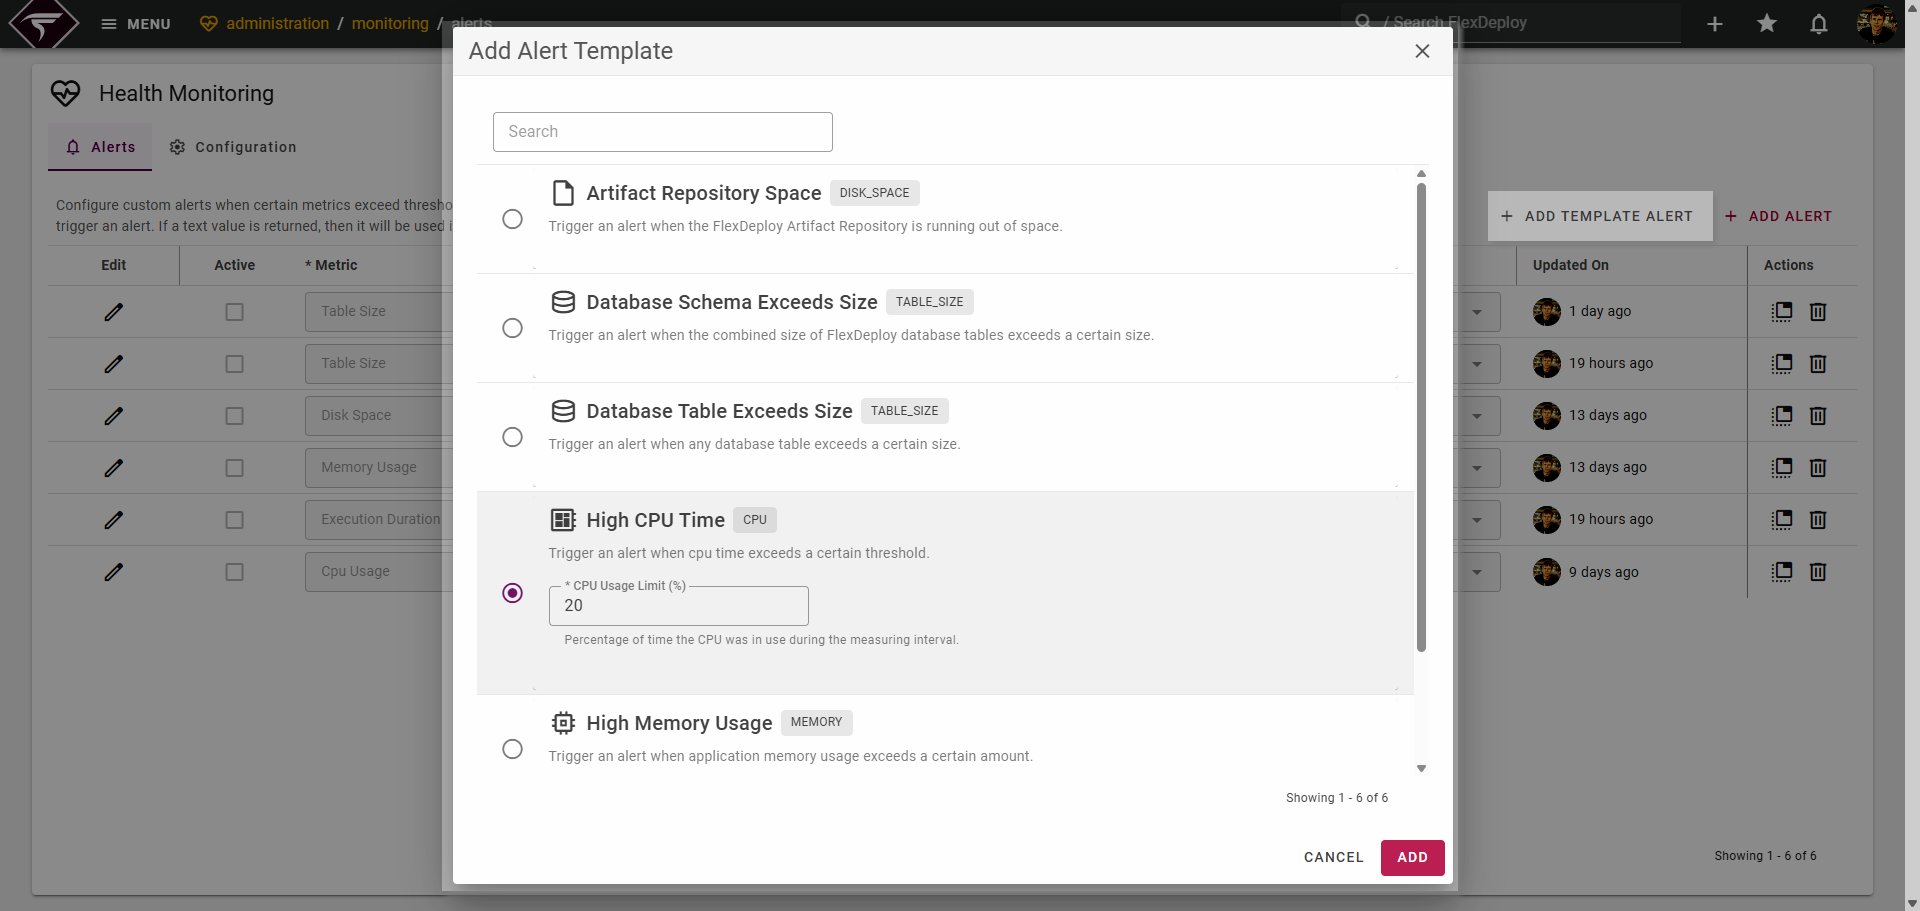
Several Alert Templates are available that provide quick configuration for common scenarios in Alert monitoring. To select a template click the ADD TEMPLATE ALERT button.
Editing Alerts
To edit an existing Alert, click the edit :Pencil_Edit: button or right click and select Edit from the context menu. This will enable the row for editing.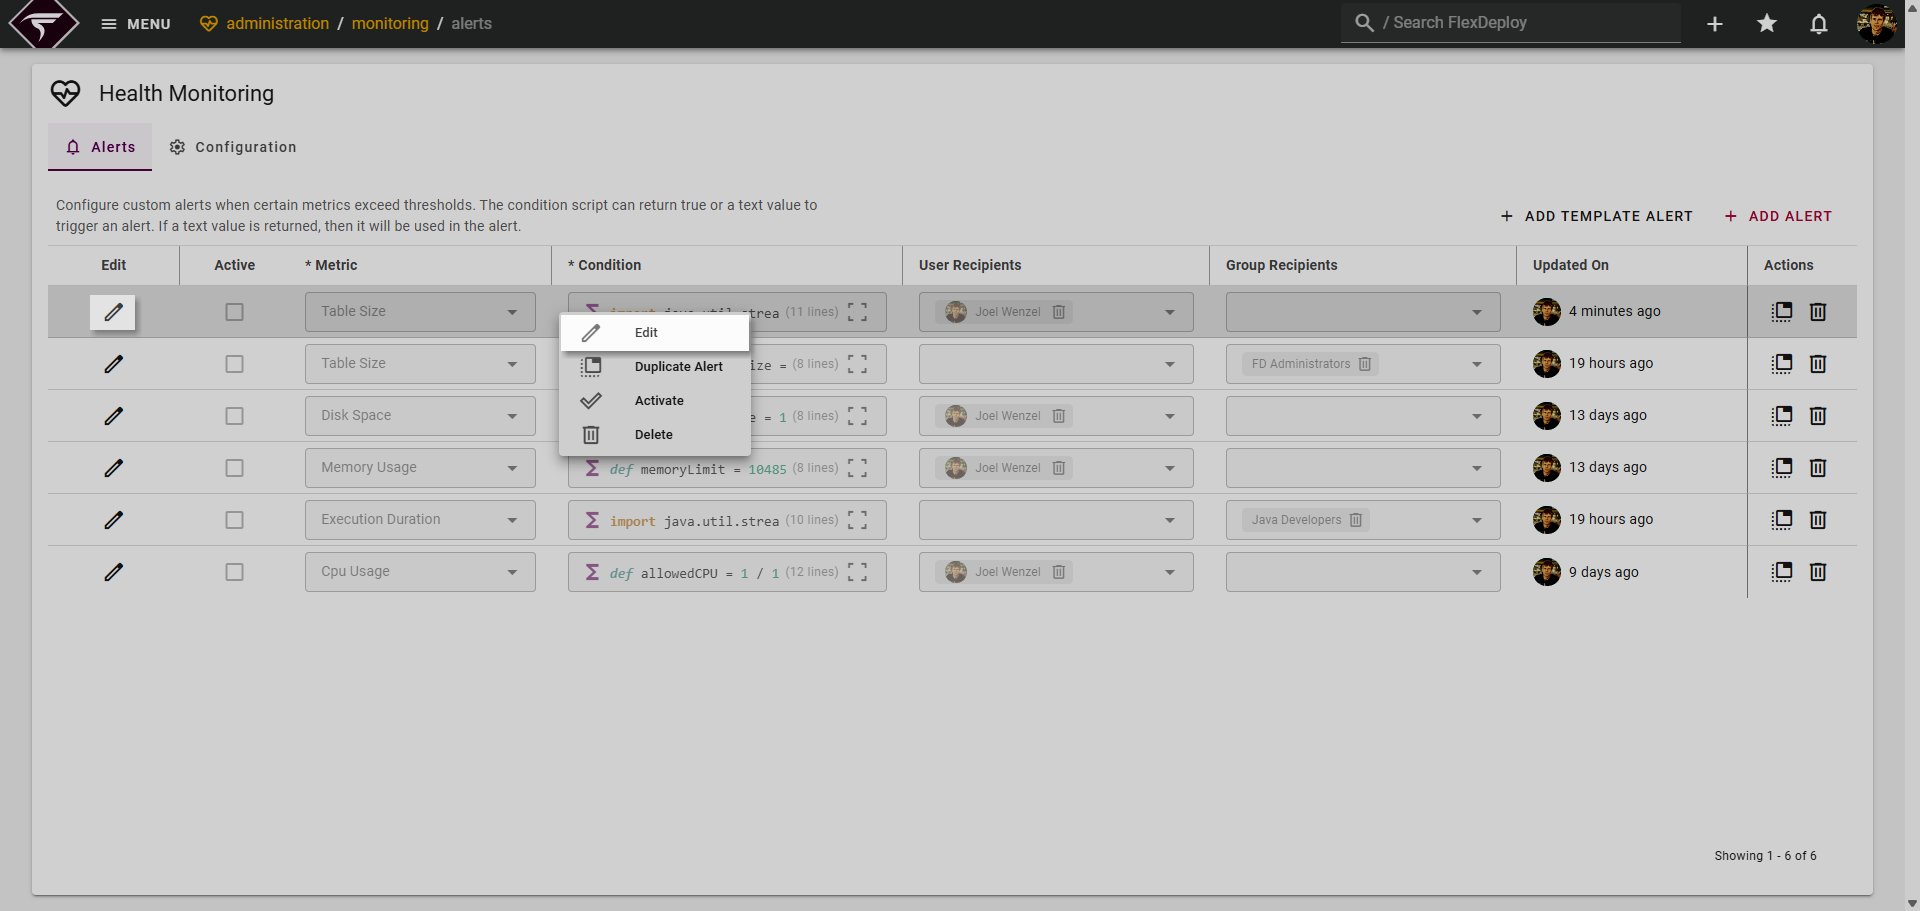
Editing the Alert Condition
The Alert Condition script should return 1 of 3 things:-
return true- Triggers an alert notification. The notification by default will display the results found during the monitoring period -
return false- Does not trigger an alert -
return "More Details"- Triggers an alert with a custom message “More Details”. The results during the monitoring period will still be included in the notification.
Variable | Description |
|---|---|
results | The object containing the results measured during the monitoring window. Each results object contains |
previousResults | An identical object to the
Accessing if(previousResults.isPresent())
{
previousResults.get().getMeasuredAt()
}Or alternatively if(!previousResults.isPresent()) return false def previous = previousResults.get() // previous can now be access safely and freely just like results |
MONITORING | A helper library that provides any common functions for use within Condition scripts. |
Keep in mind that adding an Alert from a template can be used as a starting point. The template will generate a sensible default Condition script that can be modified as needed.
Deleting Alerts
To delete an Alert, click the delete :delete: button. This cannot be undone, if you would only like to temporarily stop Alert notifications, consider inactivating the Alert instead.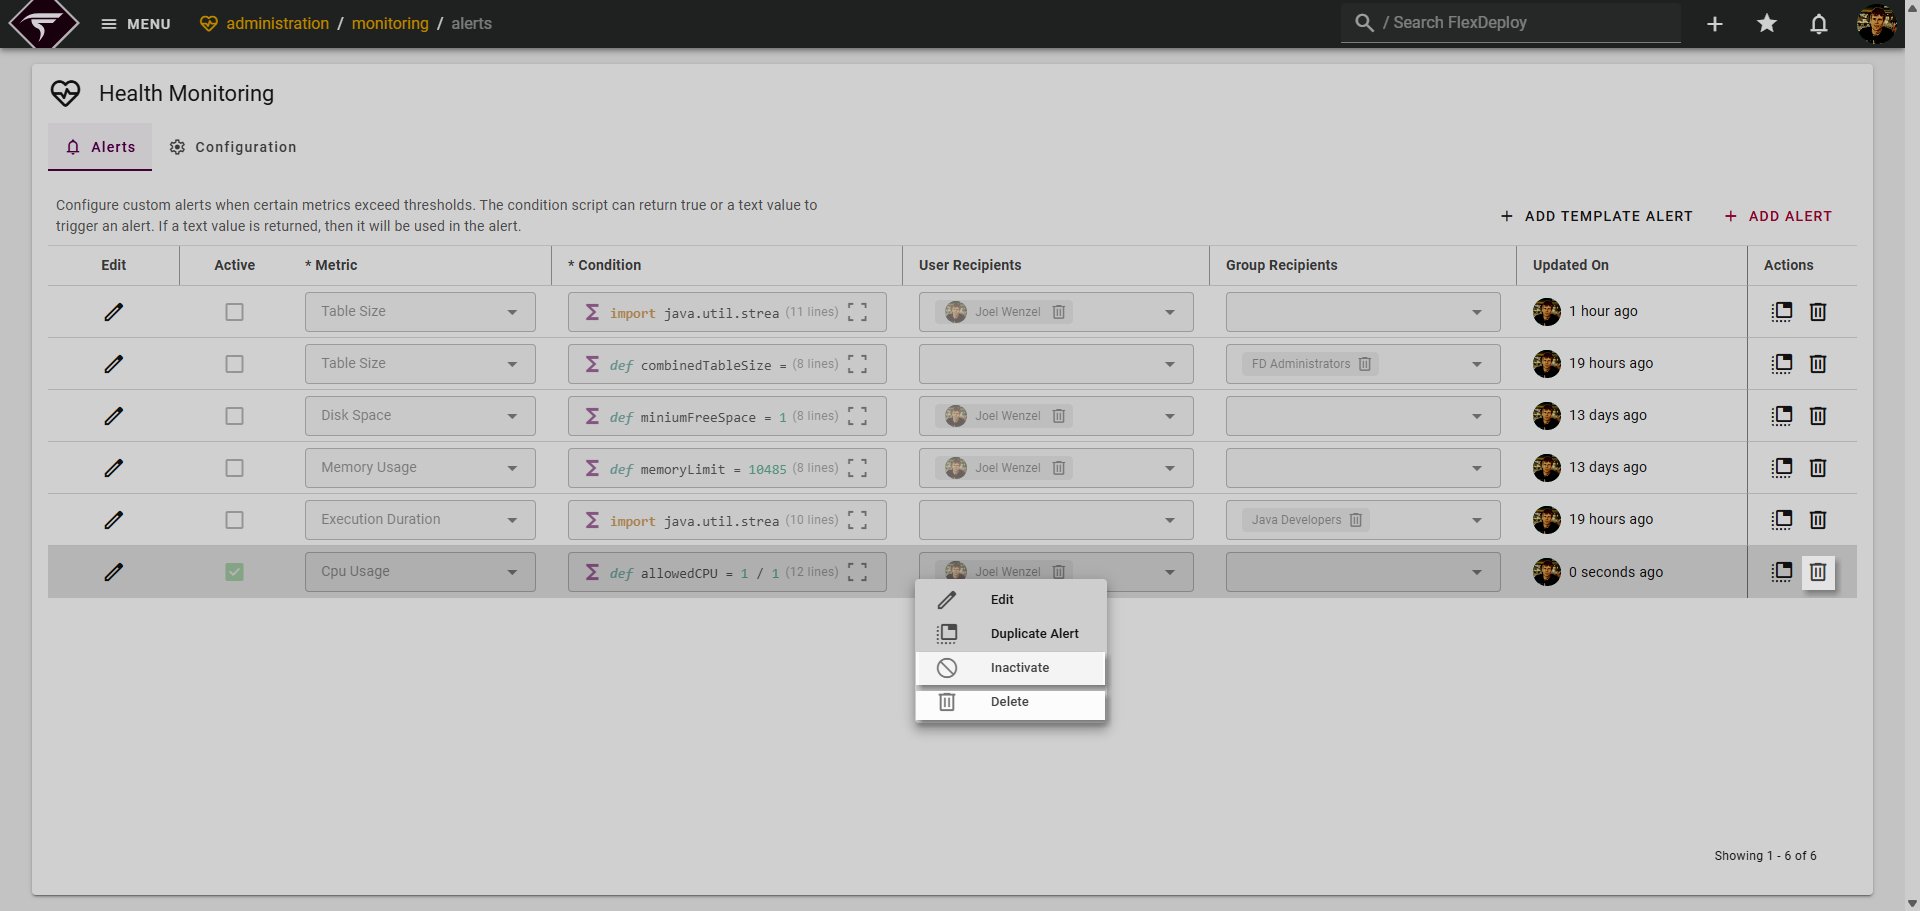
Configuration and Metrics
Each Alert is monitoring a specific “Metric” that is measured at regular intervals. This interval is customizable by Metric on the Configuration tab.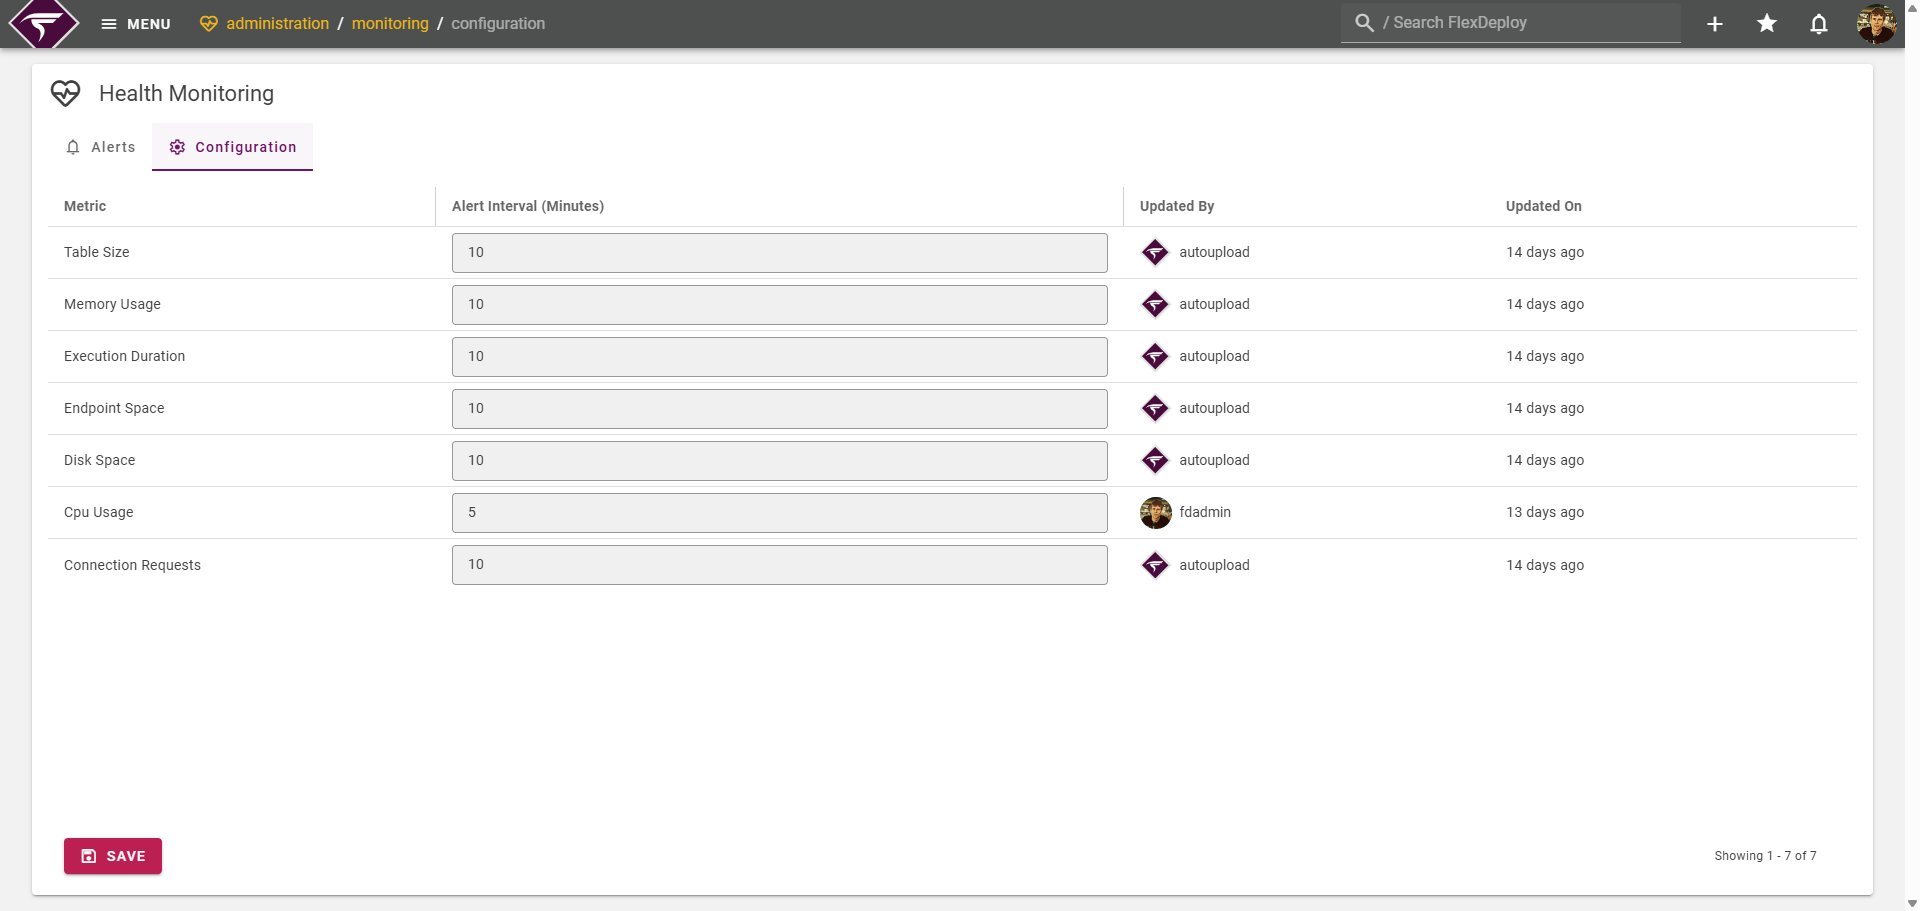
Metric intervals can only be in increments of 5 minutes, for example 5, 10, 15 etc.
Customizing Notifications
Each Alert will trigger a notification when the Condition script returns 1 of the following 2 values-
return true -
return "some custom message"