Objectives
- Power BI Plugin
- Workflows and Topology Setup
- Project setup for Power BI
- Project Configuration and Packages
- Automate check-in of Development Power BI report to SCM
- Build the report from Source Control and Deploy to a Power BI Workspace
- File attributes
- Deployment of PBIP Reports
Introduction
Power BI is a unified self-service and enterprise analytics solution that allows you to visualize your data, share insights across your organization, and embed them in your app or website. Together, Azure Analytics and Power BI provide scalable insights, helping you foster a data-driven culture essential for thriving in a fast-paced, competitive environment. In Power BI, the two most popular report types are Reports and Semantic Models. FlexDeploy simplifies the automation of report deployment across workspaces. This blog will help you understand why FlexDeploy is an ideal choice for implementing DevOps and Continuous Delivery with Azure Power BI. Features · Integrate with Power BI to export and import Reports, Semantic Models and Paginated Reports. · Provide support for importing embedded reports, Paginated Reports and shared semantic models. · Rebind a specified report to a semantic model from the same or a different workspace. · On Demand refresh of semantic model.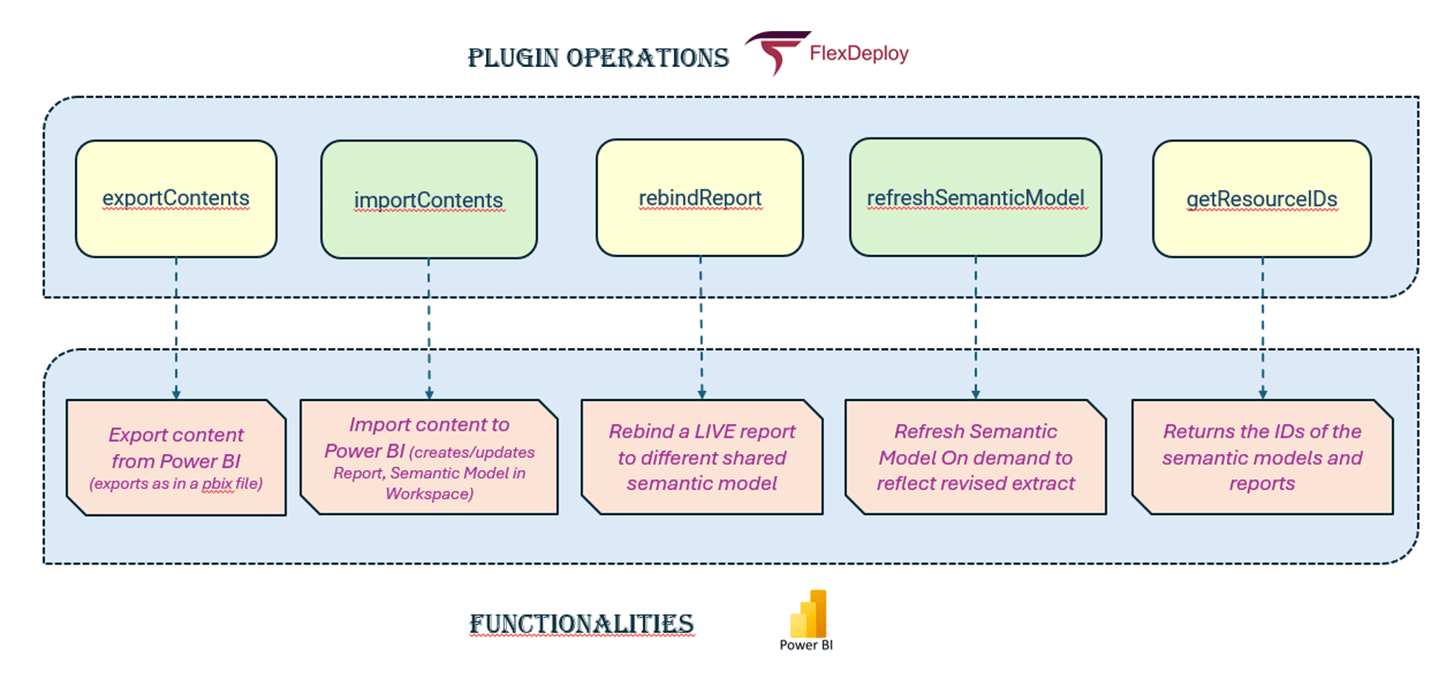
Azure Power BI Plugin
The Azure Power BI plugin includes the following operations to facilitate the aforementioned features: · exportContents: Exports specified contents from a selected workspace to a .pbix file. · importContents: Imports previously exported contents into a target Power BI workspace. · getResourceIDs: Retrieves the IDs of semantic models and reports available in a specific workspace. · rebindReport: Rebinds a specified report from a selected workspace to a designated semantic model, particularly useful for shared semantic models. · refreshSemanticModel: Triggers an on-demand refresh of the specified semantic model from the chosen workspace.Topology
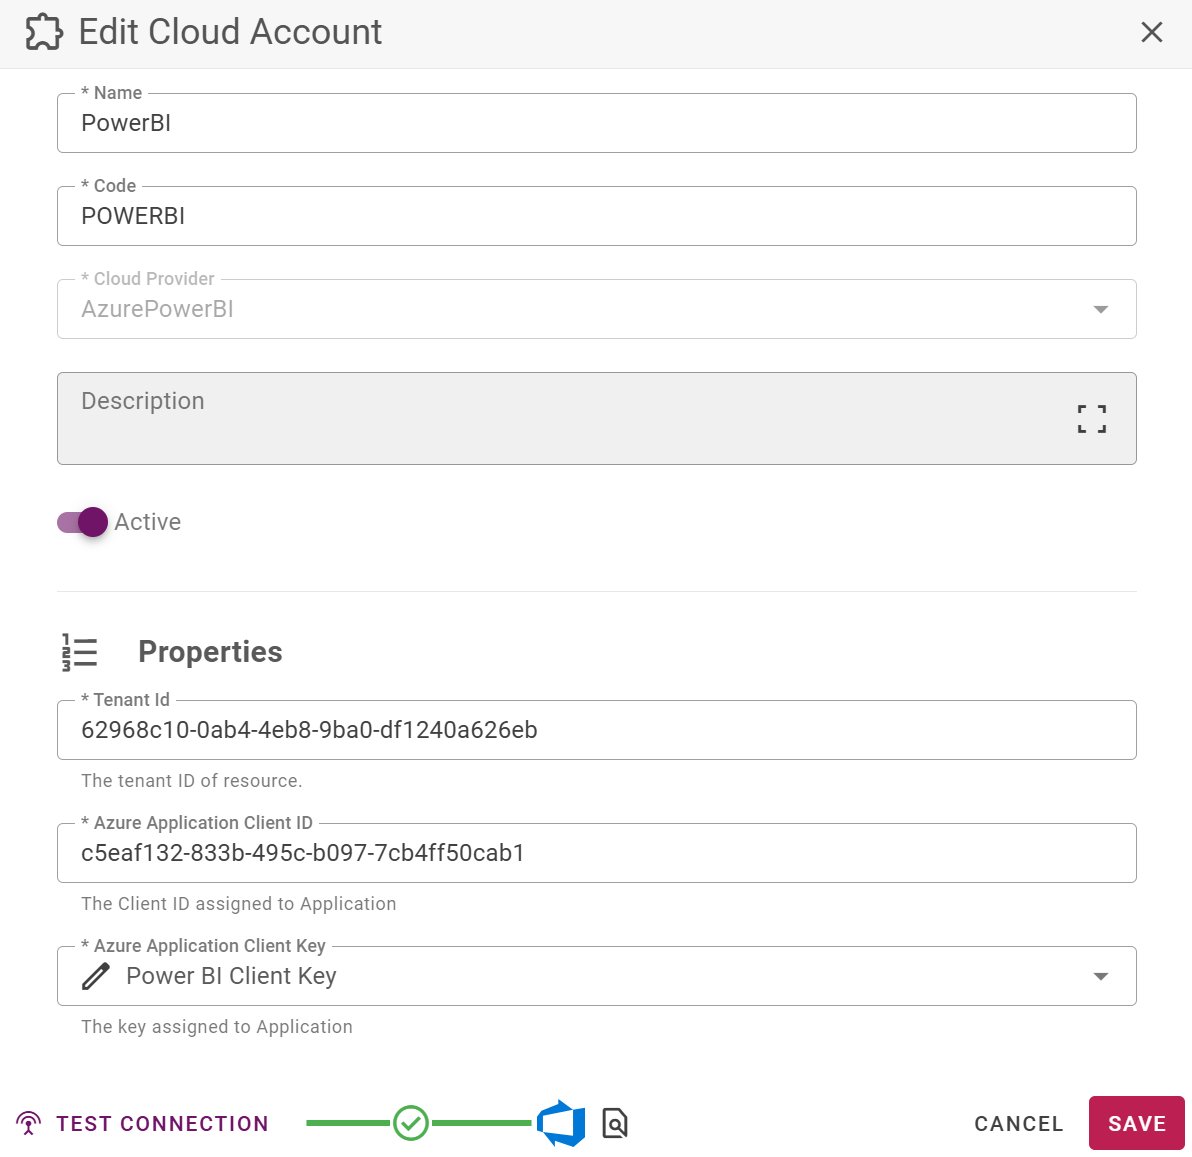
To create a Power BI instance, we first establish a Cloud Integration and then map it to the appropriate target group. To create a Cloud Integration, navigate to the Integration section from the menu. In Integrations, navigate to the Cloud Integrations, and create a Cloud account for Azure Power BI. Make sure to provide the required details.
Service Principal
To create a service principal:- We first need to create app registration in Microsoft Entra ID and create new secret. This secret would be used to configure the Power BI cloud account in FlexDeploy. No need to assign any permissions from Azure Portal.


- Create a group say PowerBICICDGroup and assign the service principal created in previous step
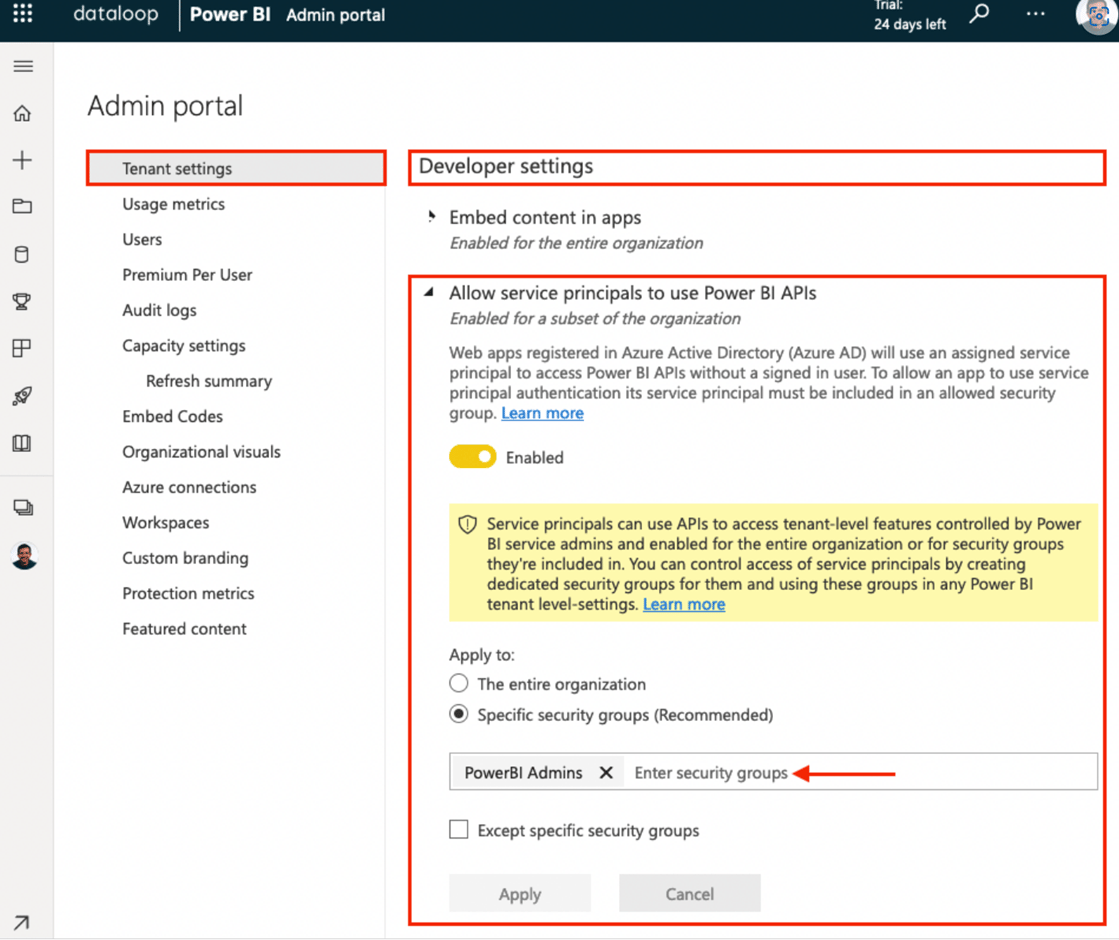
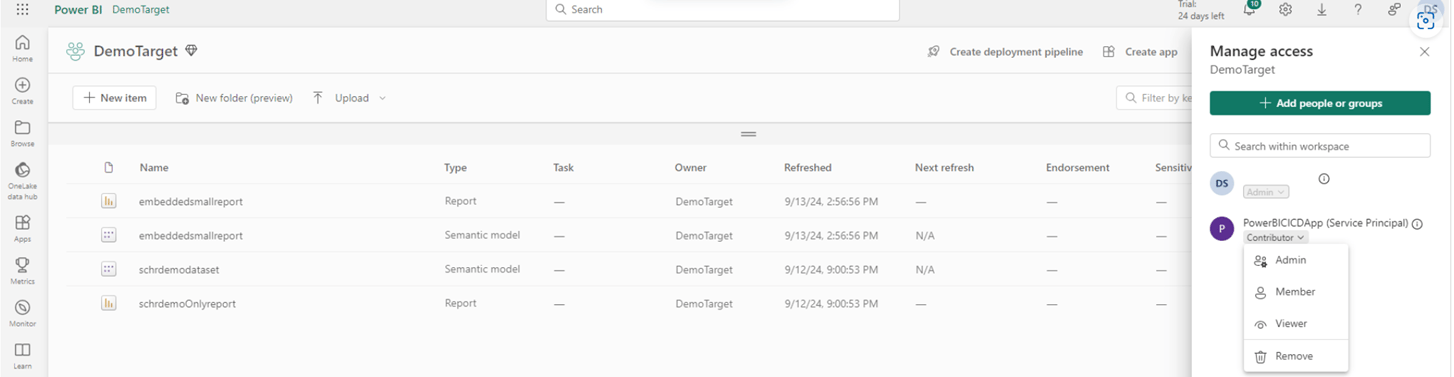
- Once this is done, we need to add the service principal App to the respective workspaces as Contributor, from where you will export the reports or import the reports to
Projects
Projects enable us to build and deploy Azure Power BI reports from one workspace to another. To create a new project, click the ‘Create’ button on the Projects page. This will open the project creation page, where we can enter the required details and select the Project Classification and Project Type FlexDeploy supports both Package-based as well as Full Deployment, but package based is encouraged more as with Package based, we have control over which all Files we want to deploy. Project type comes into picture when we select Package Based Project. Choose Package-Based for the project classification and Azure Power BI for the project type.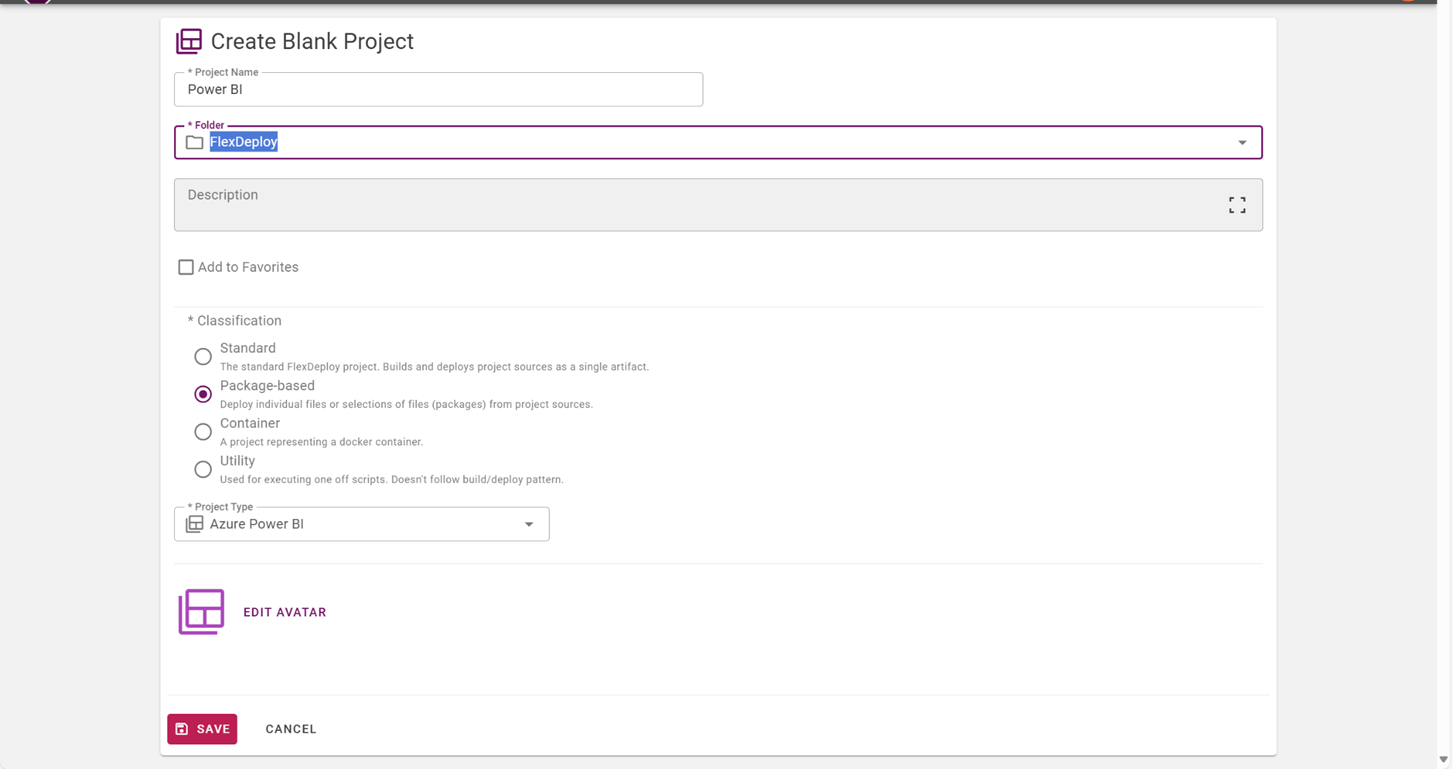
Configurations
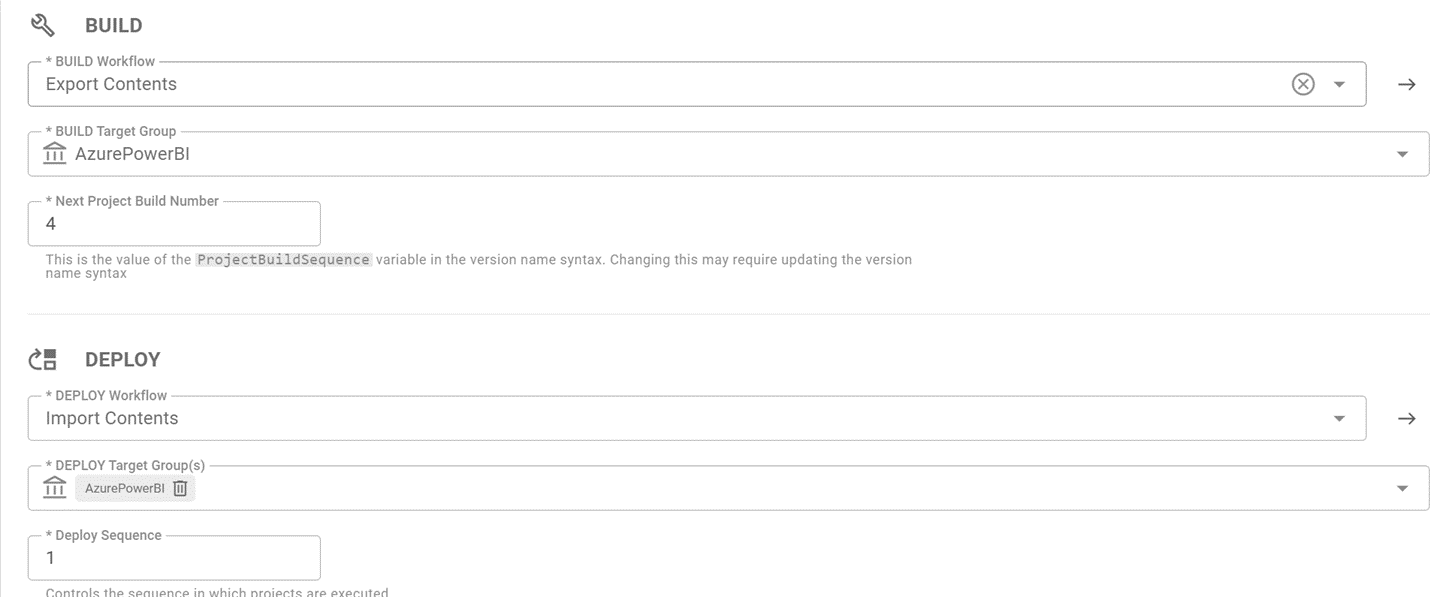
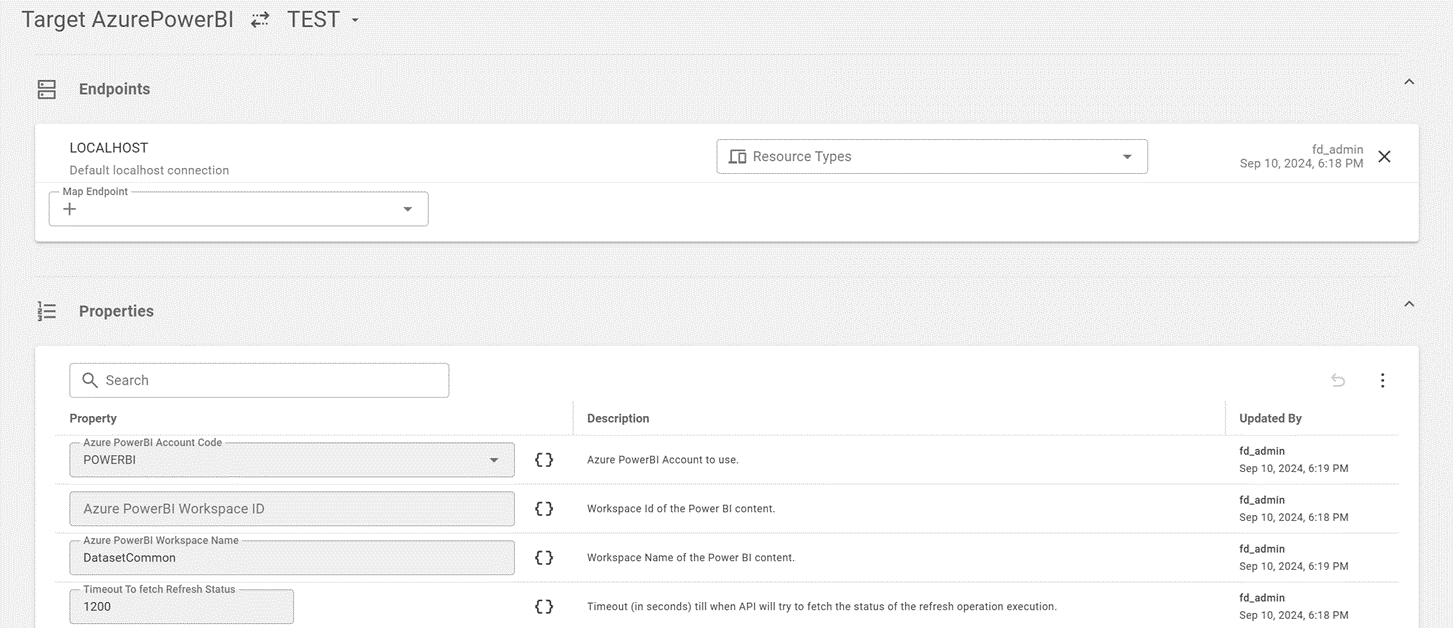
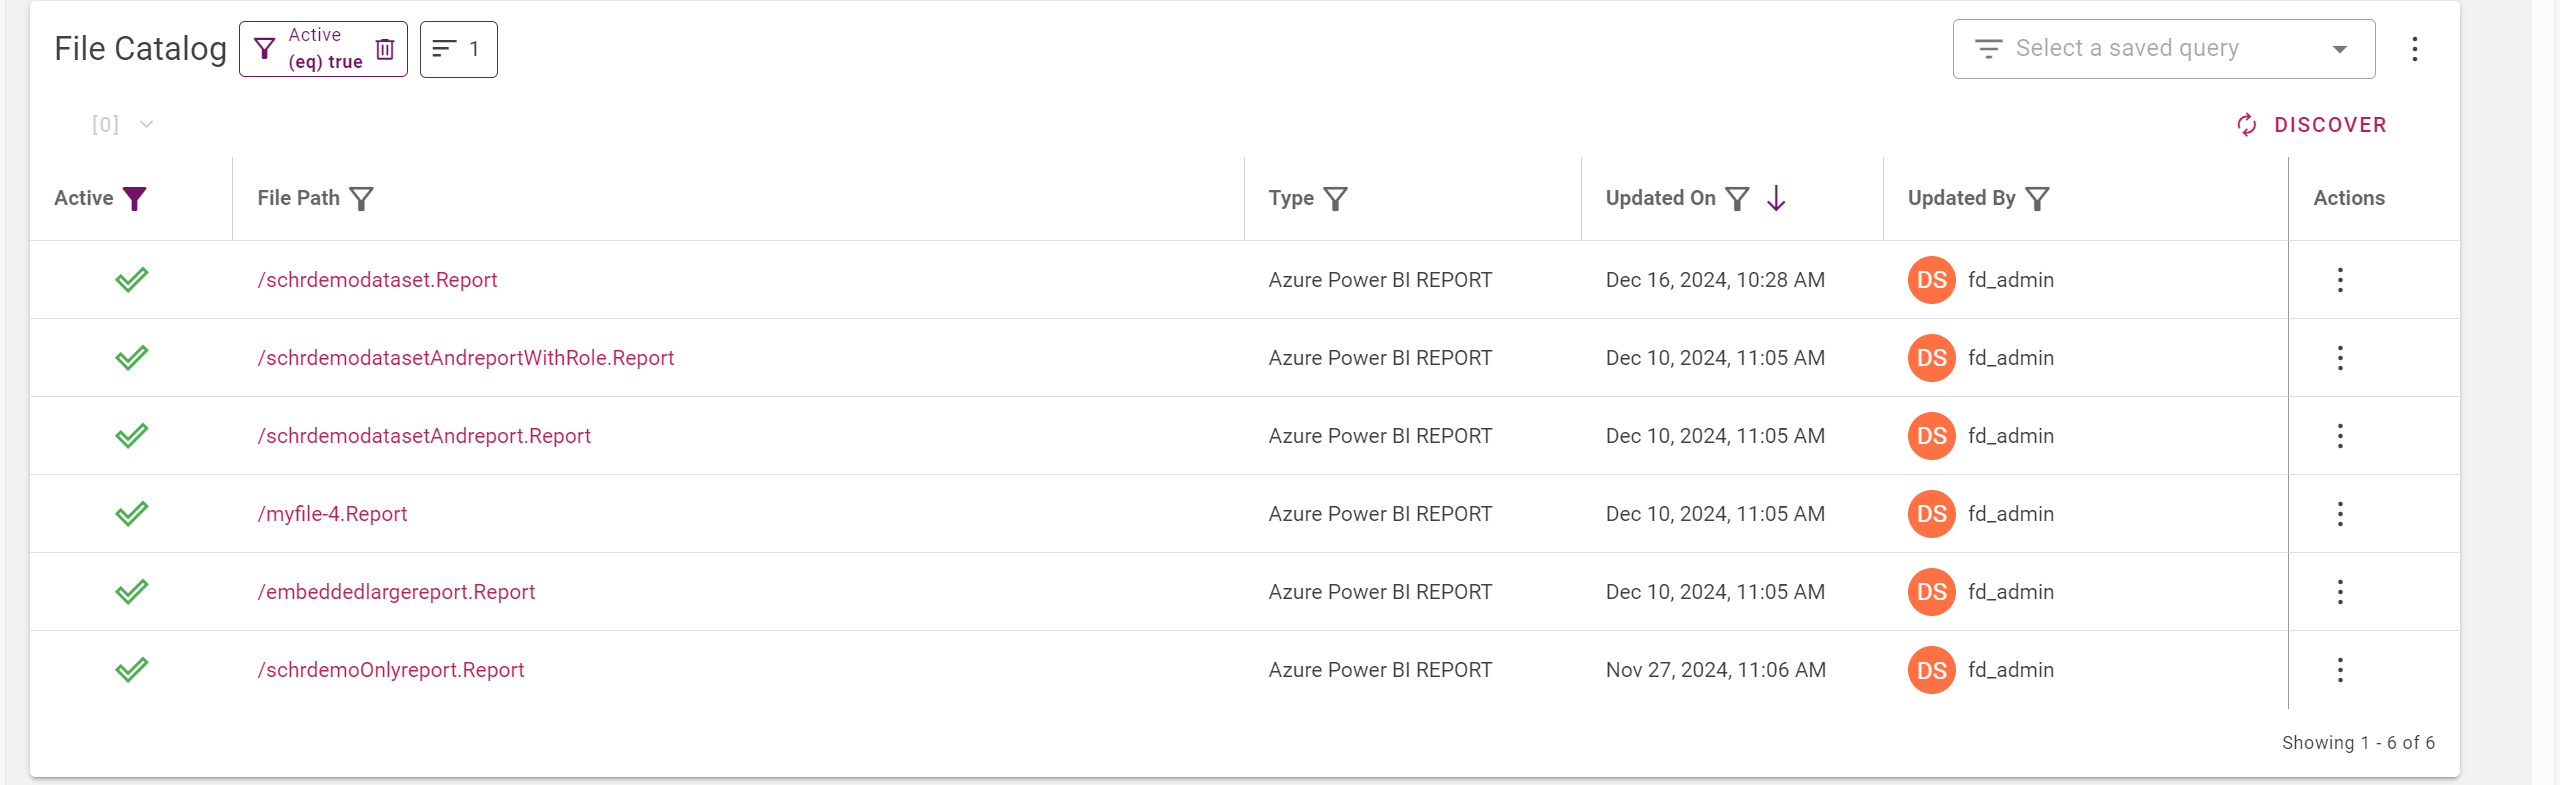
After creating the project, create the Target Group for Power BI, and set the Build workflow and target group on the Configuration tab. Once we have configured these settings, go to the target group we created and specify the Workspace ID and the Power BI Cloud Account we set up earlier. Once the build workflow and target group are configured, we will be able to discover files. Navigate to the Package tab and click on File Catalog.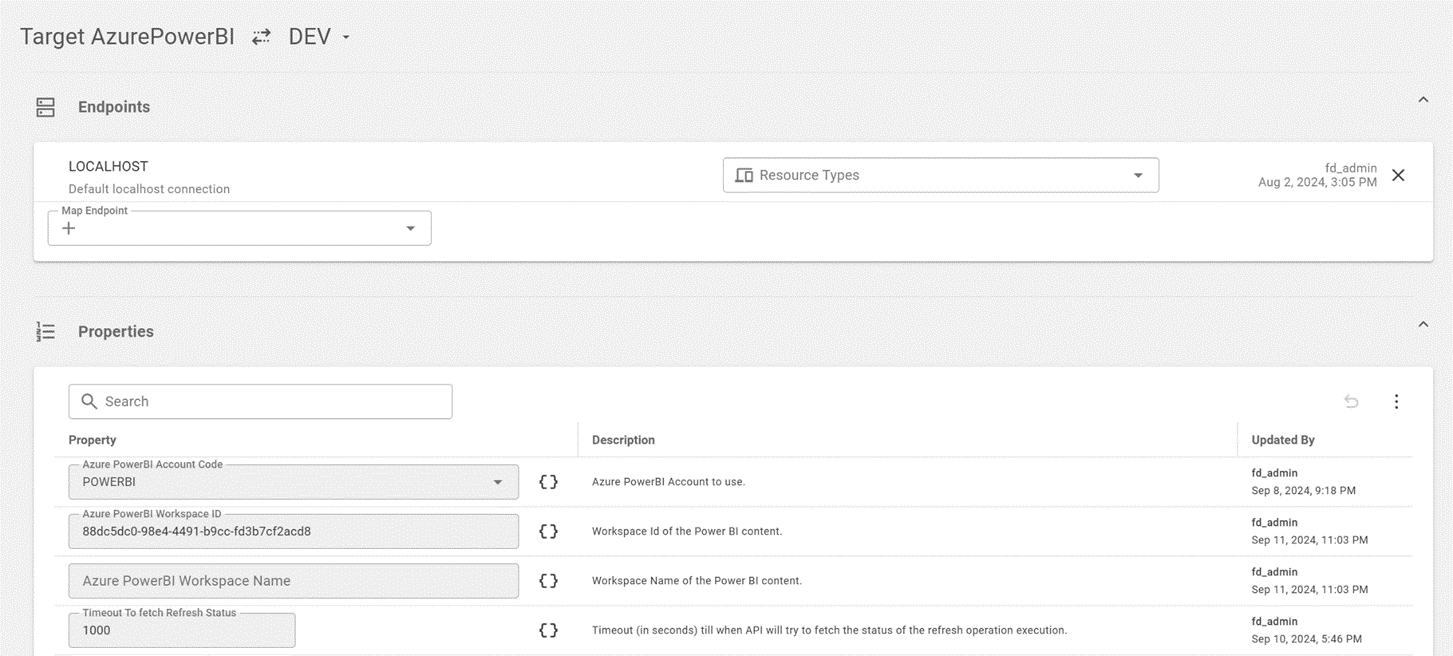


Packages
After the project is created, we will see the Package tab. Here, we will create a new package, such as Reports.File Attributes
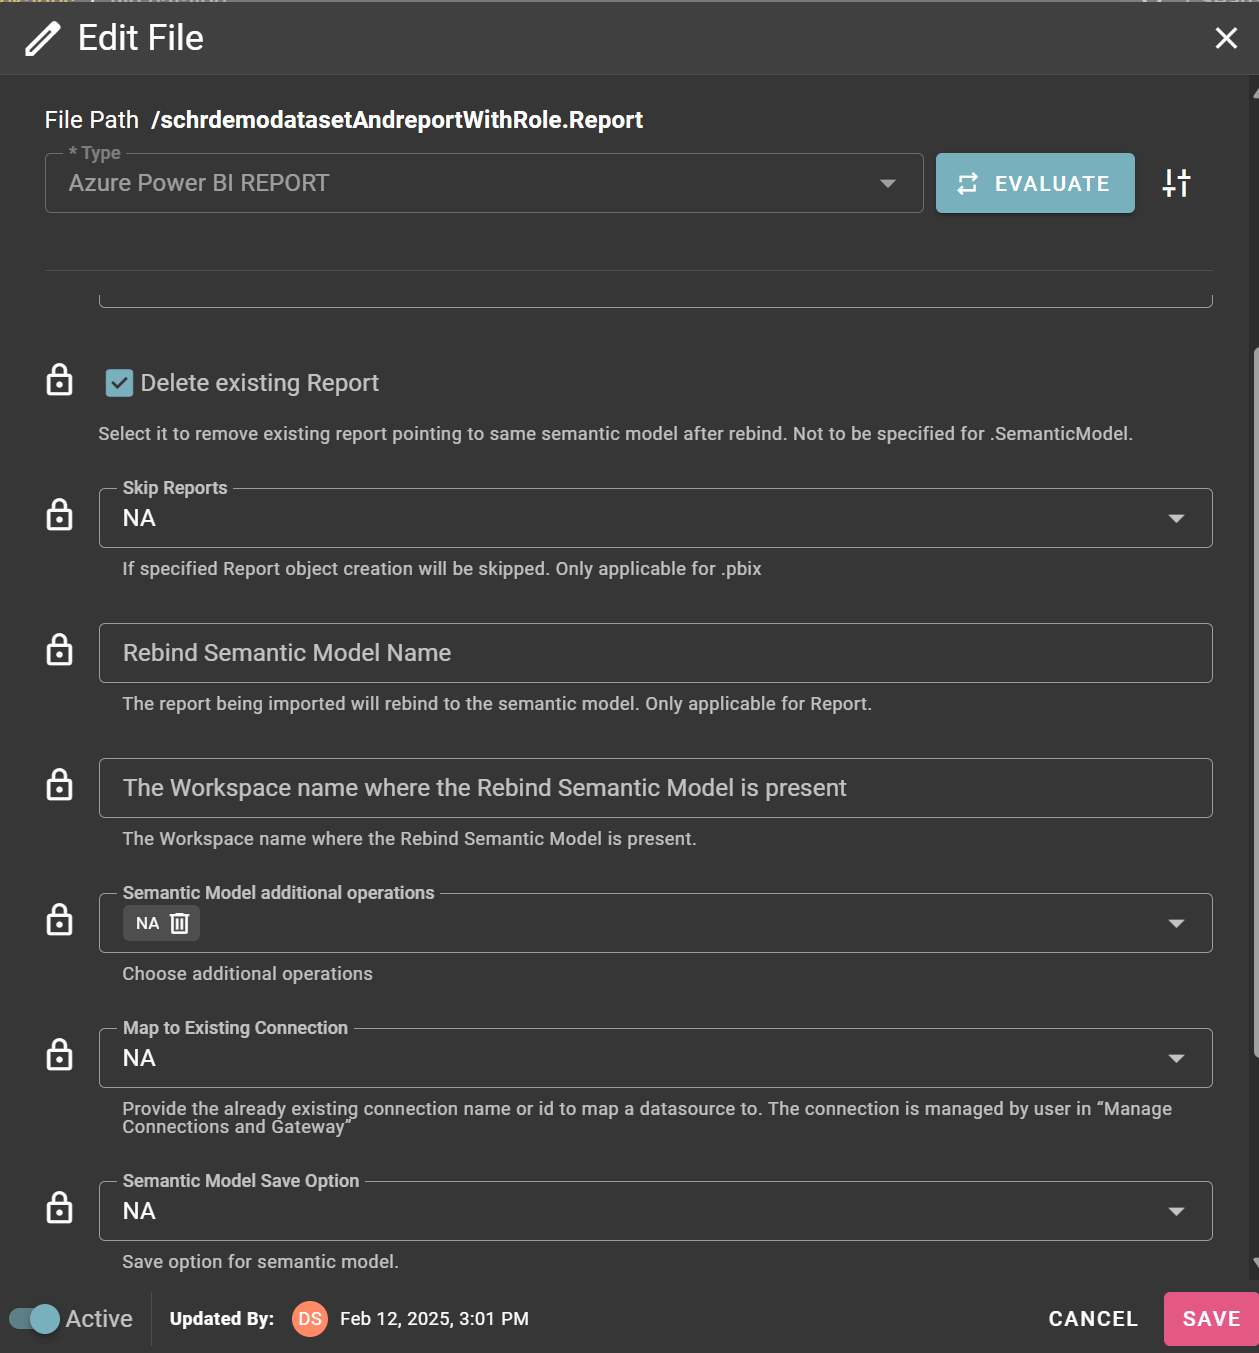
Another valuable feature is the File Attributes. By clicking on a file within a package, you can access its attributes. These attributes can be used as needed during the deployment process, offering greater control and flexibility.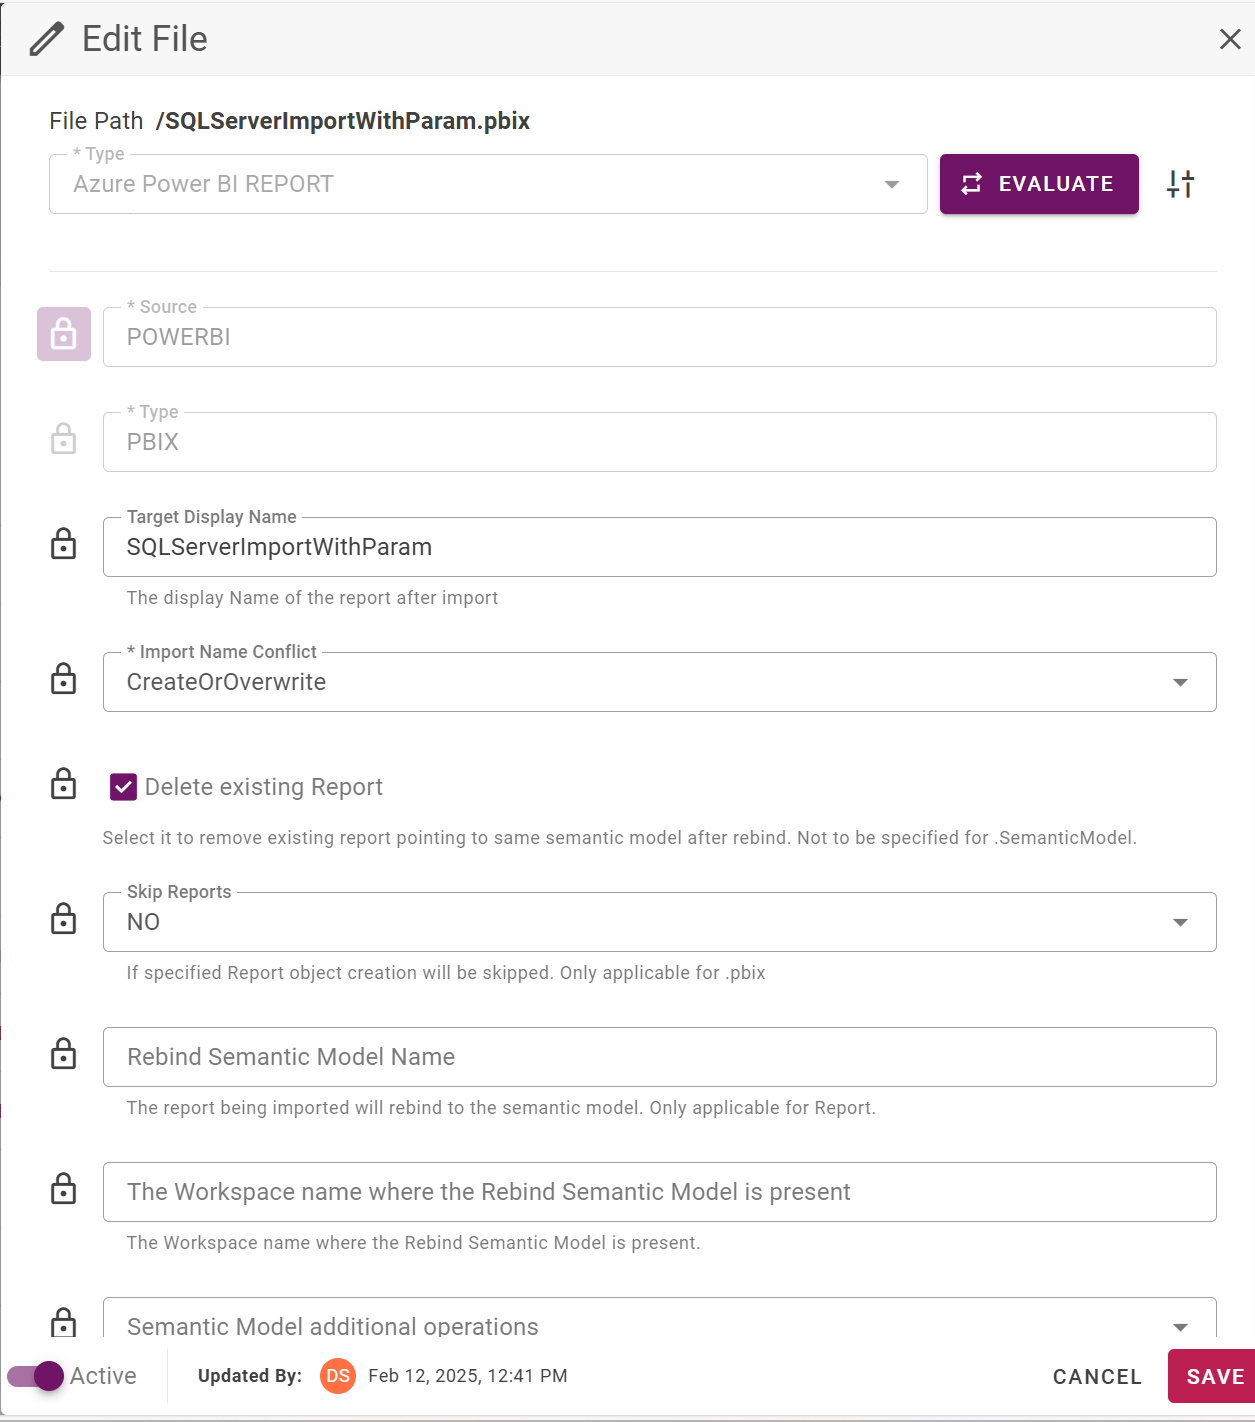
Automate check-in of development Power BI report to SCM
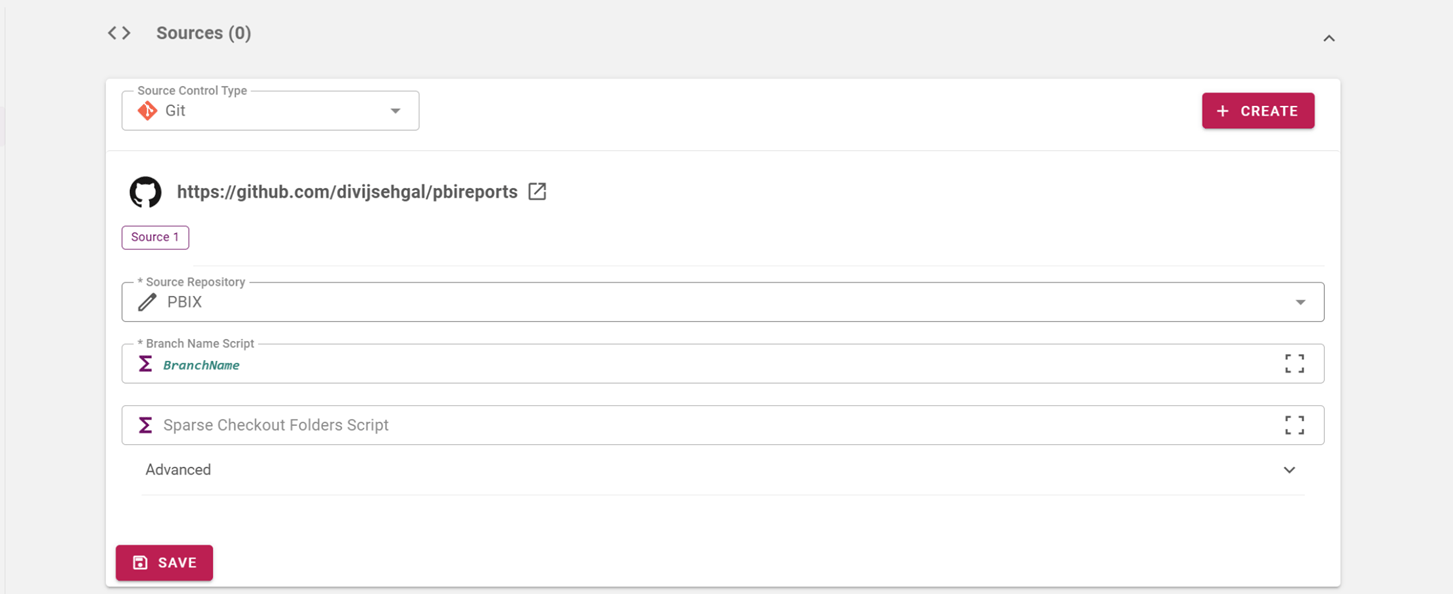
Azure Power BI projects allow us to source reports from an intended Power BI workspace. FlexDeploy can sync files from an intended workspace to a source code repository, helping implement DevOps best practices for source control of developer code.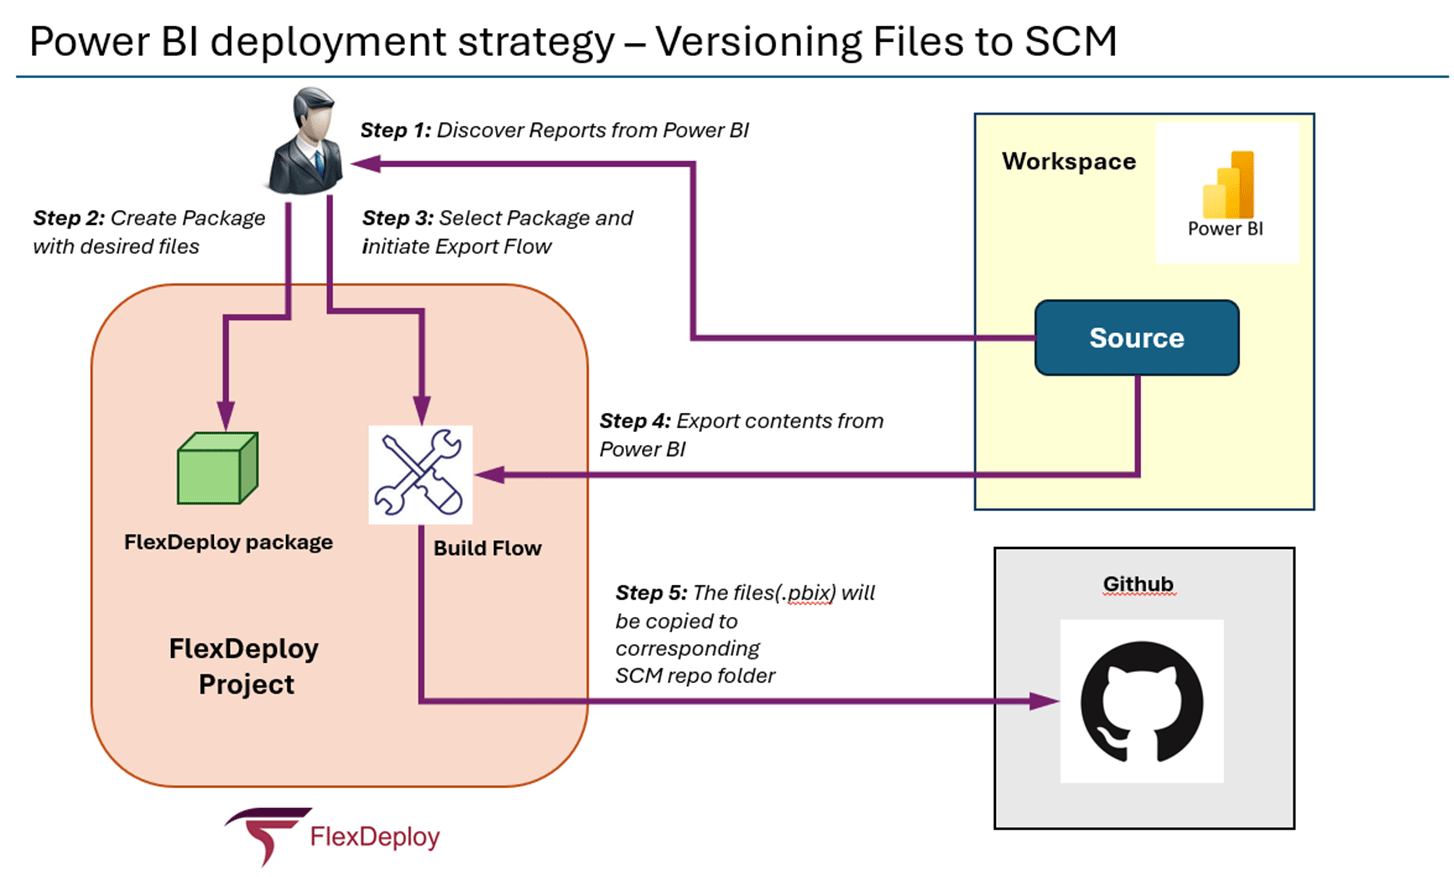
Build Workflow
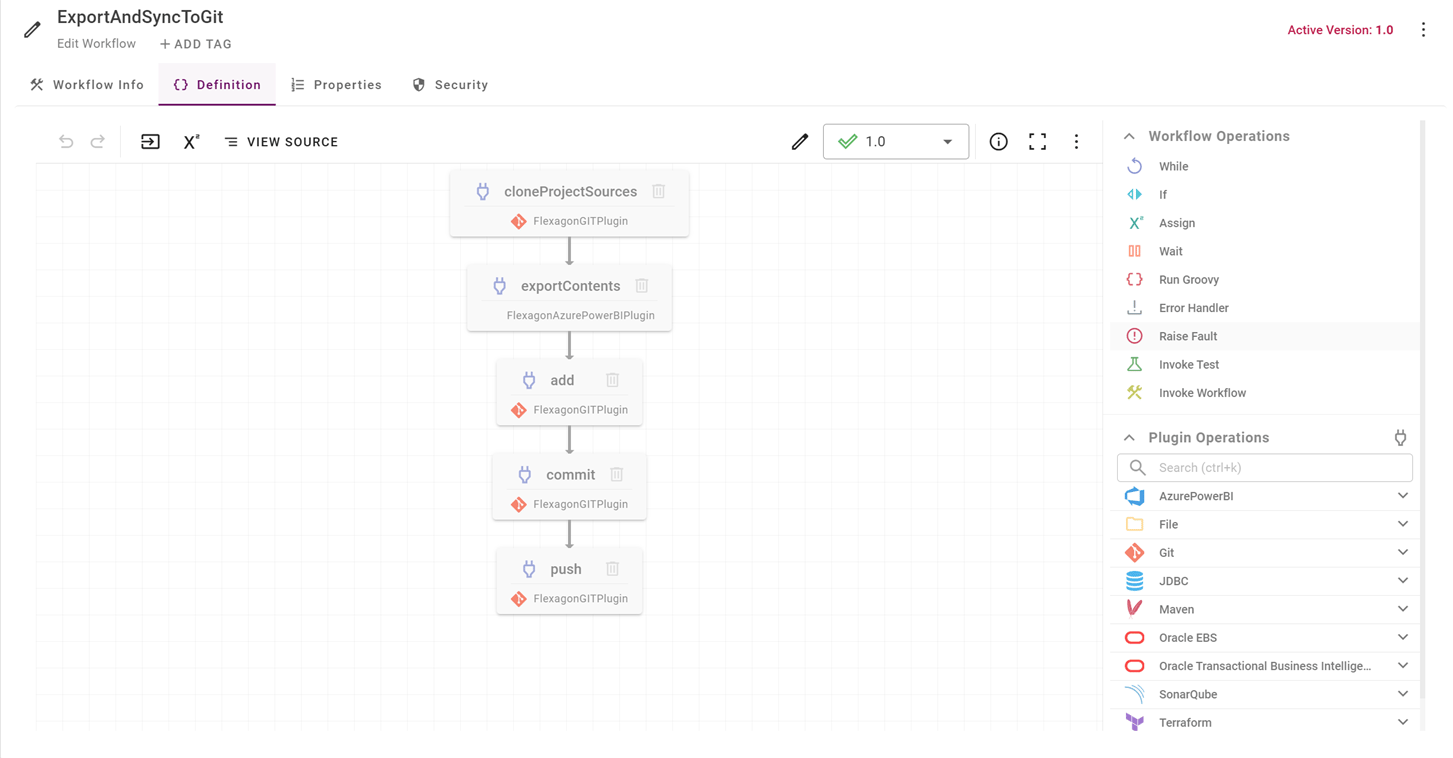
Our goal is to export files from an intended workspace and commit them to Git with the necessary changes. This is part of the build workflow. Our workflow will do a Standard Build/Deploy from the intended workspace, with check-in to SCM for Versioning. Now, let’s discuss the ExportAndSyncToGit workflow, which consists of the following five steps:- Clone the Git repository where report will be stored.
- Export Power BI reports into the local Git repository folder. This export is typically done from the intended workspace. The number of reports exported depends on whether the build is for All Files or a Package.
- Add any new files to the local Git repository.
- Commit any changes to the local Git repository. If there were no changes in the intended workspace, there may be nothing to commit.
- Push changes to the remote repository.
Build the report from Source Control and Deploy to Power BI Workspace
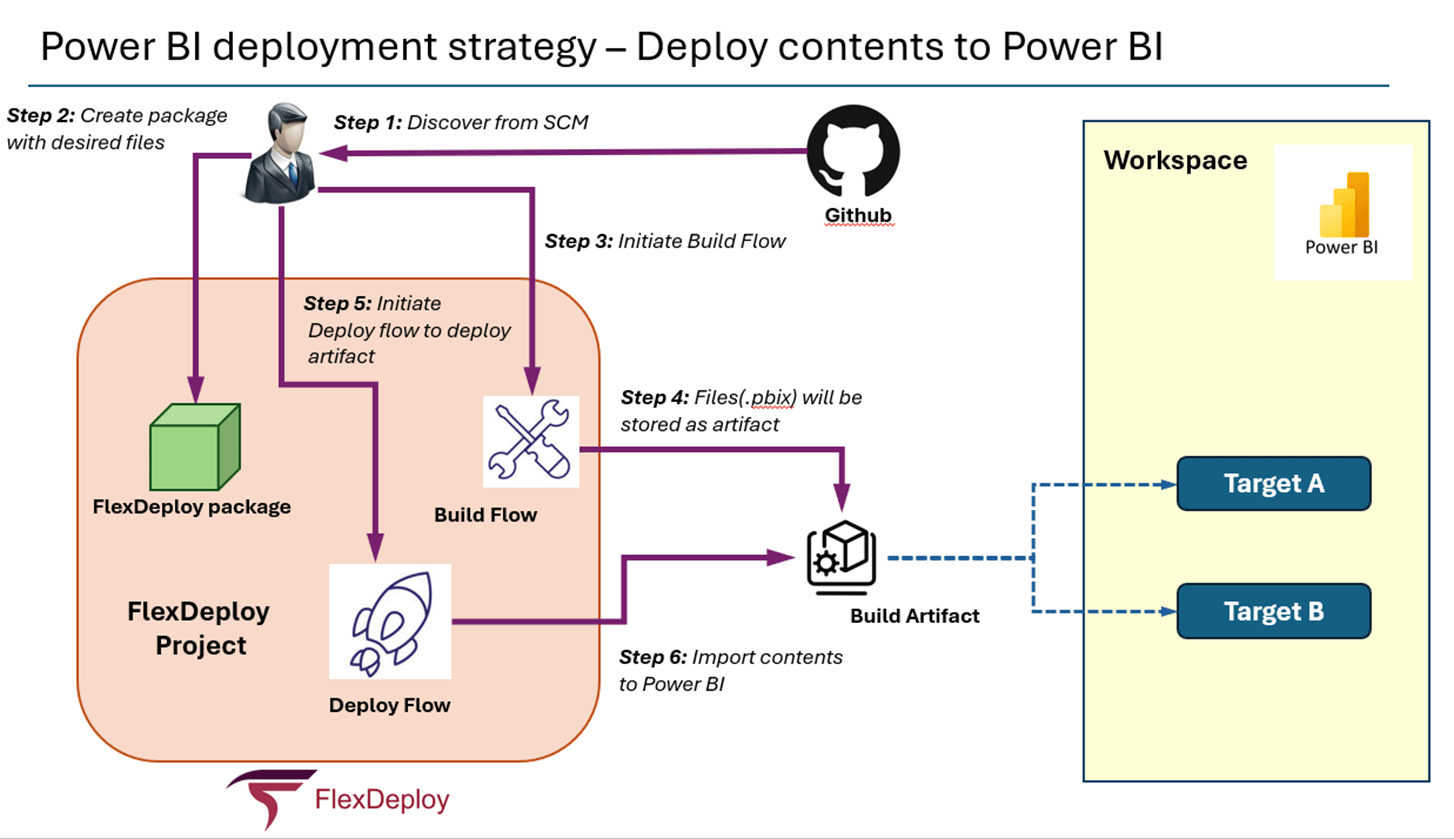
- Build and Deploy workflows as we created.
- Build and Deploy instances as we created in the Topology section.
Build and Deploy Package-based files
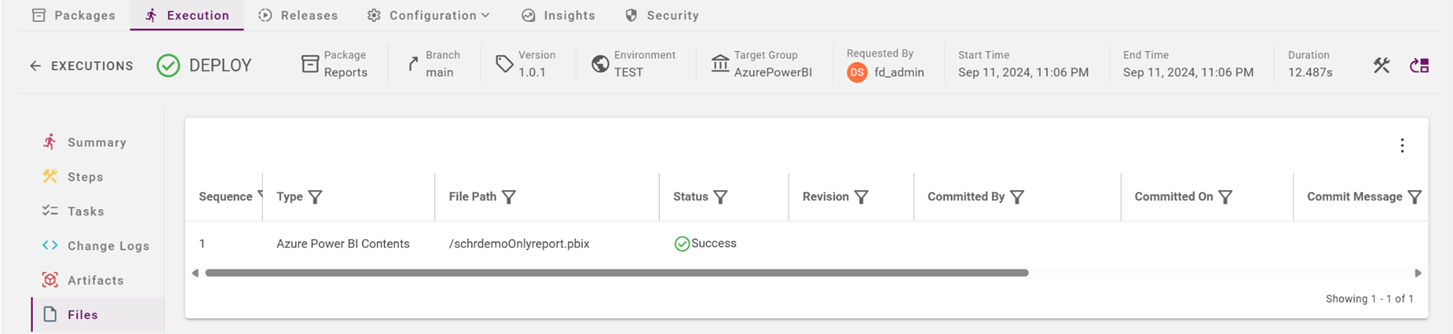
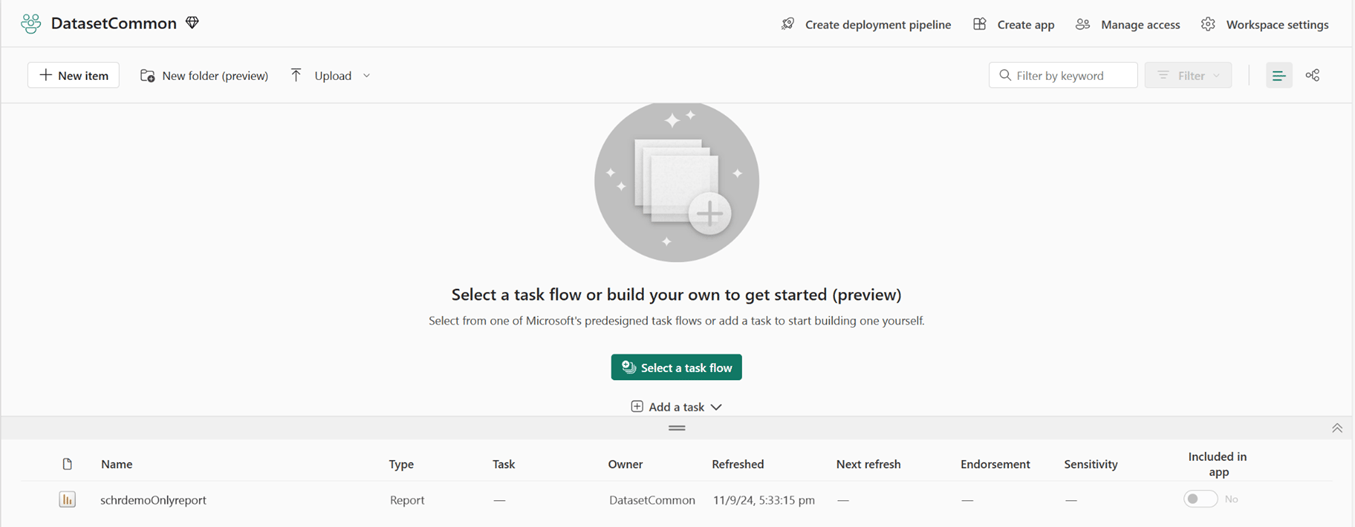
Once the packages are created, they can be built and deployed across the workspace like any other FlexDeploy project. This can be done through builds and deployments or orchestrated via an integrated toolchain pipeline. In the example below, we will demonstrate importing a .pbix report using build and deployment.Build Project
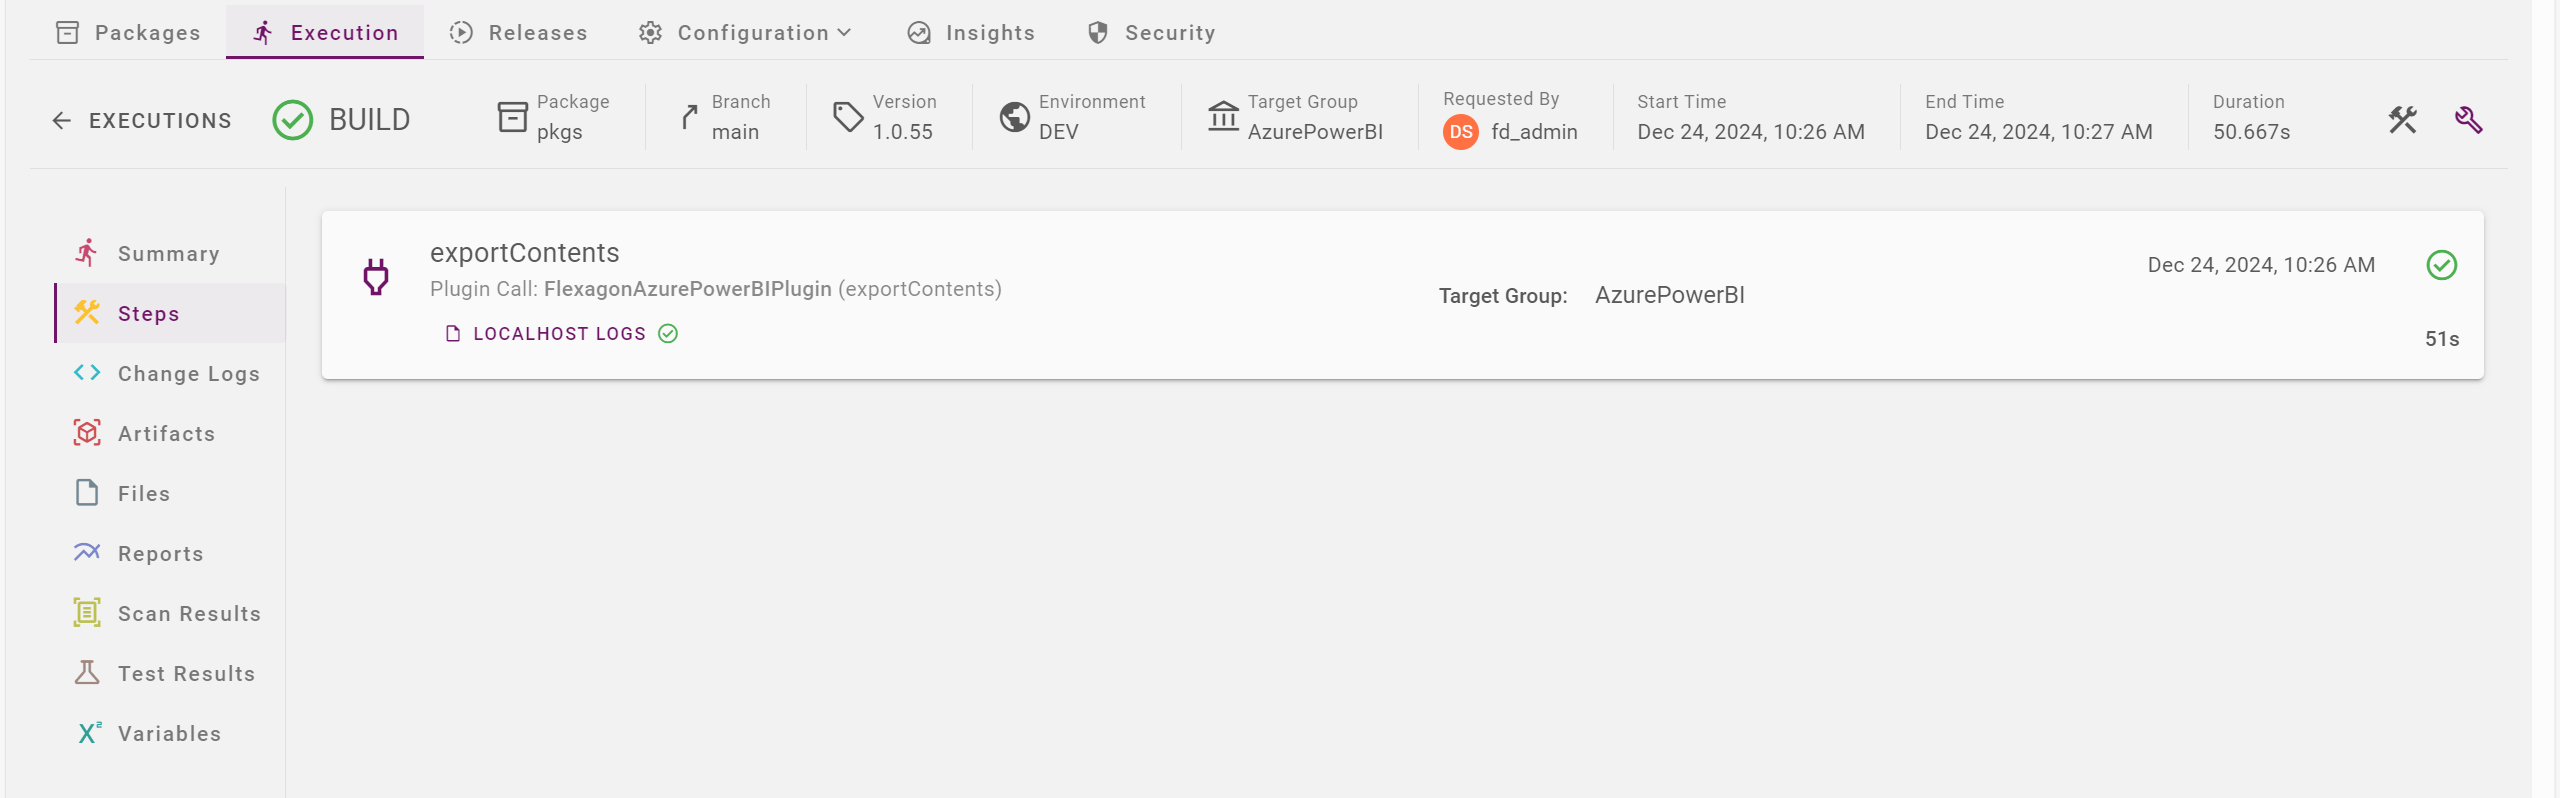
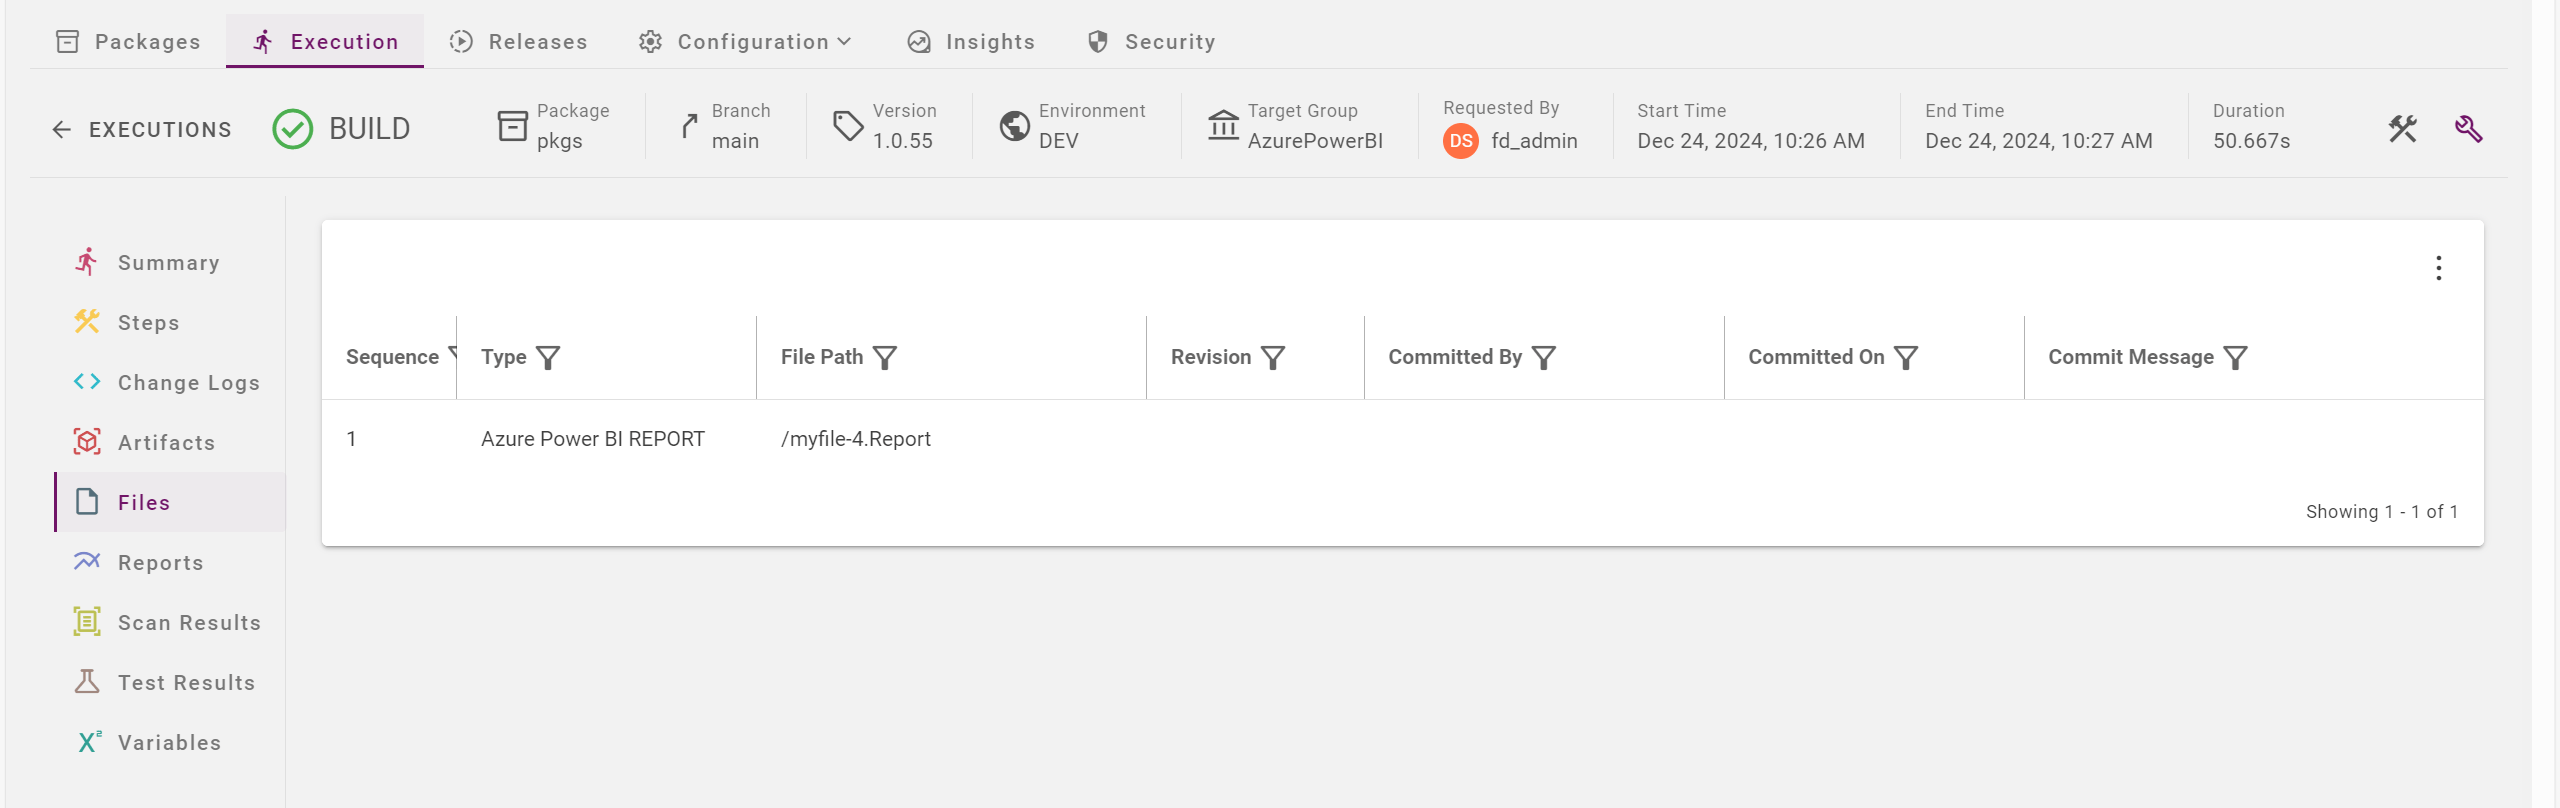
Now that the configuration is complete, you’re ready to execute builds and deployments. In the Executions tab, click on the Build button. This will bring up the Build request form. From the form, you can select the desired package for the build. Once the execution is complete, you can see the files and artifacts generated in the Artifacts directory.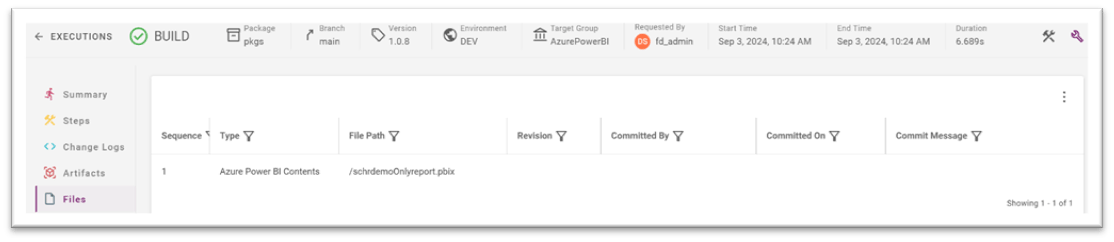
Deployments
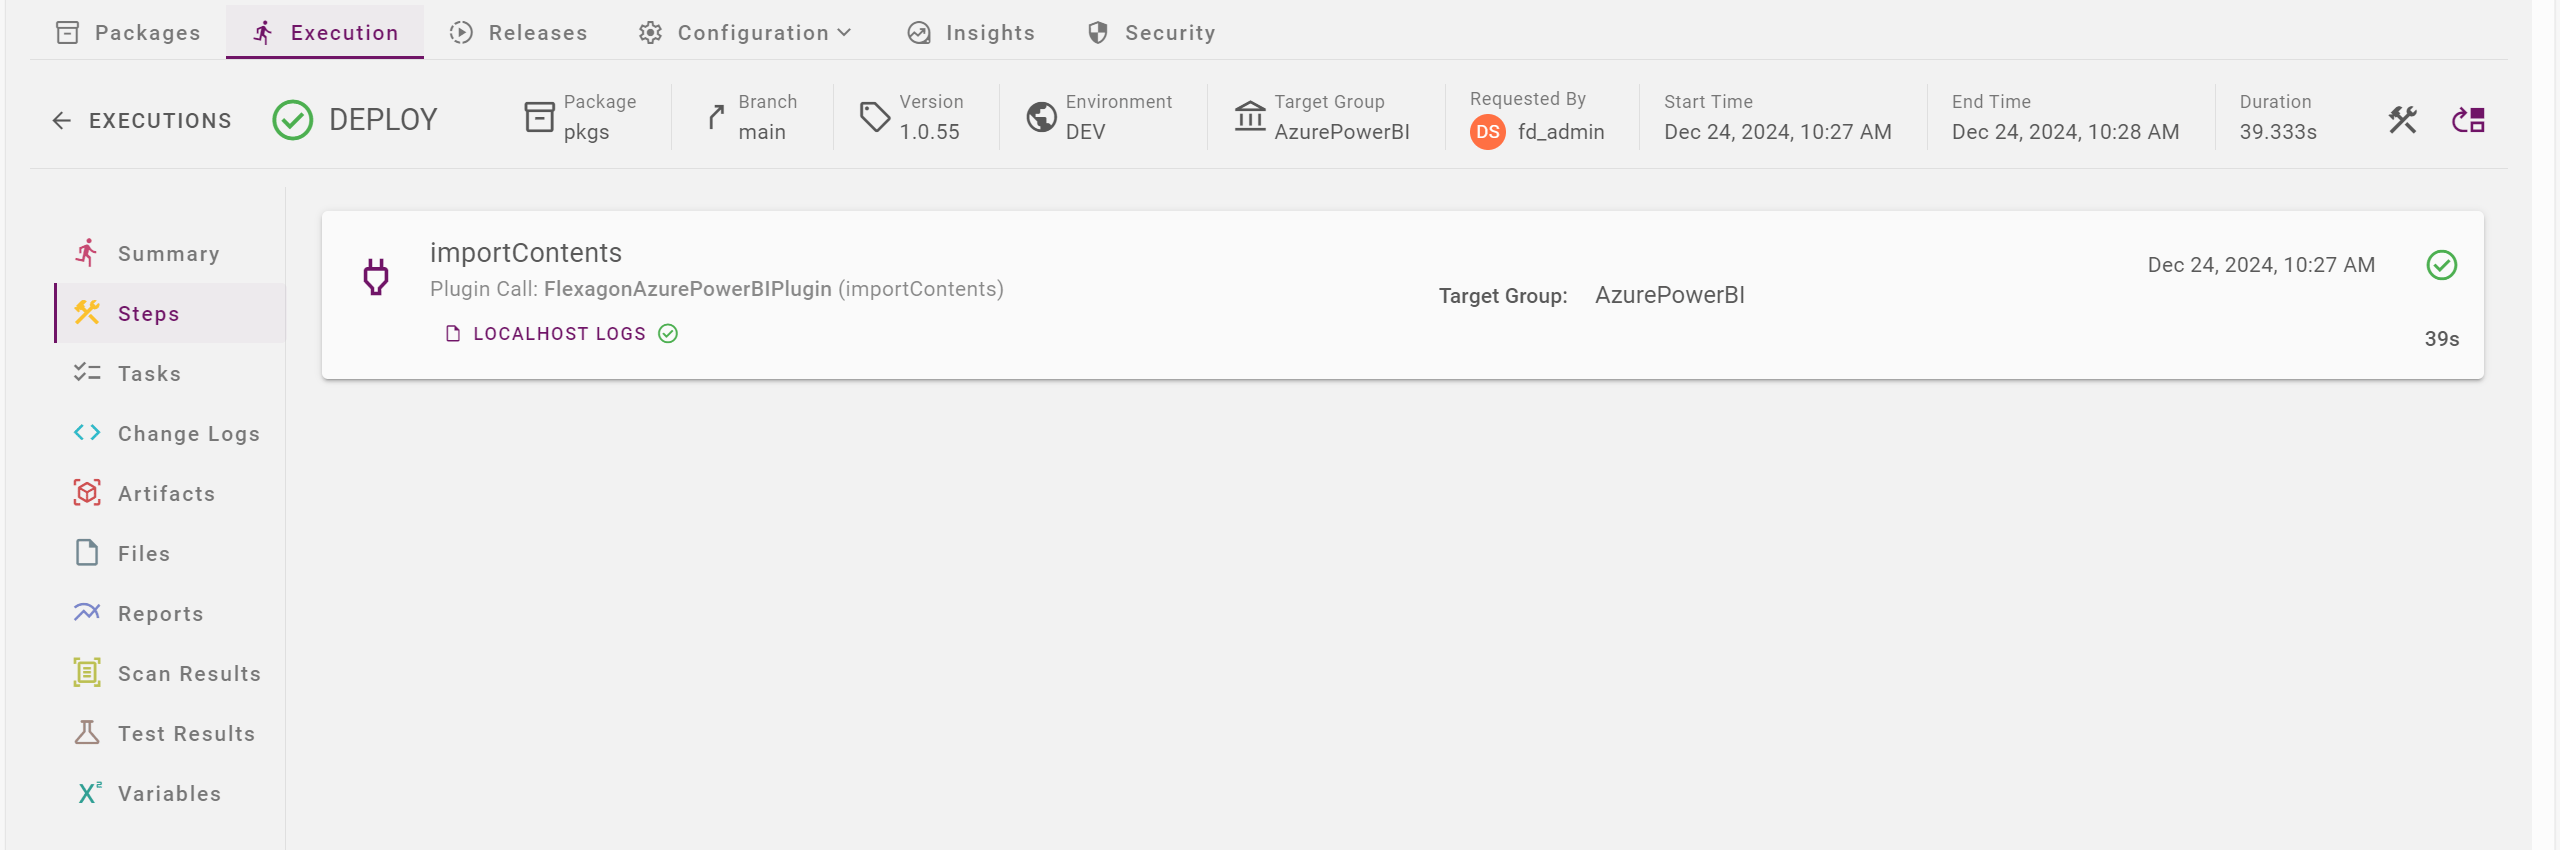
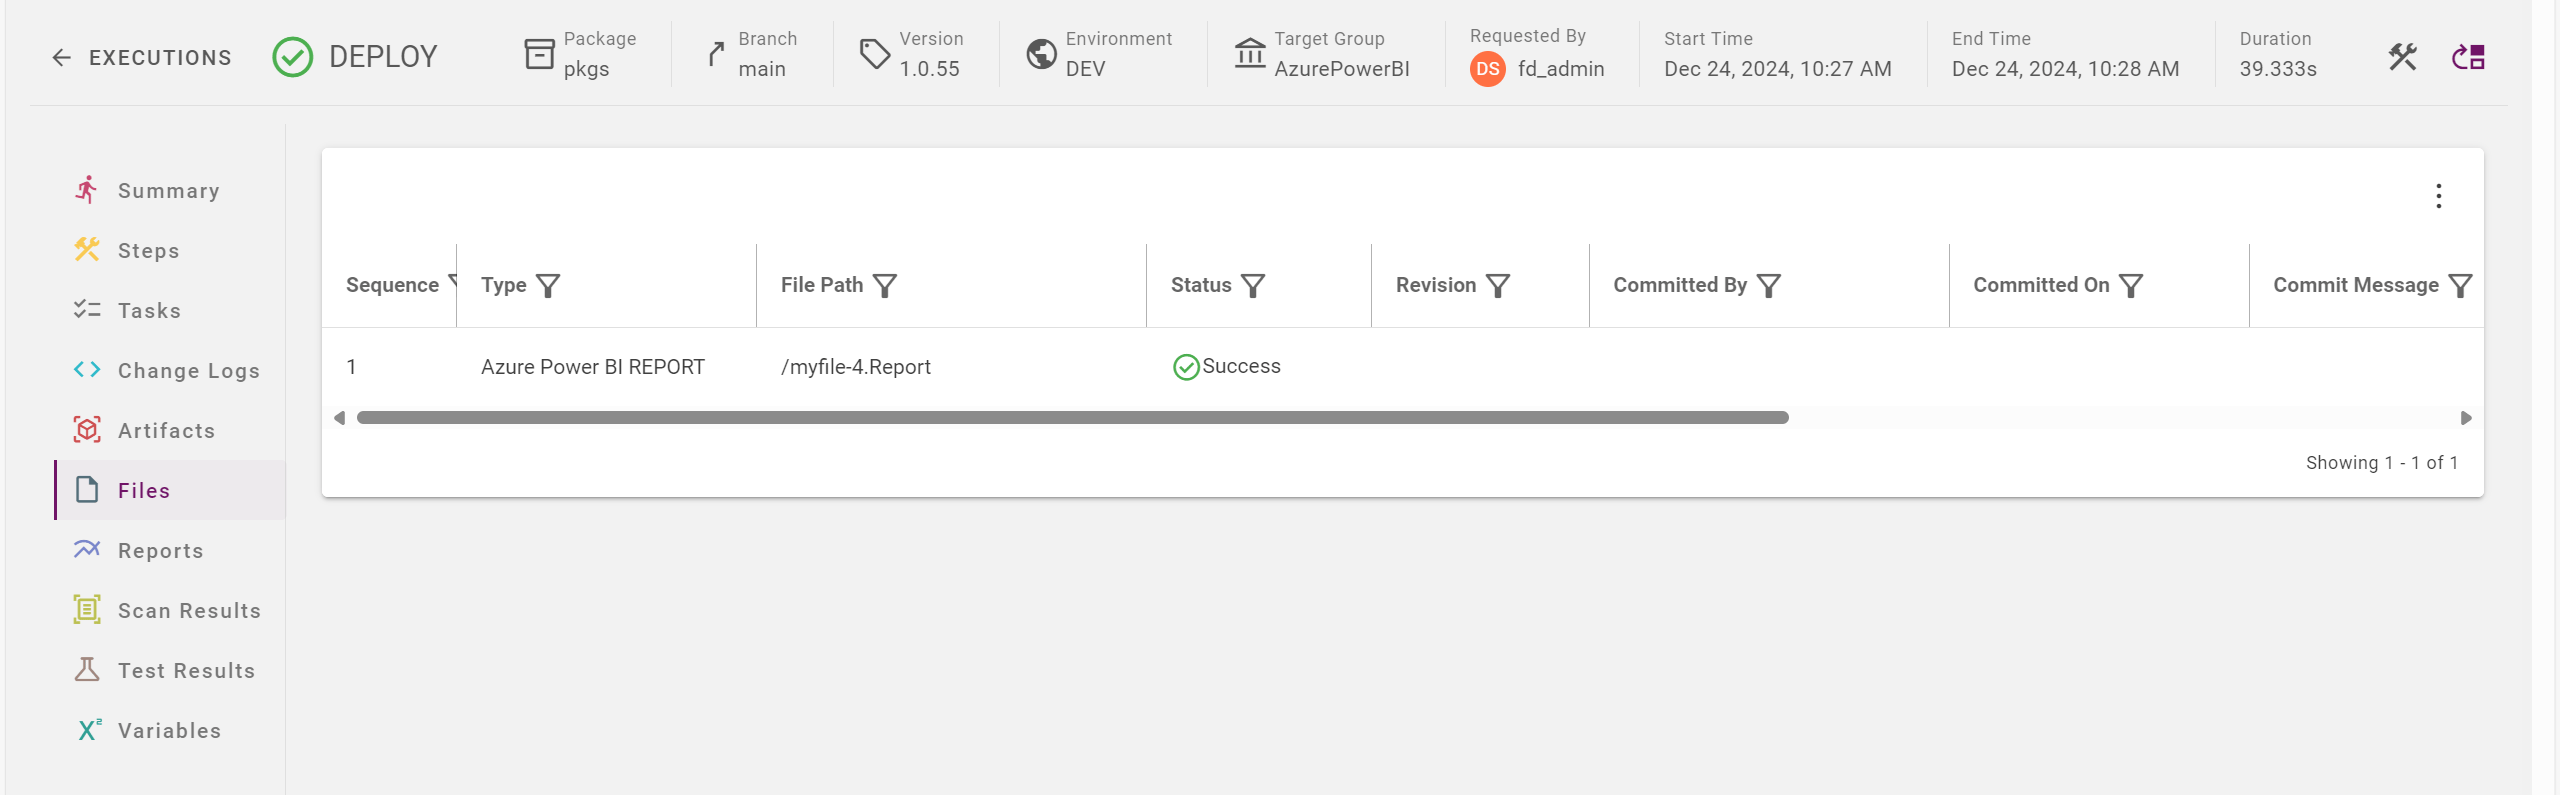
If you return to the main execution screen, you can submit deployment requests to deploy the project version into one or more workspaces. Click on the Deploy button at the end of the build execution, which will open the deployment request form. From there, you can select the target workspace and submit the request.
On demand Refresh of a semantic model
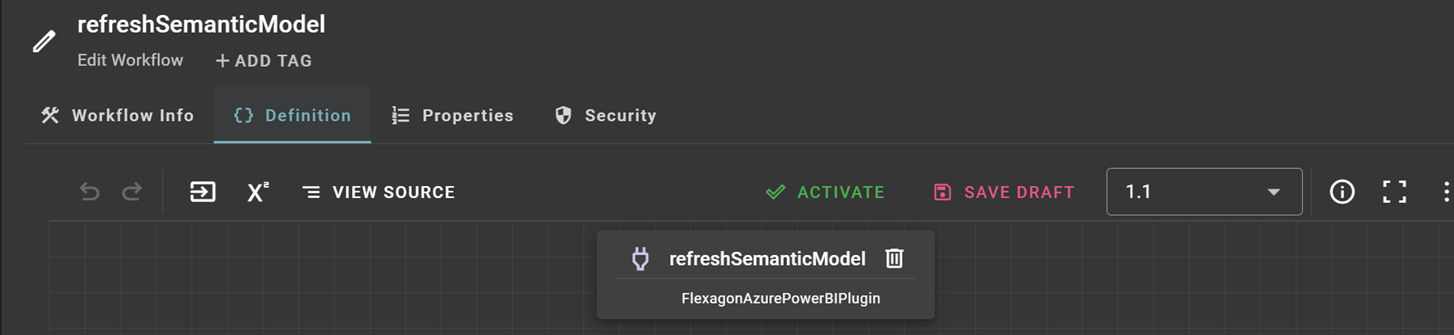
There are other ad-hoc operations that helps us in managing reports in Power BI workspace more efficiently. One of the use case is if we want to refresh a semantic model in a workspace, we can use the refreshSemanticModel operation. We can create a utility project. And use a utility workflow. While creating the project, you can choose the project classification as Utility.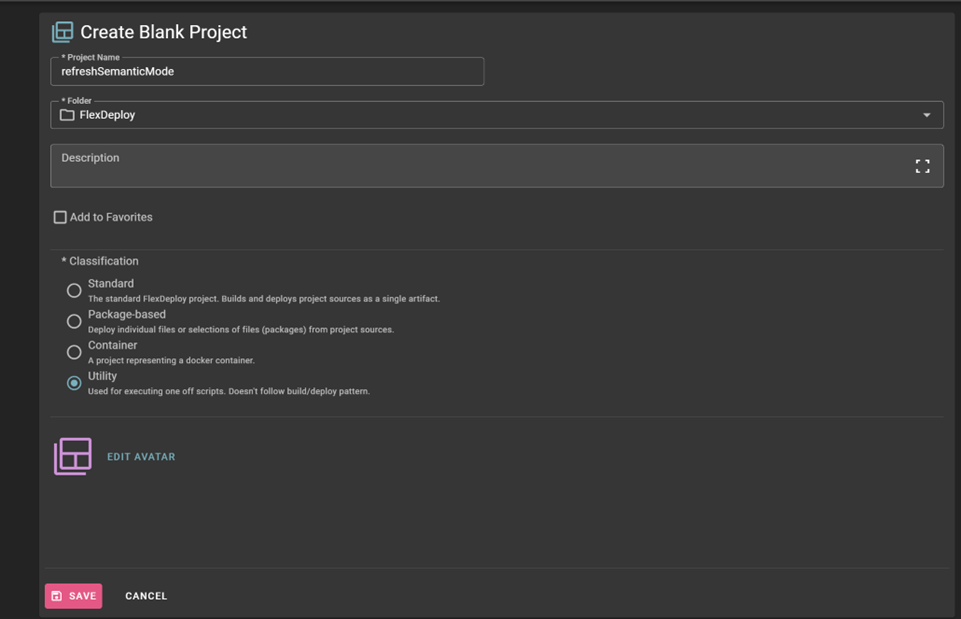
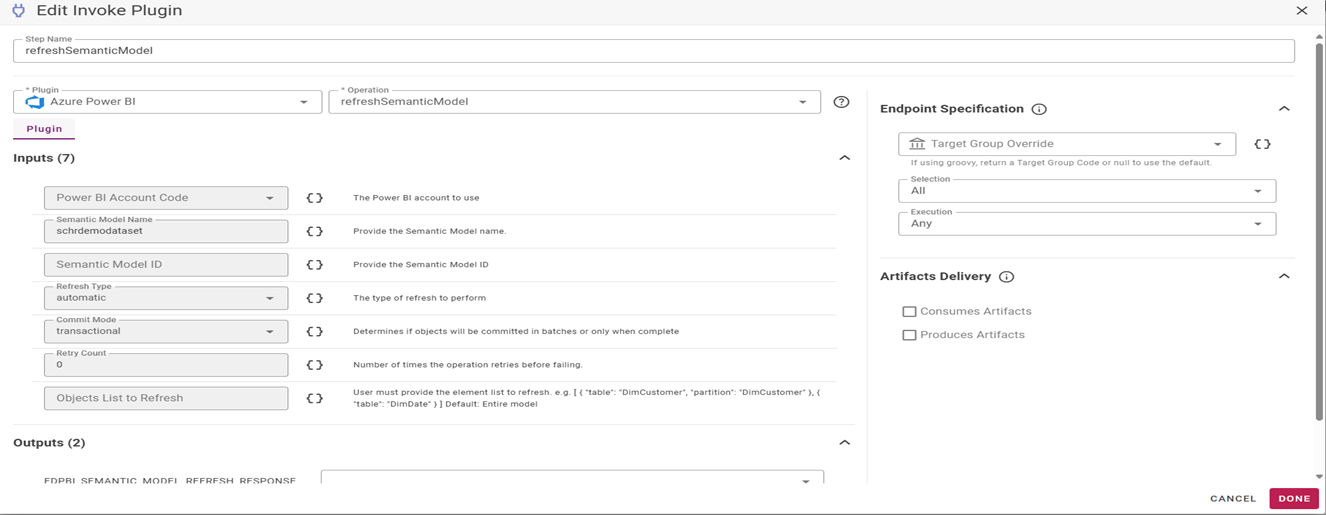

Rebind report to a semantic model
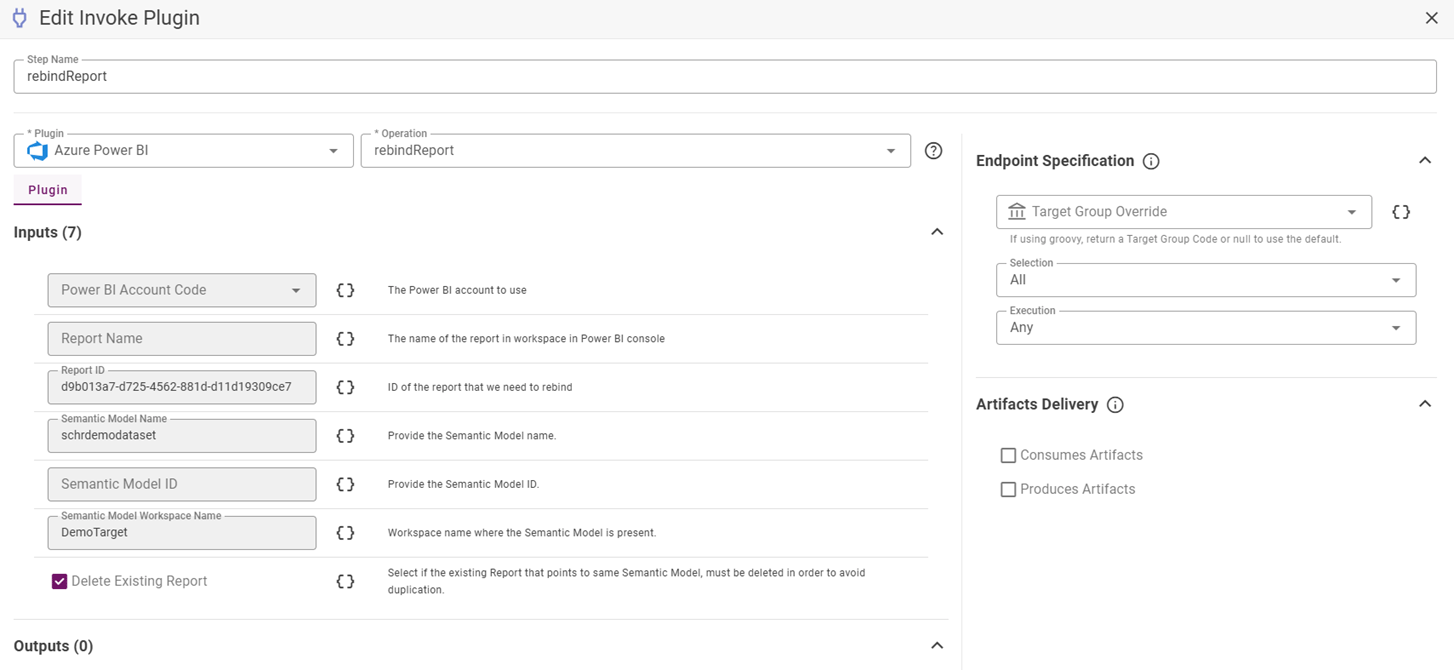
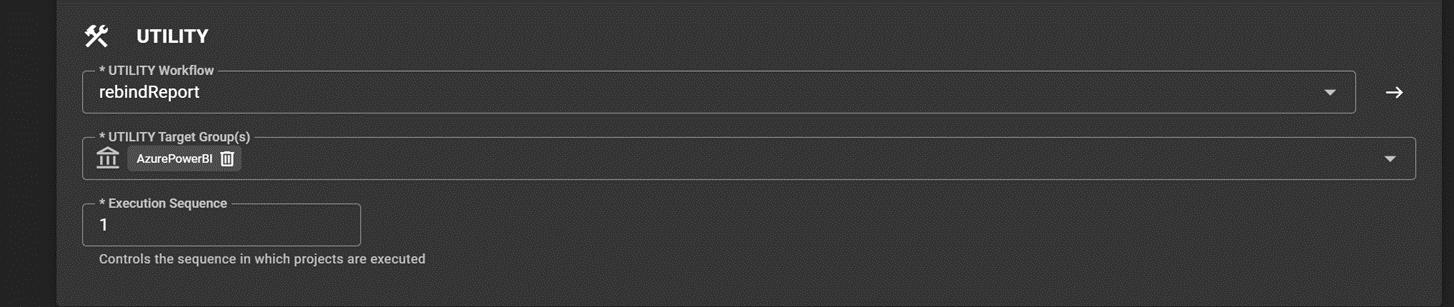
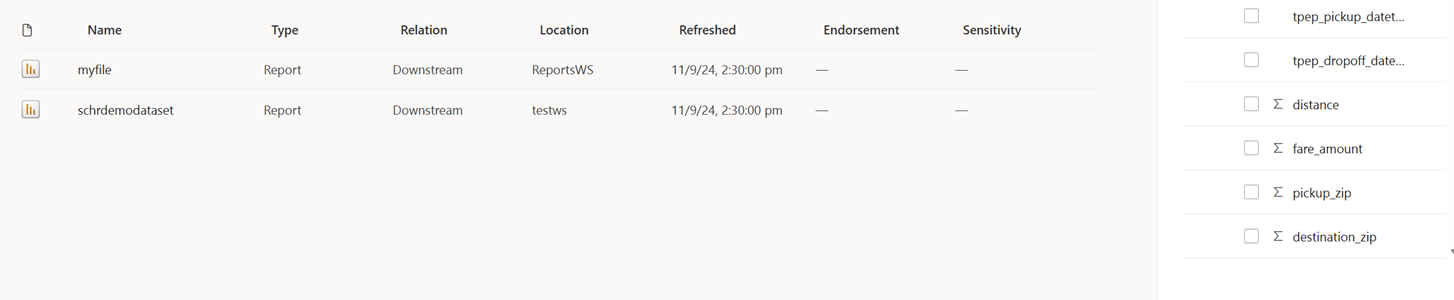
Another useful operation is the rebindReport operation. This is useful if we need to rebind a report to a semantic Model. This can rebind the report to a semantic model to a different workspace as well. Similar to the refreshSemanticModel operation, we will create a Utility project, rebindReport, and set the Utility workflow and Target group. The workflow will have rebindReport operation and will look something like this.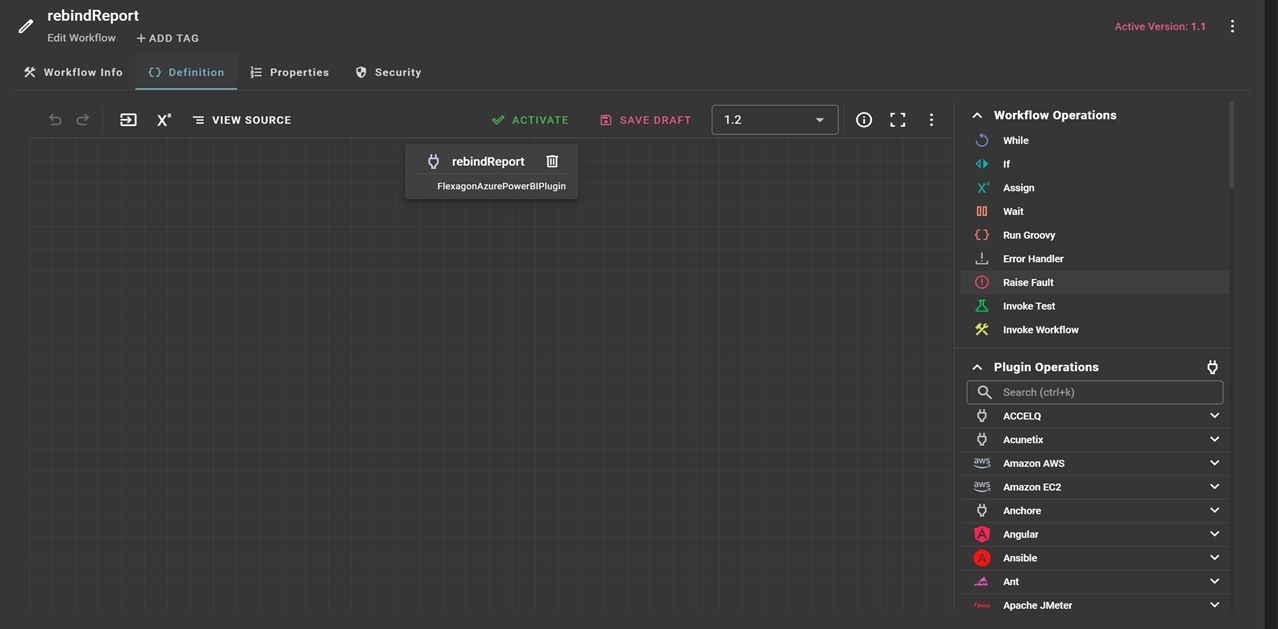
RDL File(Paginated Report)
FlexDeploy now supports export and import of Paginated Reports (RDL File) as well. You can follow the similar approach for RDL Files as well.PBIP Reports
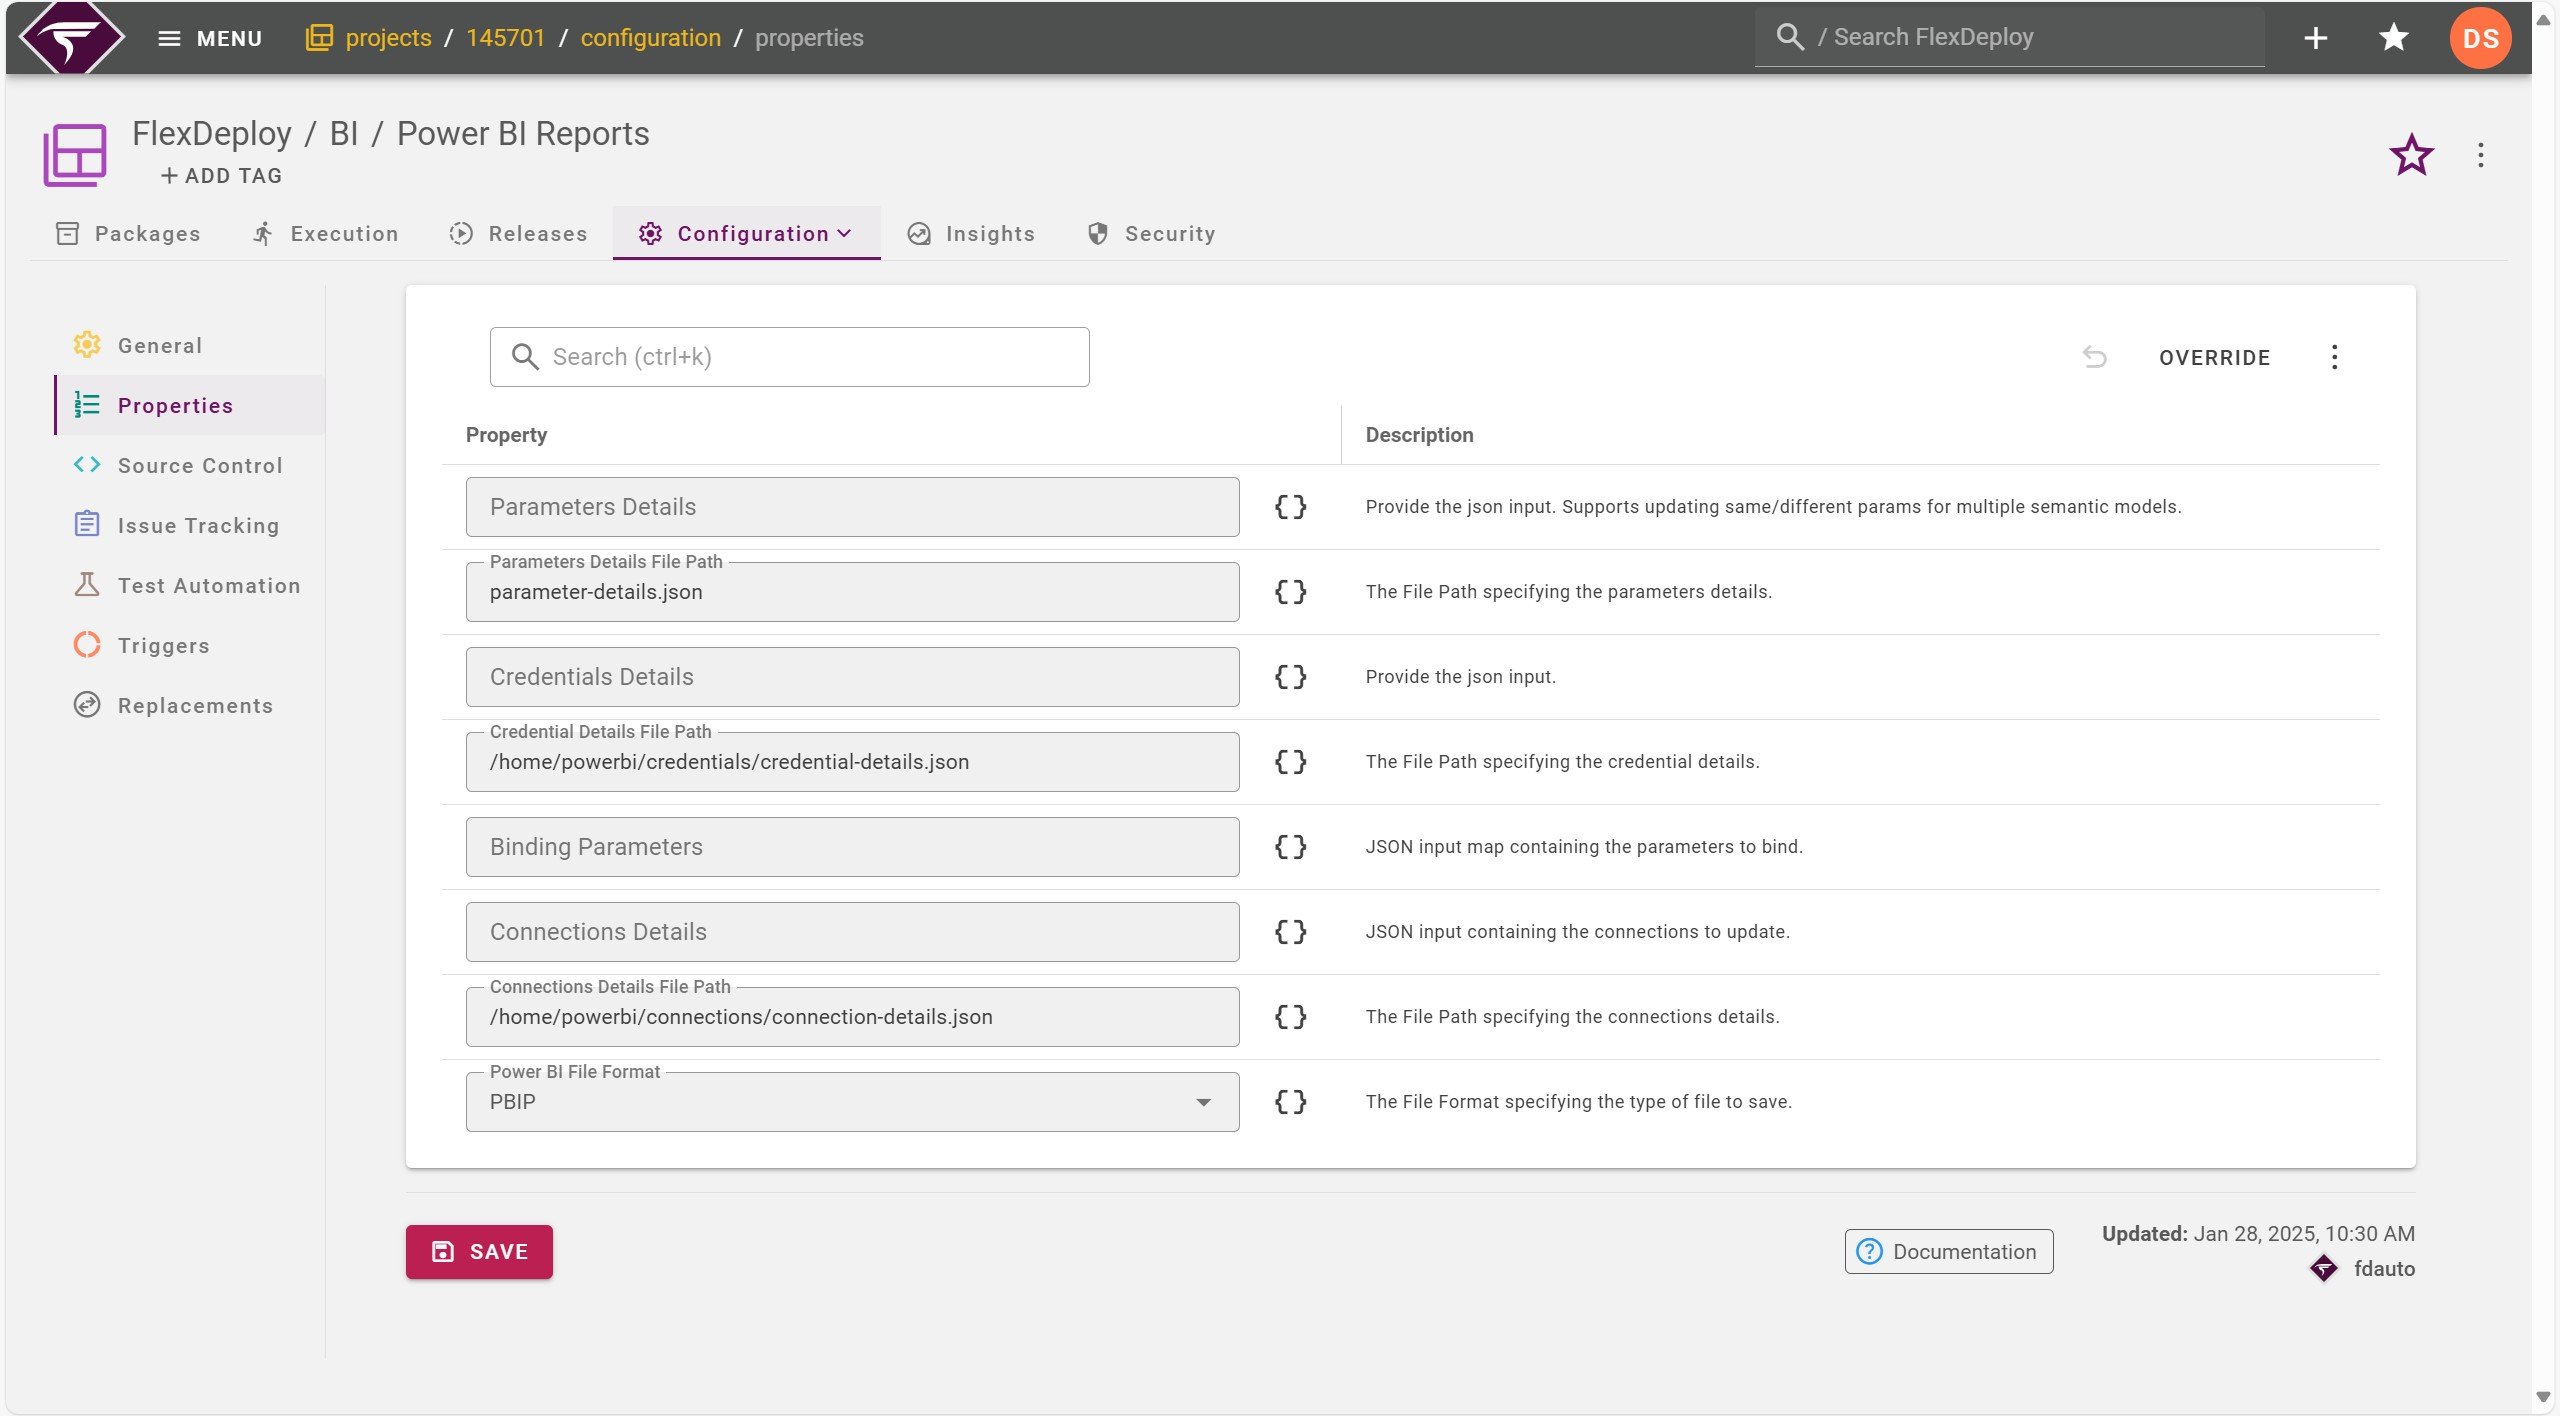
FlexDeploy now support Export and Import of PBIP Reports as well. To achieve this, you can set the Power BI File Format Project Property as PBIP.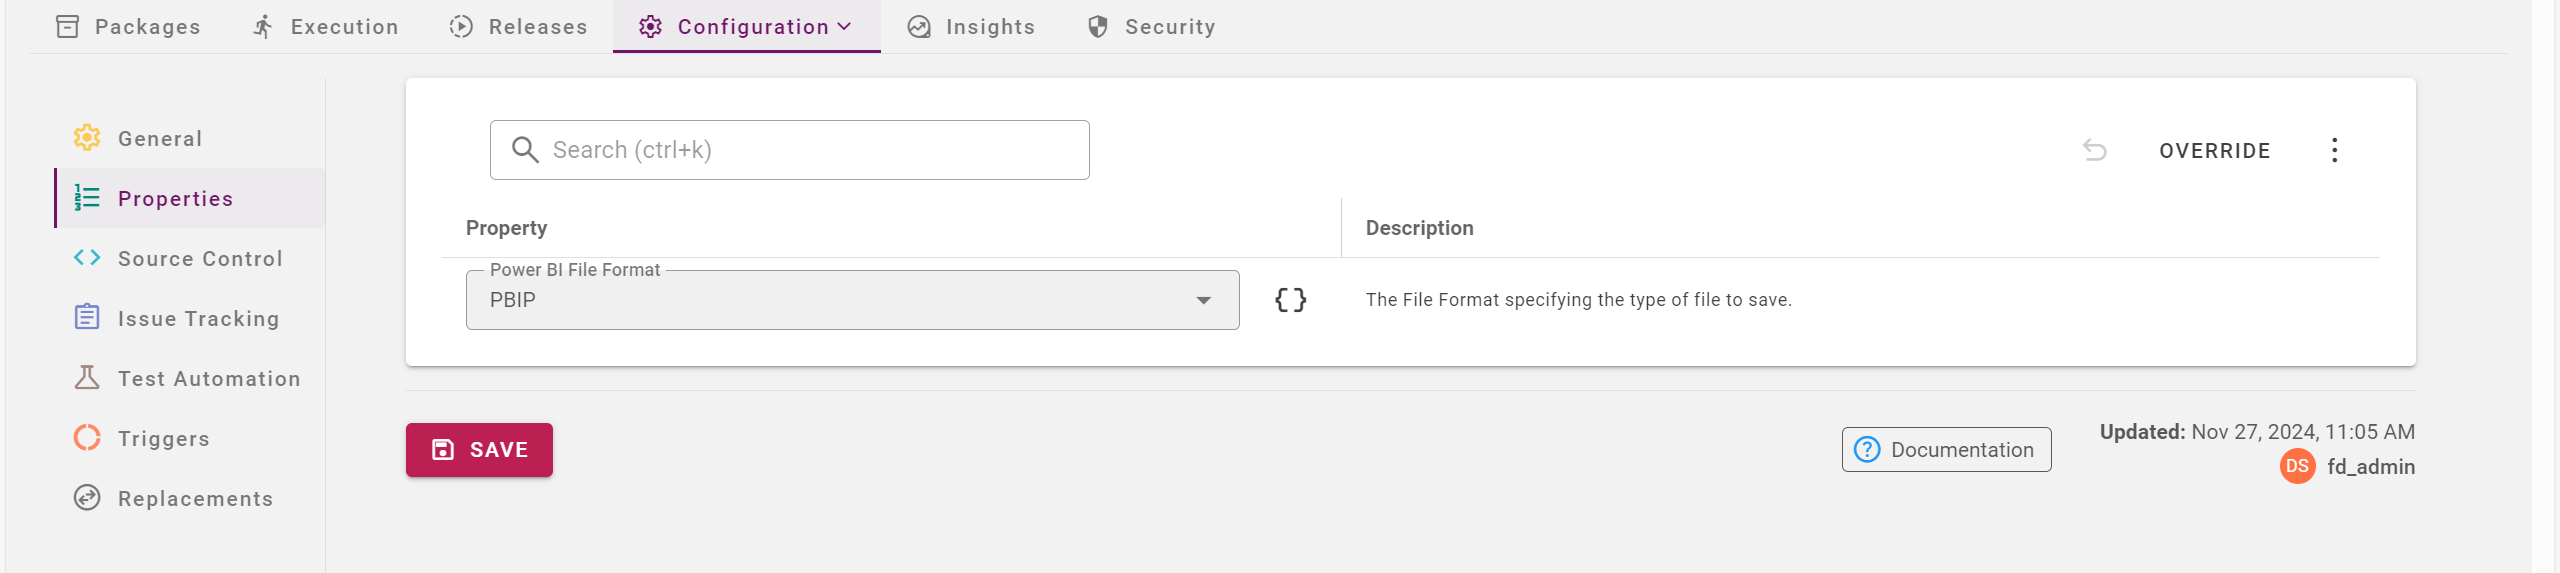
Semantic Model File Attributes
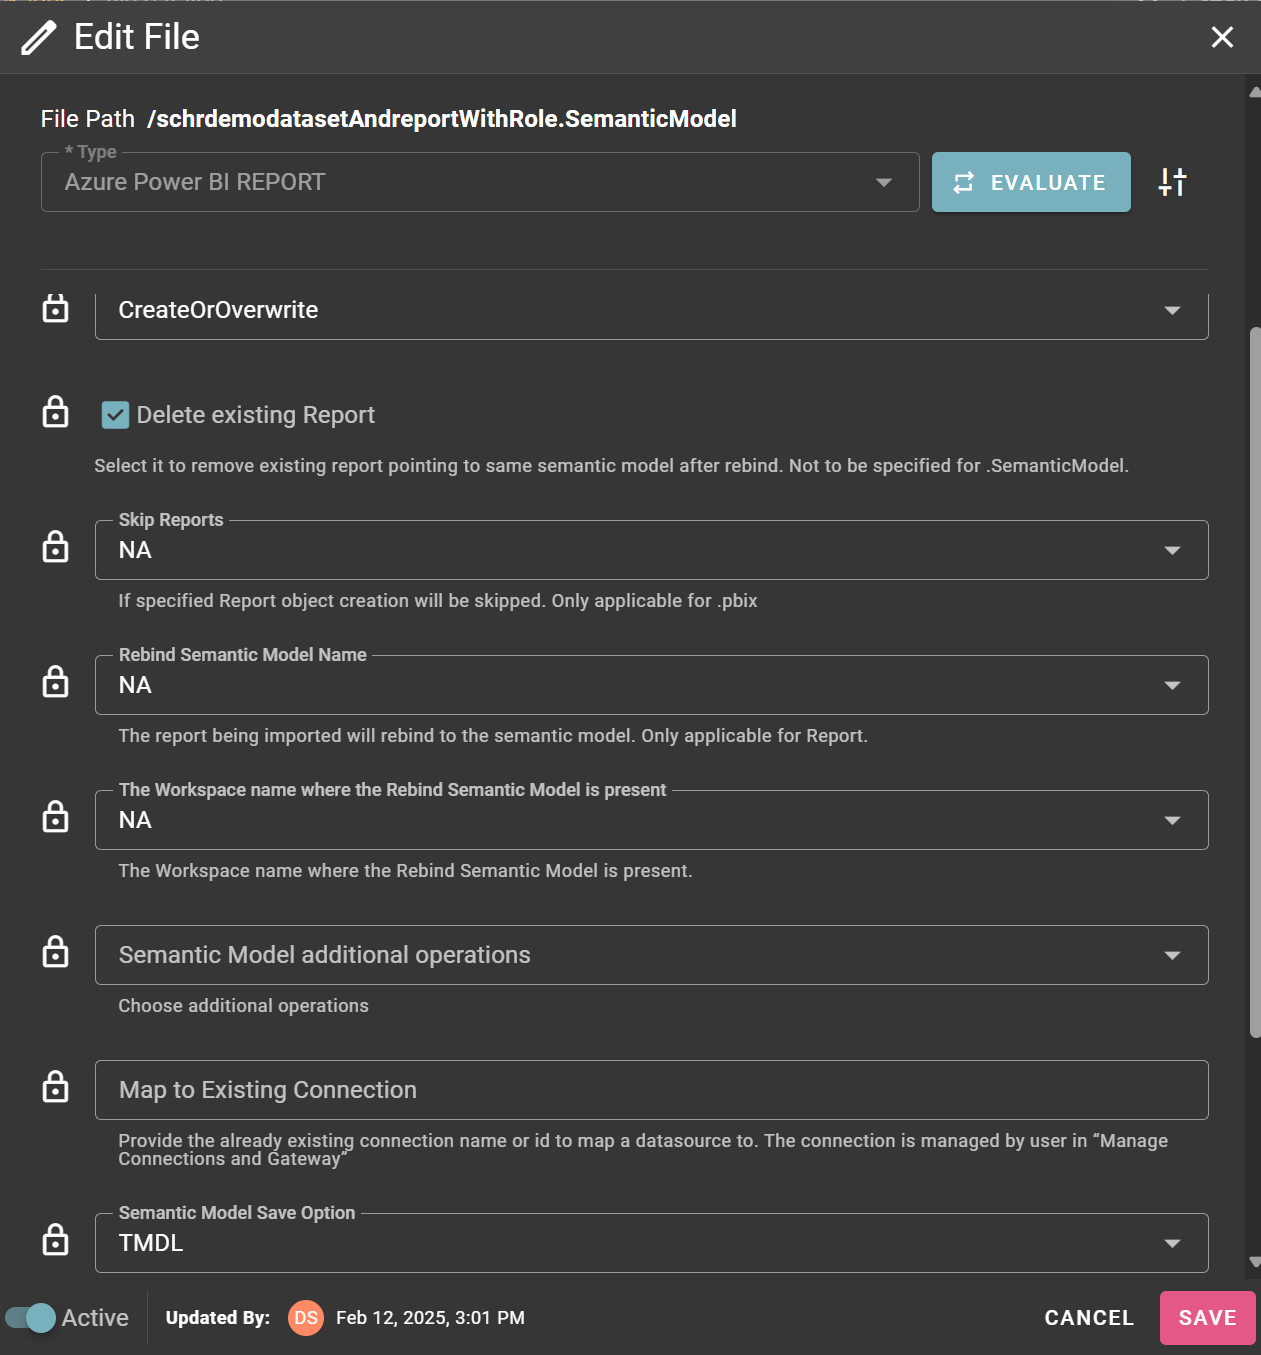
.SemanticModel and .Dataset files will have the same attributes
Report File Attributes
Update Datasource details
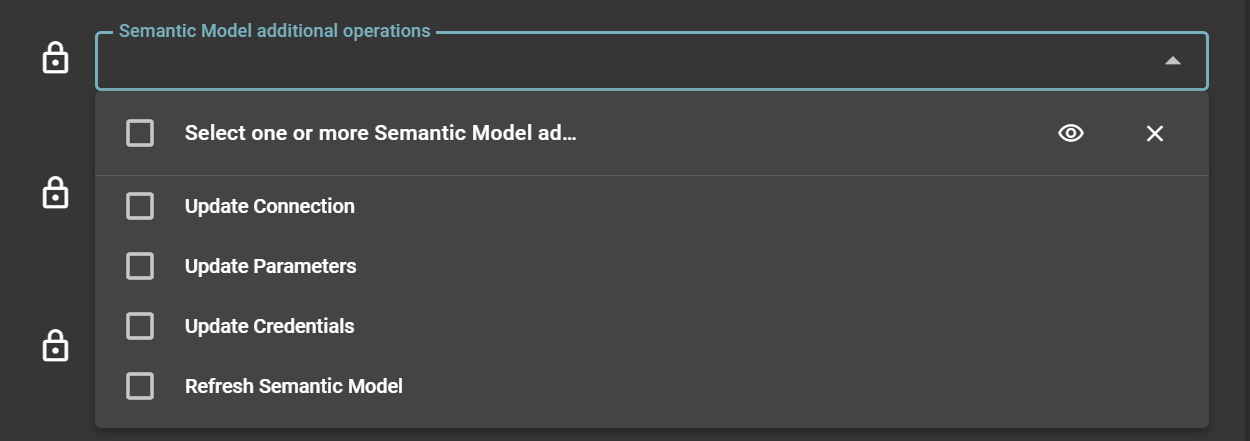
FlexDeploy allows us to perform additional operations on a semantic model like Updating a datasource’s Credential, connections or Parameters. By using the Additional Operations File Attributes for SemanitcModel files, we can update its datasource connection.