- Discovering the Schemas, Documents, and Trading Partners from an OIC instance or from source control (SCM)
- Migrating schemas and documents that are already tied to active agreements or integrations
- Managing trading partner transports, inbound agreements, and outbound agreements as part of deployment
- Handling environment-specific trading partner identifiers and control numbers
- Maintaining a repeatable, auditable sequence when promoting B2B changes across instances
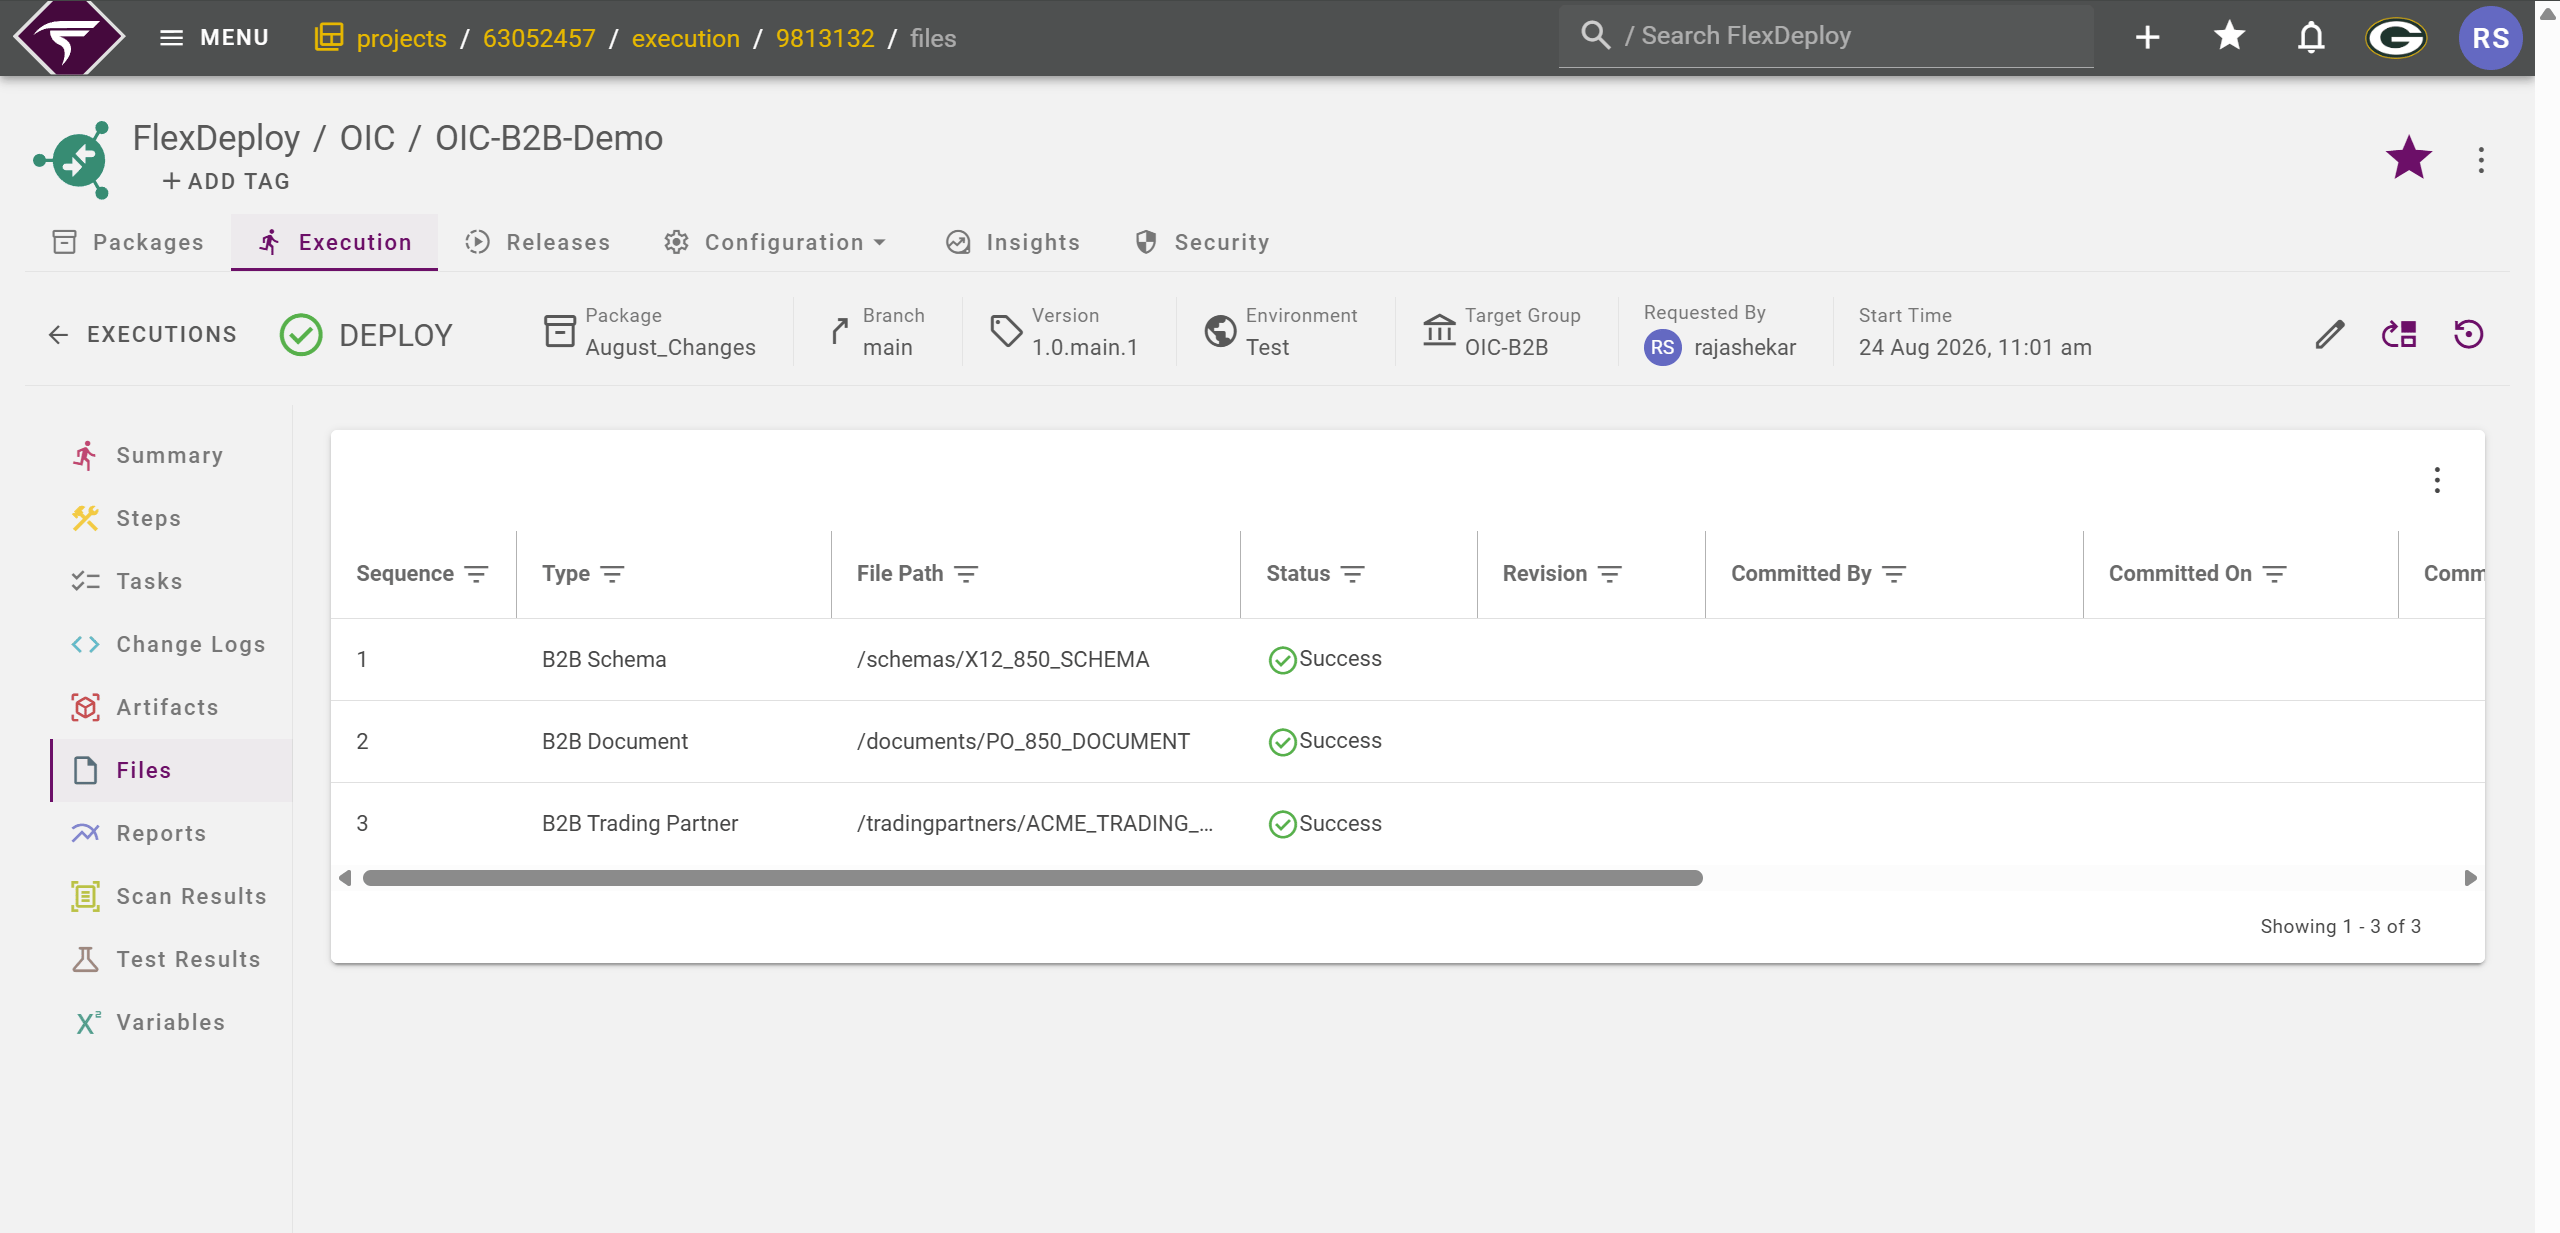
- Schemas – X12_850_SCHEMA
- Documents – PO_850_DOCUMENT
- Trading Partners – ACME_TRADING_PARTNER
Project
Let’s create a project using FlexDeploy blueprints, defining the project type as Oracle Integration Cloud with a package-based configuration for all integration and B2B objects. The project includes technical configurations essential for build and deploy activities.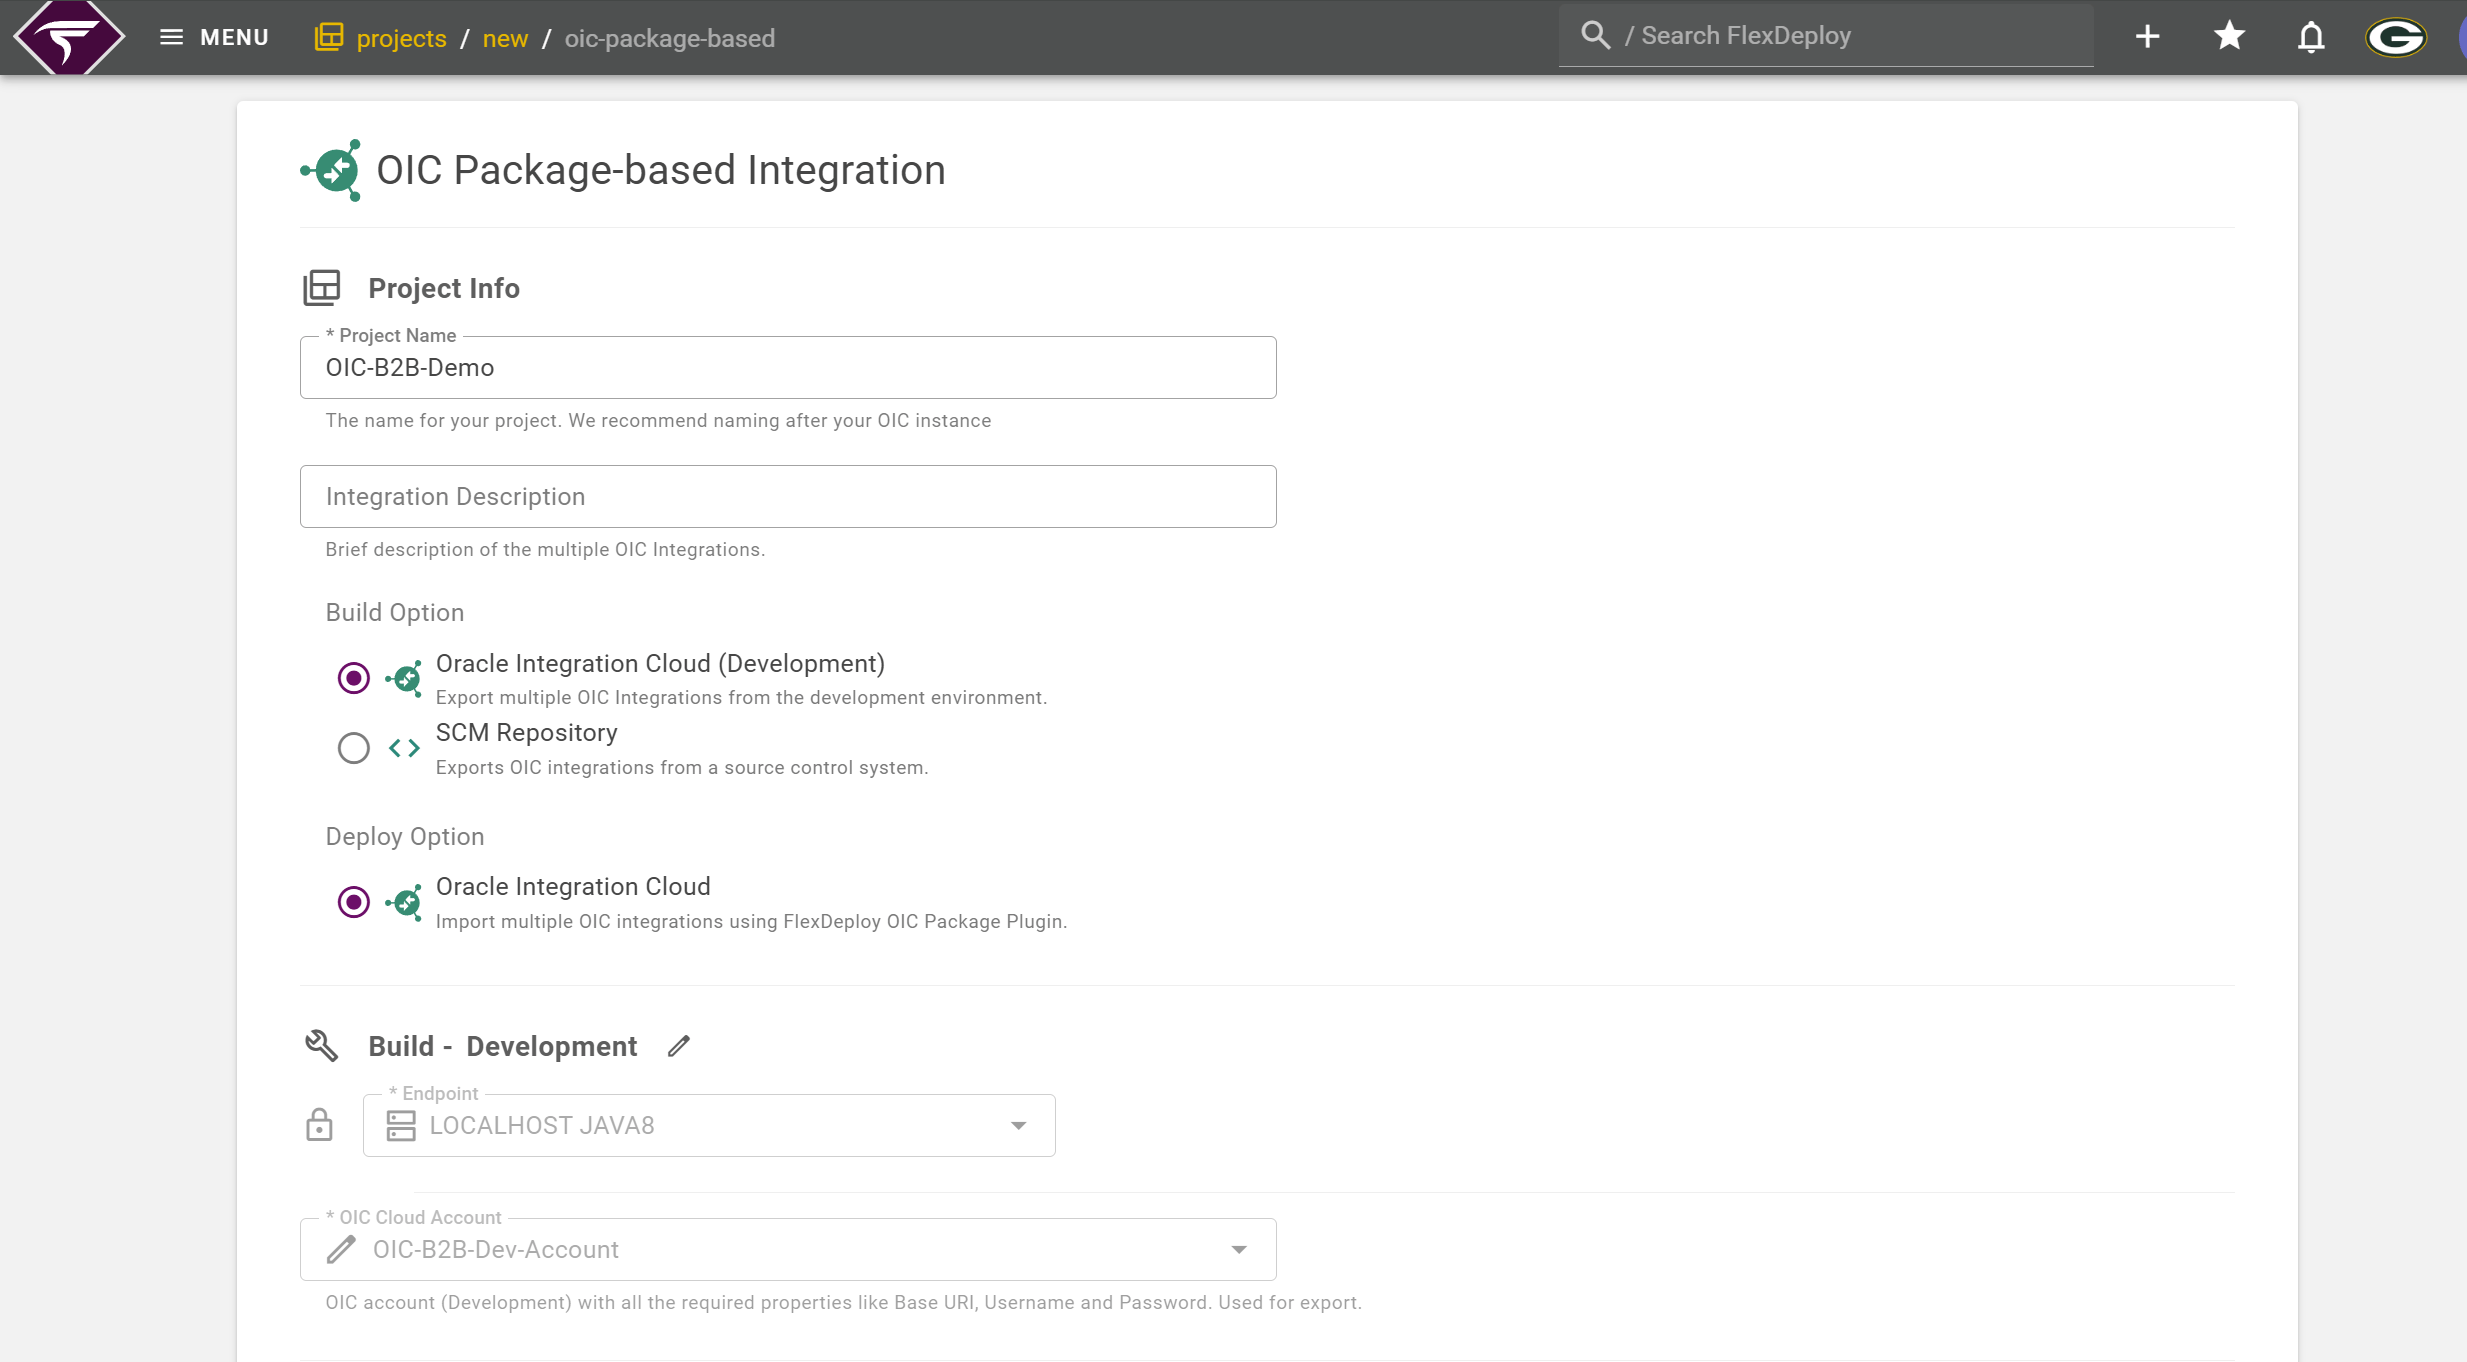
Workflows
The OIC project incorporates build and deploy workflows. FlexDeploy workflows provide a sequence of steps for the build and deploy processes.Build
The build workflow involves packaging files for moving the OIC B2B components from the Source Instance to the Target Instance utilizing the packageBuild step.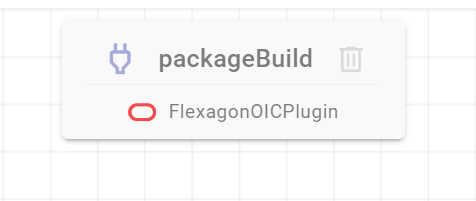
- B2B Host Profile – Exported as a single .json file containing the host company configuration and identifiers for the OIC instance
- B2B Schema – Exported as a .zip archive containing the schema definition and its associated resources
- B2B Document – Exported as a .zip archive containing the document definition and its associated resources
- B2B Trading Partner – Exported as a .zip archive containing the trading partner definition and, when configured, its associated transports and inbound agreements, including related backend integrations
- To apply environment-specific Trading Partner identifiers and control numbers, use a TradingPartnerIdentifiersPlan.properties file.
- The createB2BTradingPartnerIdentifiersPlan operation generates a TradingPartnerIdentifiersPlan.properties file from the Trading Partner identifiers and control numbers currently defined in OIC. Update the plan with environment-specific values, store it in source control, and let the deploy workflow clone step check it out for use during deployment.
- Here are sample details for TradingPartnerIdentifiersPlan.properties:
- Property placeholders, such as ${{ACME_AS2_IDENTIFIER}}, are resolved from the FlexDeploy workflow or target properties for each environment.
- Once the build completes, these versioned artifacts provide a consistent deployment package that can be promoted to the target OIC environment.
- If you build with SCM, check out the repository during build so TradingPartnerIdentifiersPlan.properties is available. The build operation copies .properties files from the checkout or temp folder into the build artifact. In this case, the plan is already part of the artifact, and no separate clone is required later just to bring in the plan file.
- If you build from the OIC instance only, the B2B objects are exported from OIC, but the plan file is not included unless you add it. In that case, include a clone step in the deploy workflow to check out the plan file from source control so it is available when packageDeploy runs.
Deploy
In the deploy workflow, the packageDeploy step deploys all selected OIC B2B objects in package order. Additionally, a clone step checks out files from a repository, necessary for various actions during the deploy execution.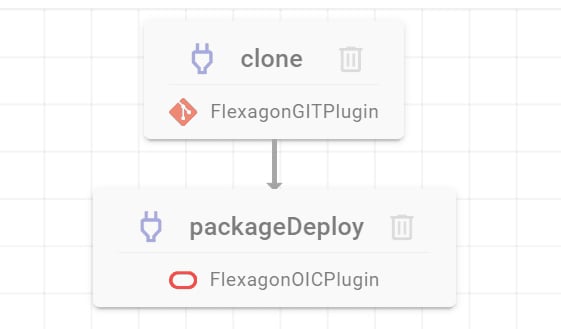
- Managing Trading Partner Identifiers: Different instances often require different partner identifiers (for example, AS2 identifiers) and EDI control number starting values. Keep TradingPartnerIdentifiersPlan.properties in source control so FlexDeploy can apply the correct values on the target instance during packageDeploy or importB2BTradingPartner.
- Configuring Workflow Properties: Trading Partners have environment-specific identifiers and control numbers (for example, AS2 identifiers and EDI control number starting values). These properties are defined in a workflow as target properties, and the OIC plugin applies values based on the execution environment.
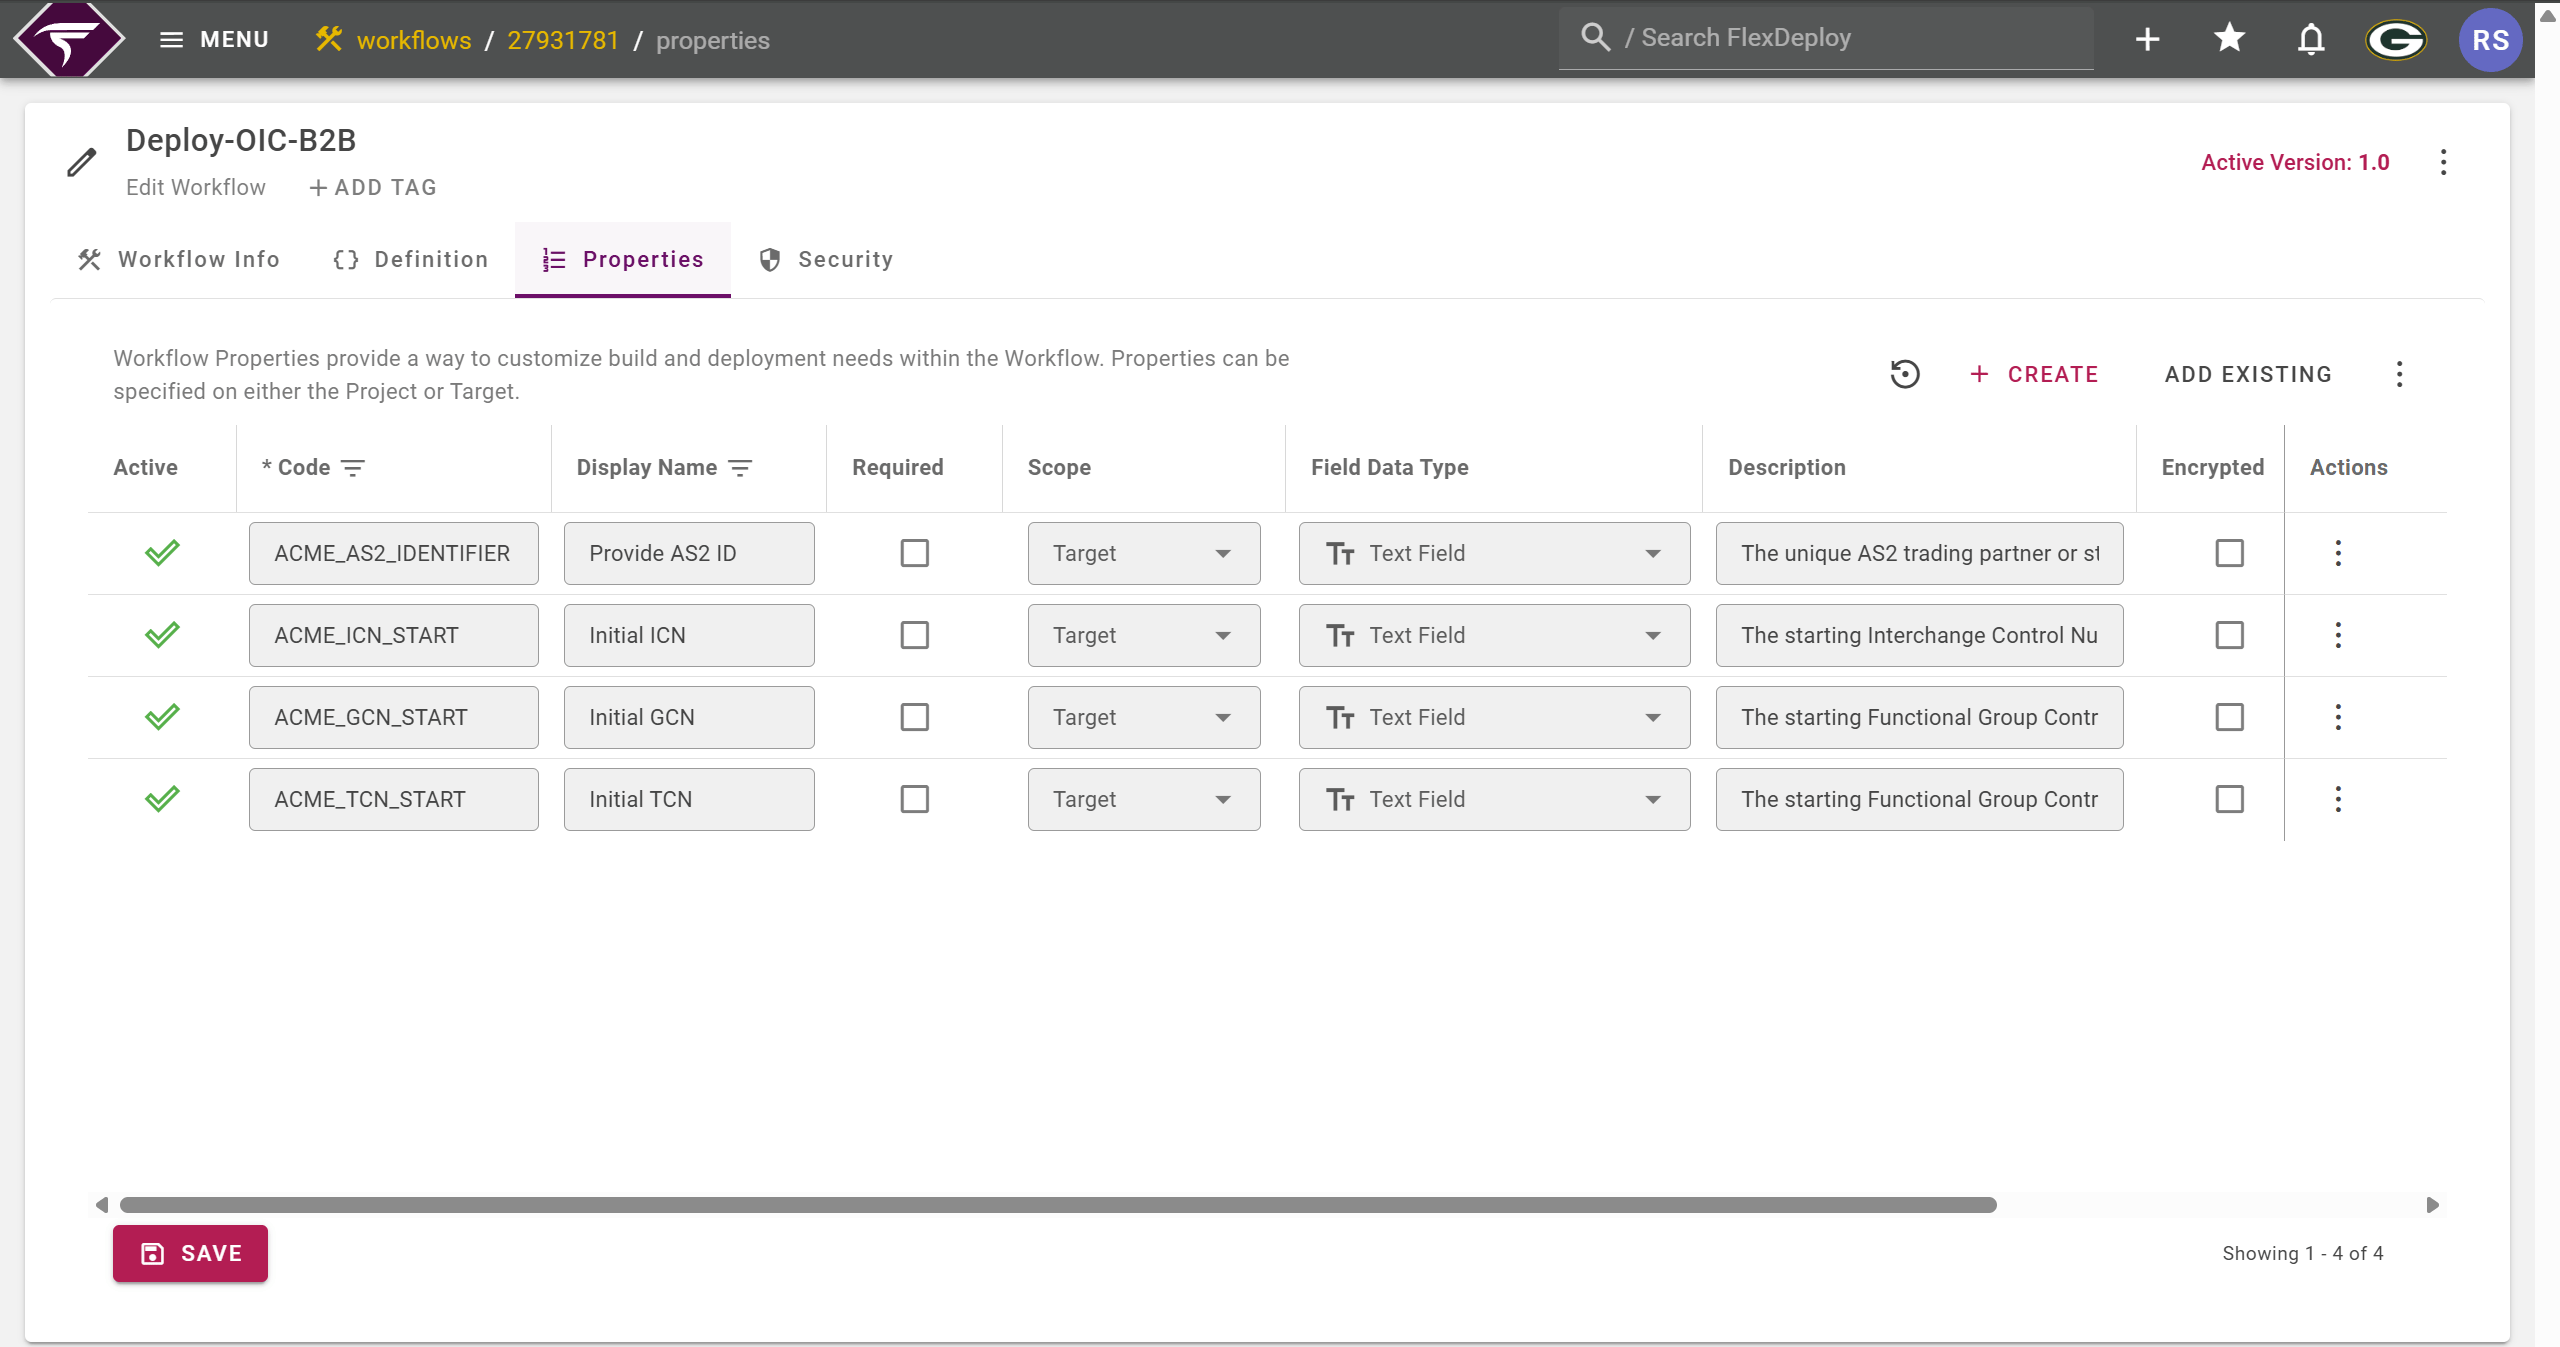
Cloud Accounts
The blueprint automatically creates the necessary cloud accounts. In the Integrations section, cloud accounts for OIC DEV are set up, and the same needs to be done for the Test environment.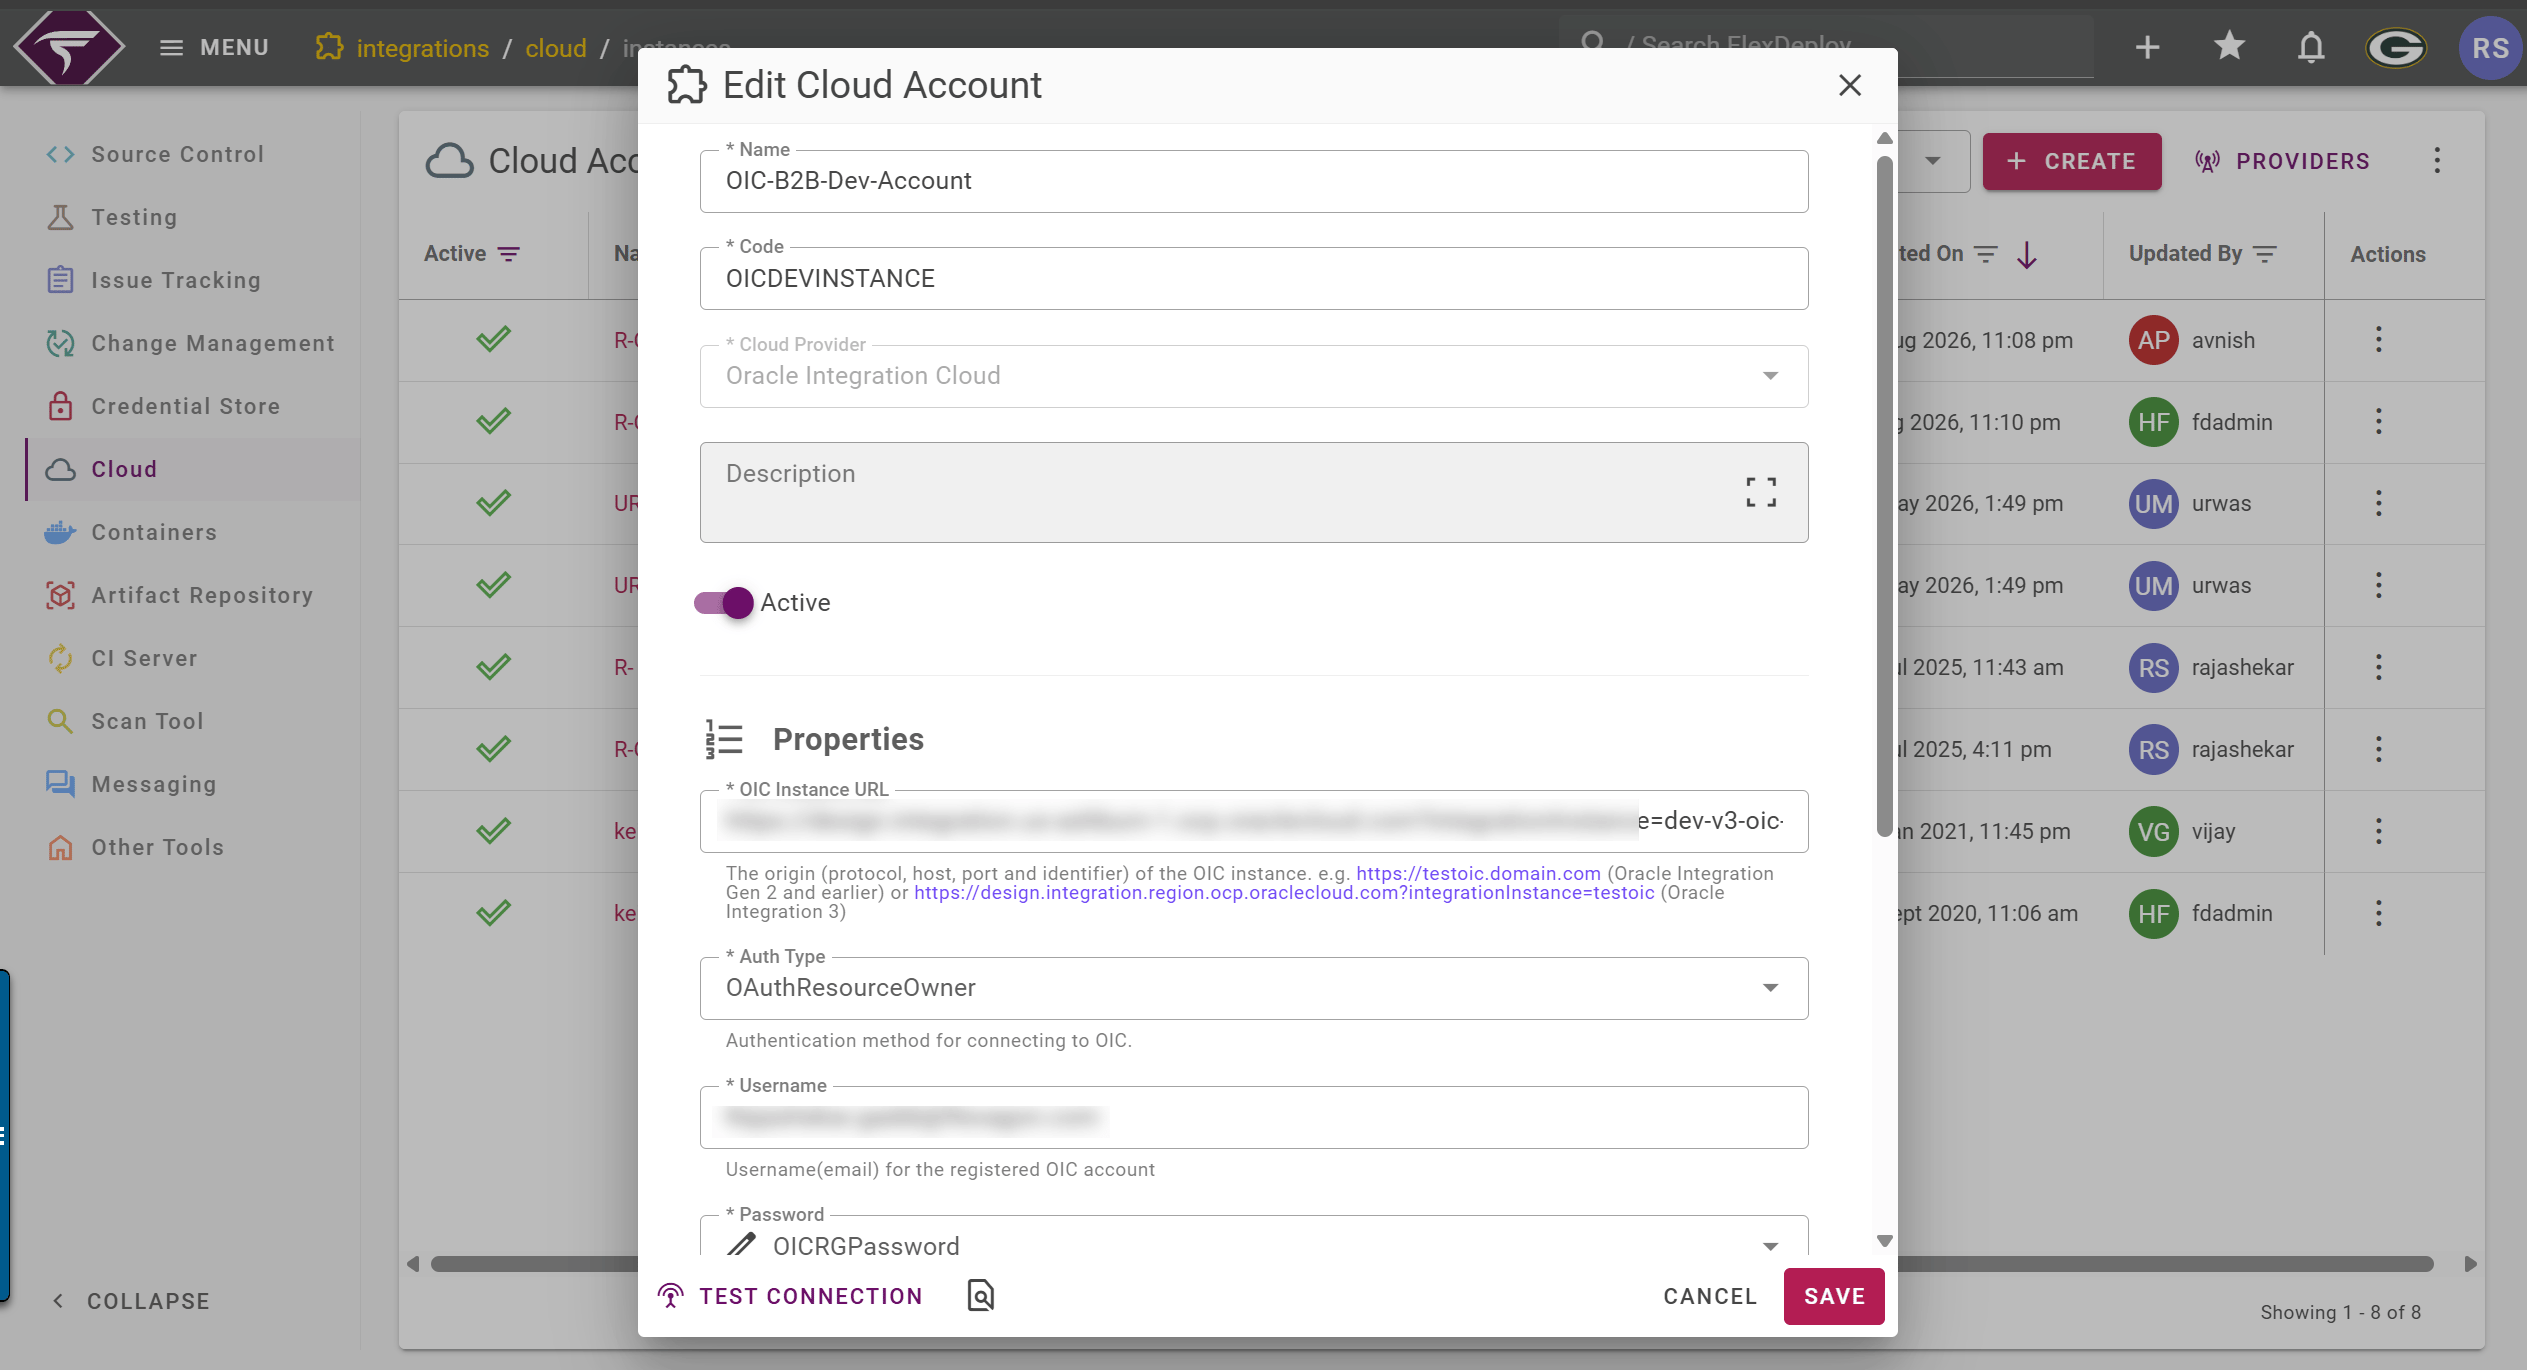
Topology
The OIC blueprint creates the OIC Target Group and associates required targets (environments). For DEV and TEST targets, it associates OIC accounts created earlier. Property values for DEV and TEST, including any Trading Partner identifier overrides, are entered accordingly.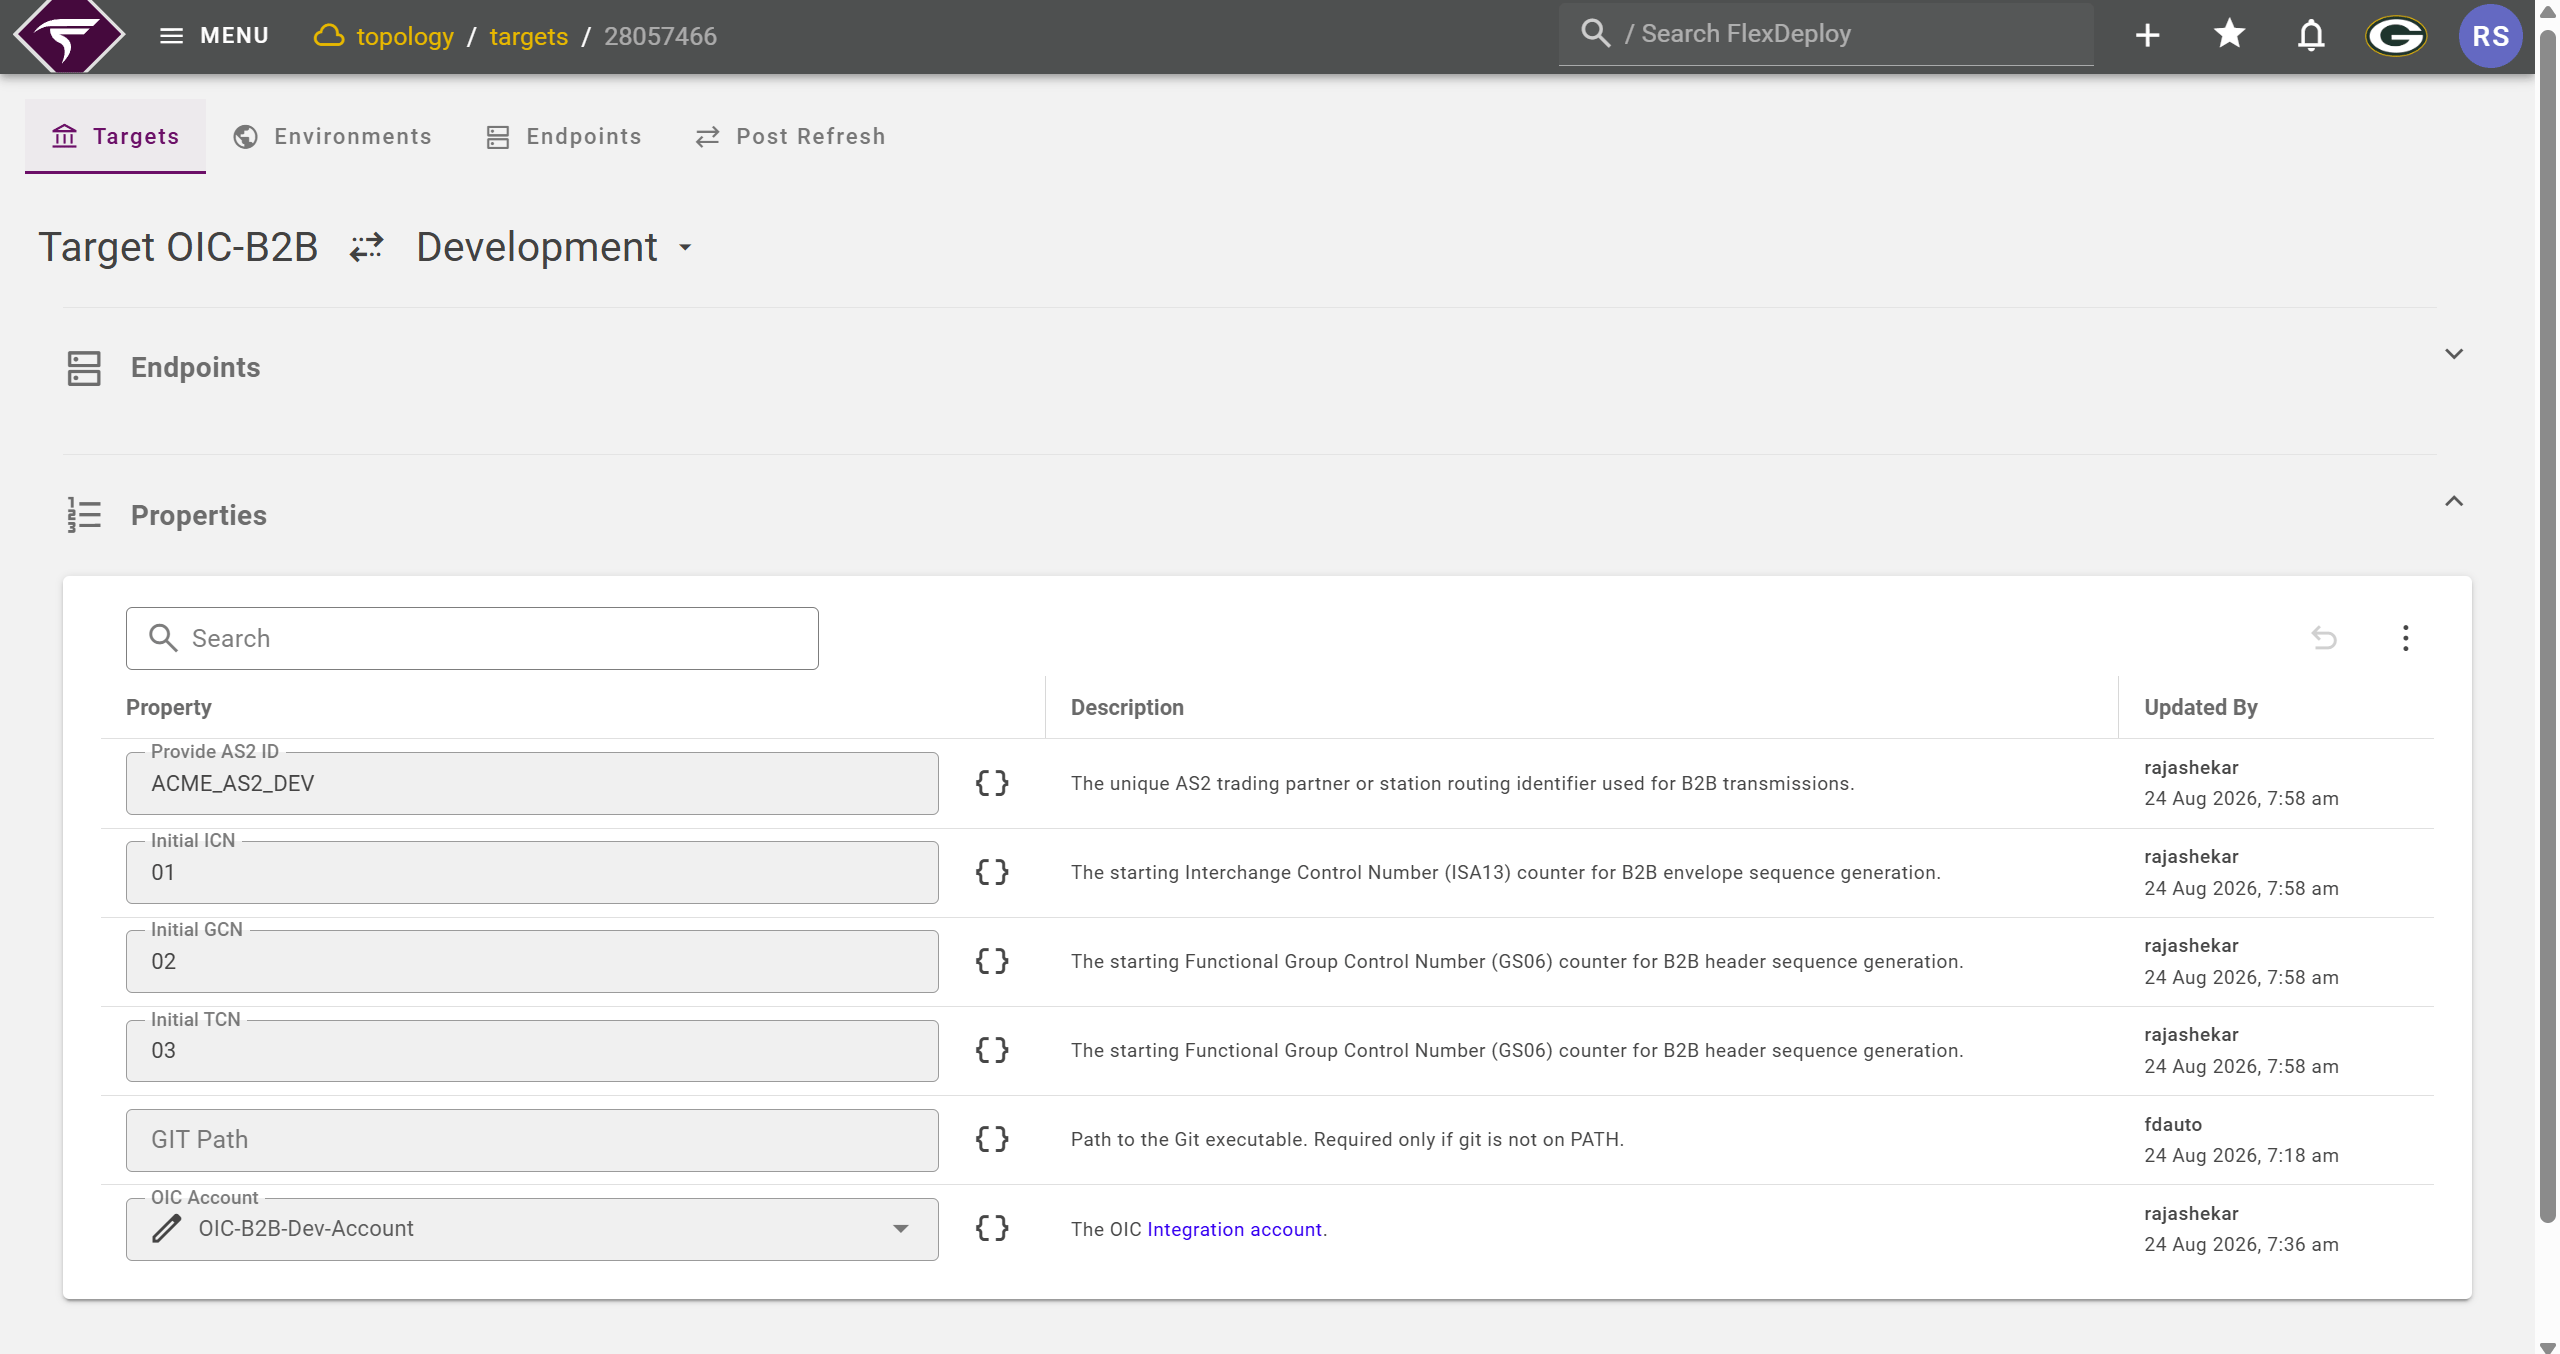
Discover Objects and Create a Package
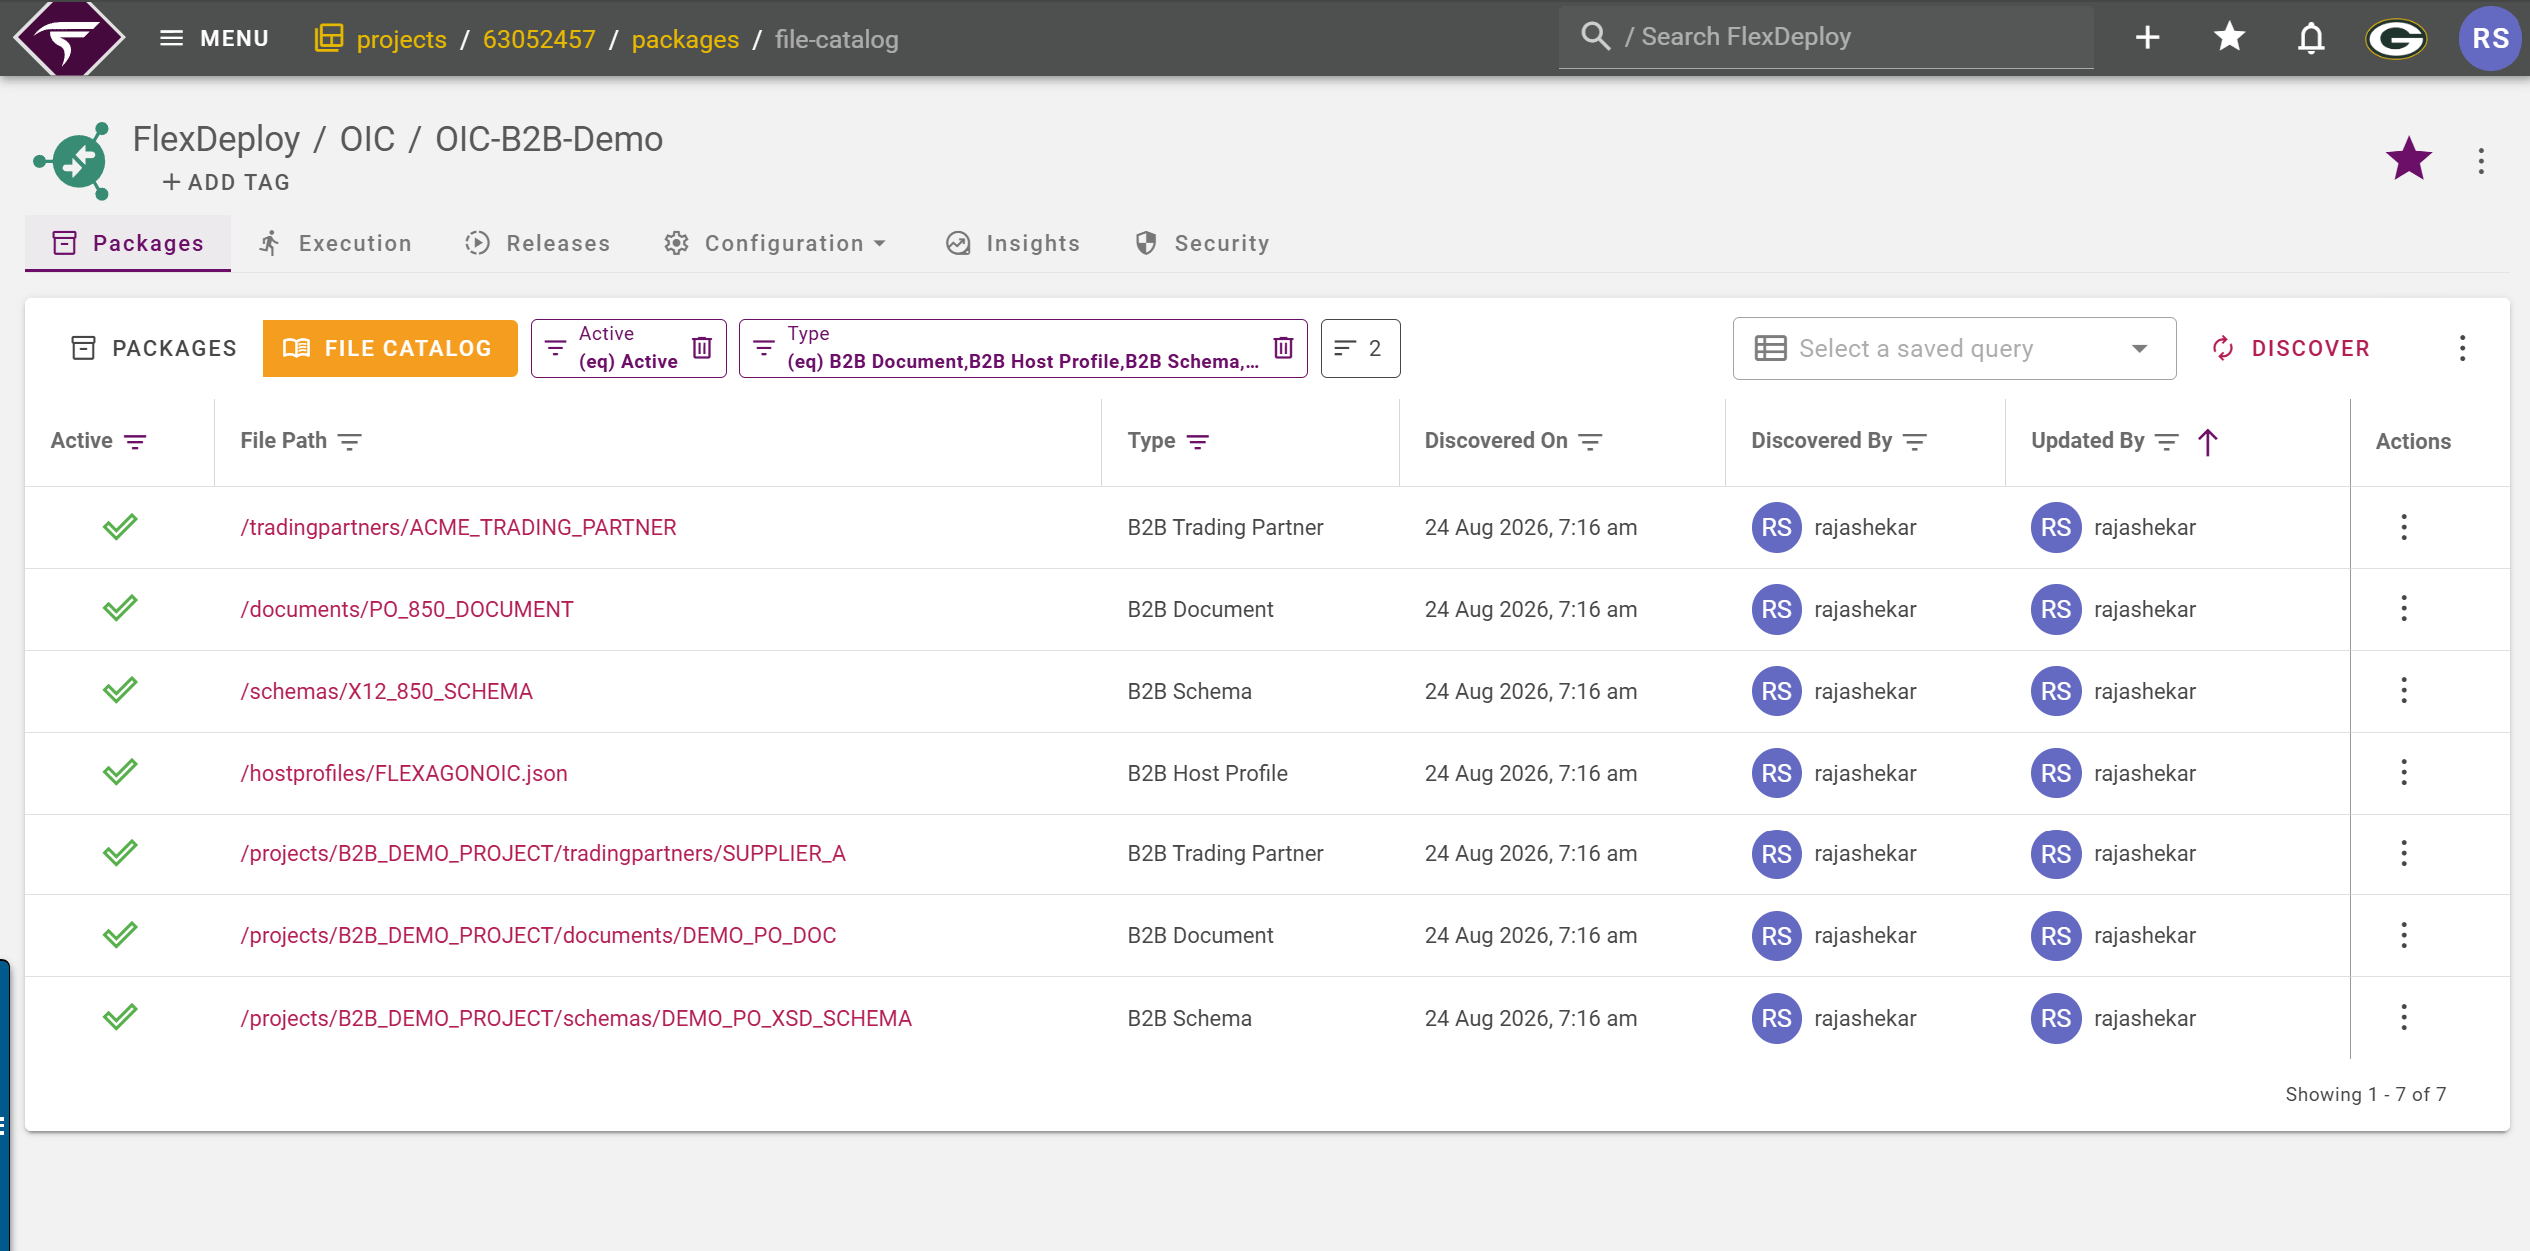
Returning to the project, we need to discover all OIC B2B objects from the DEV instance. The File Catalog displays the Host Profile, Schemas, Documents, and Trading Partners alongside other OIC object types, aiding developers in finding all B2B artifacts in one place. When discovering B2B objects:- Host Profile: /hostprofiles/<filename>.json
- Global Schemas: /schemas/<schema_id>
- Global Documents: /documents/<document_id>
- Global Trading Partners: /tradingpartners/<tradingpartner_id>
- Project-scoped Schemas, Documents, and Trading Partners appear under /projects/<project_name>/…
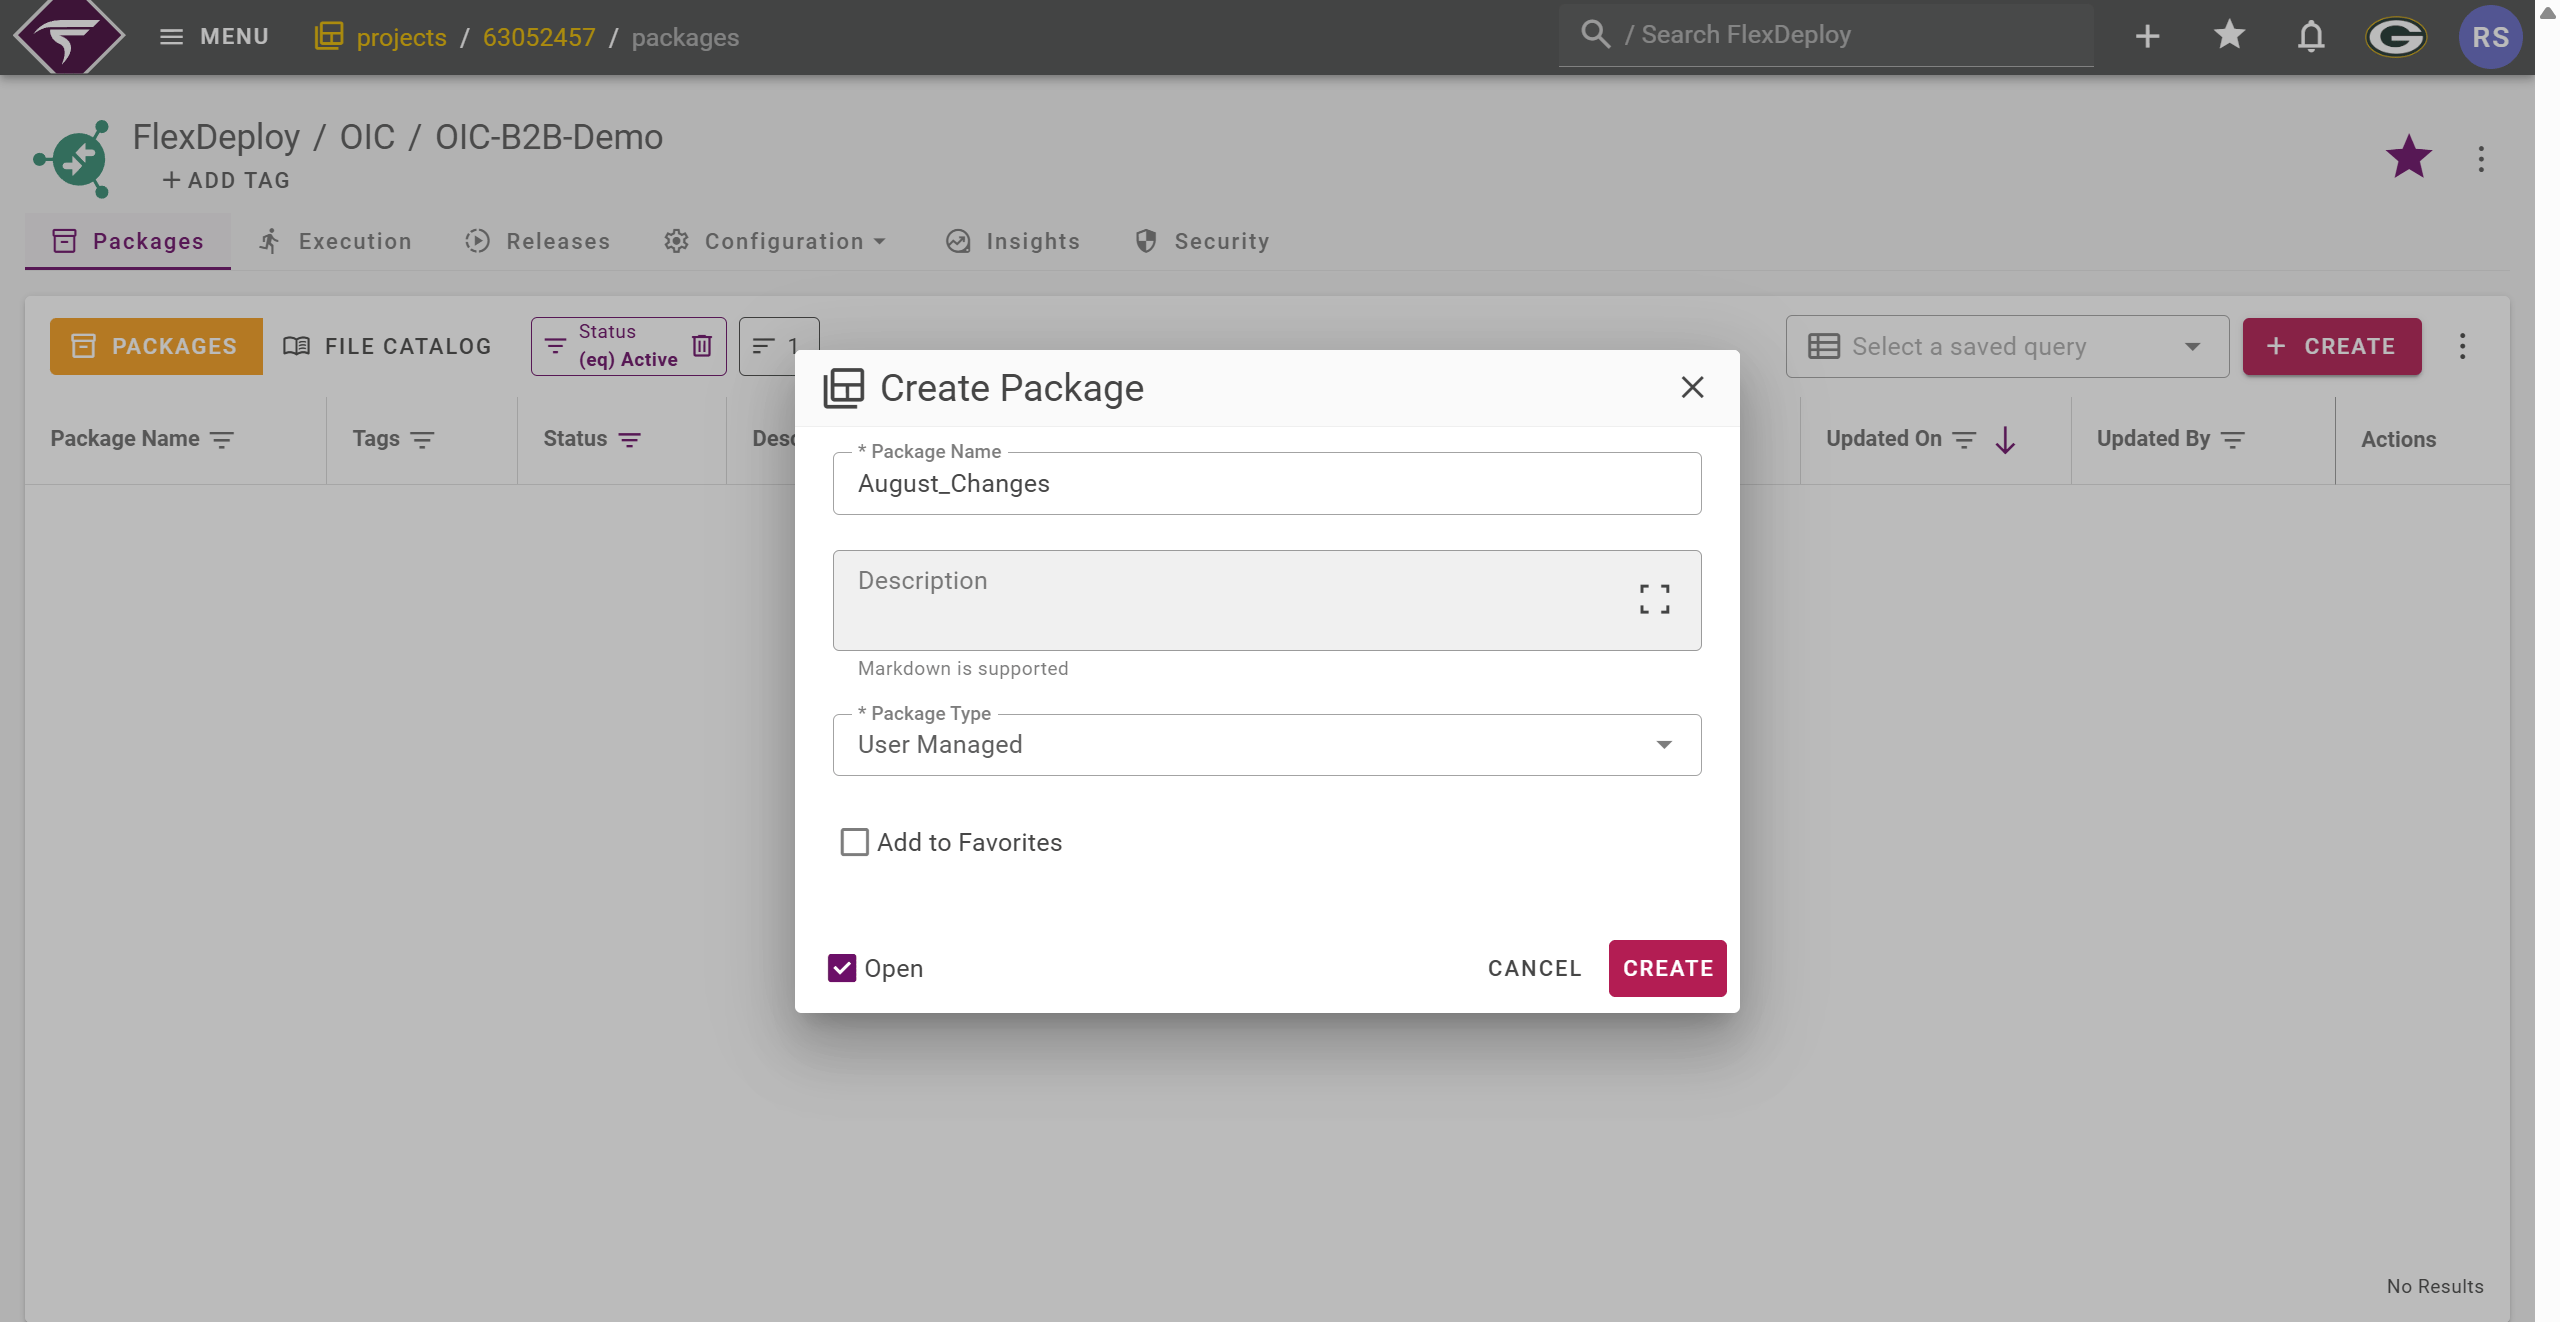
- Schemas
- Documents
- Trading Partners
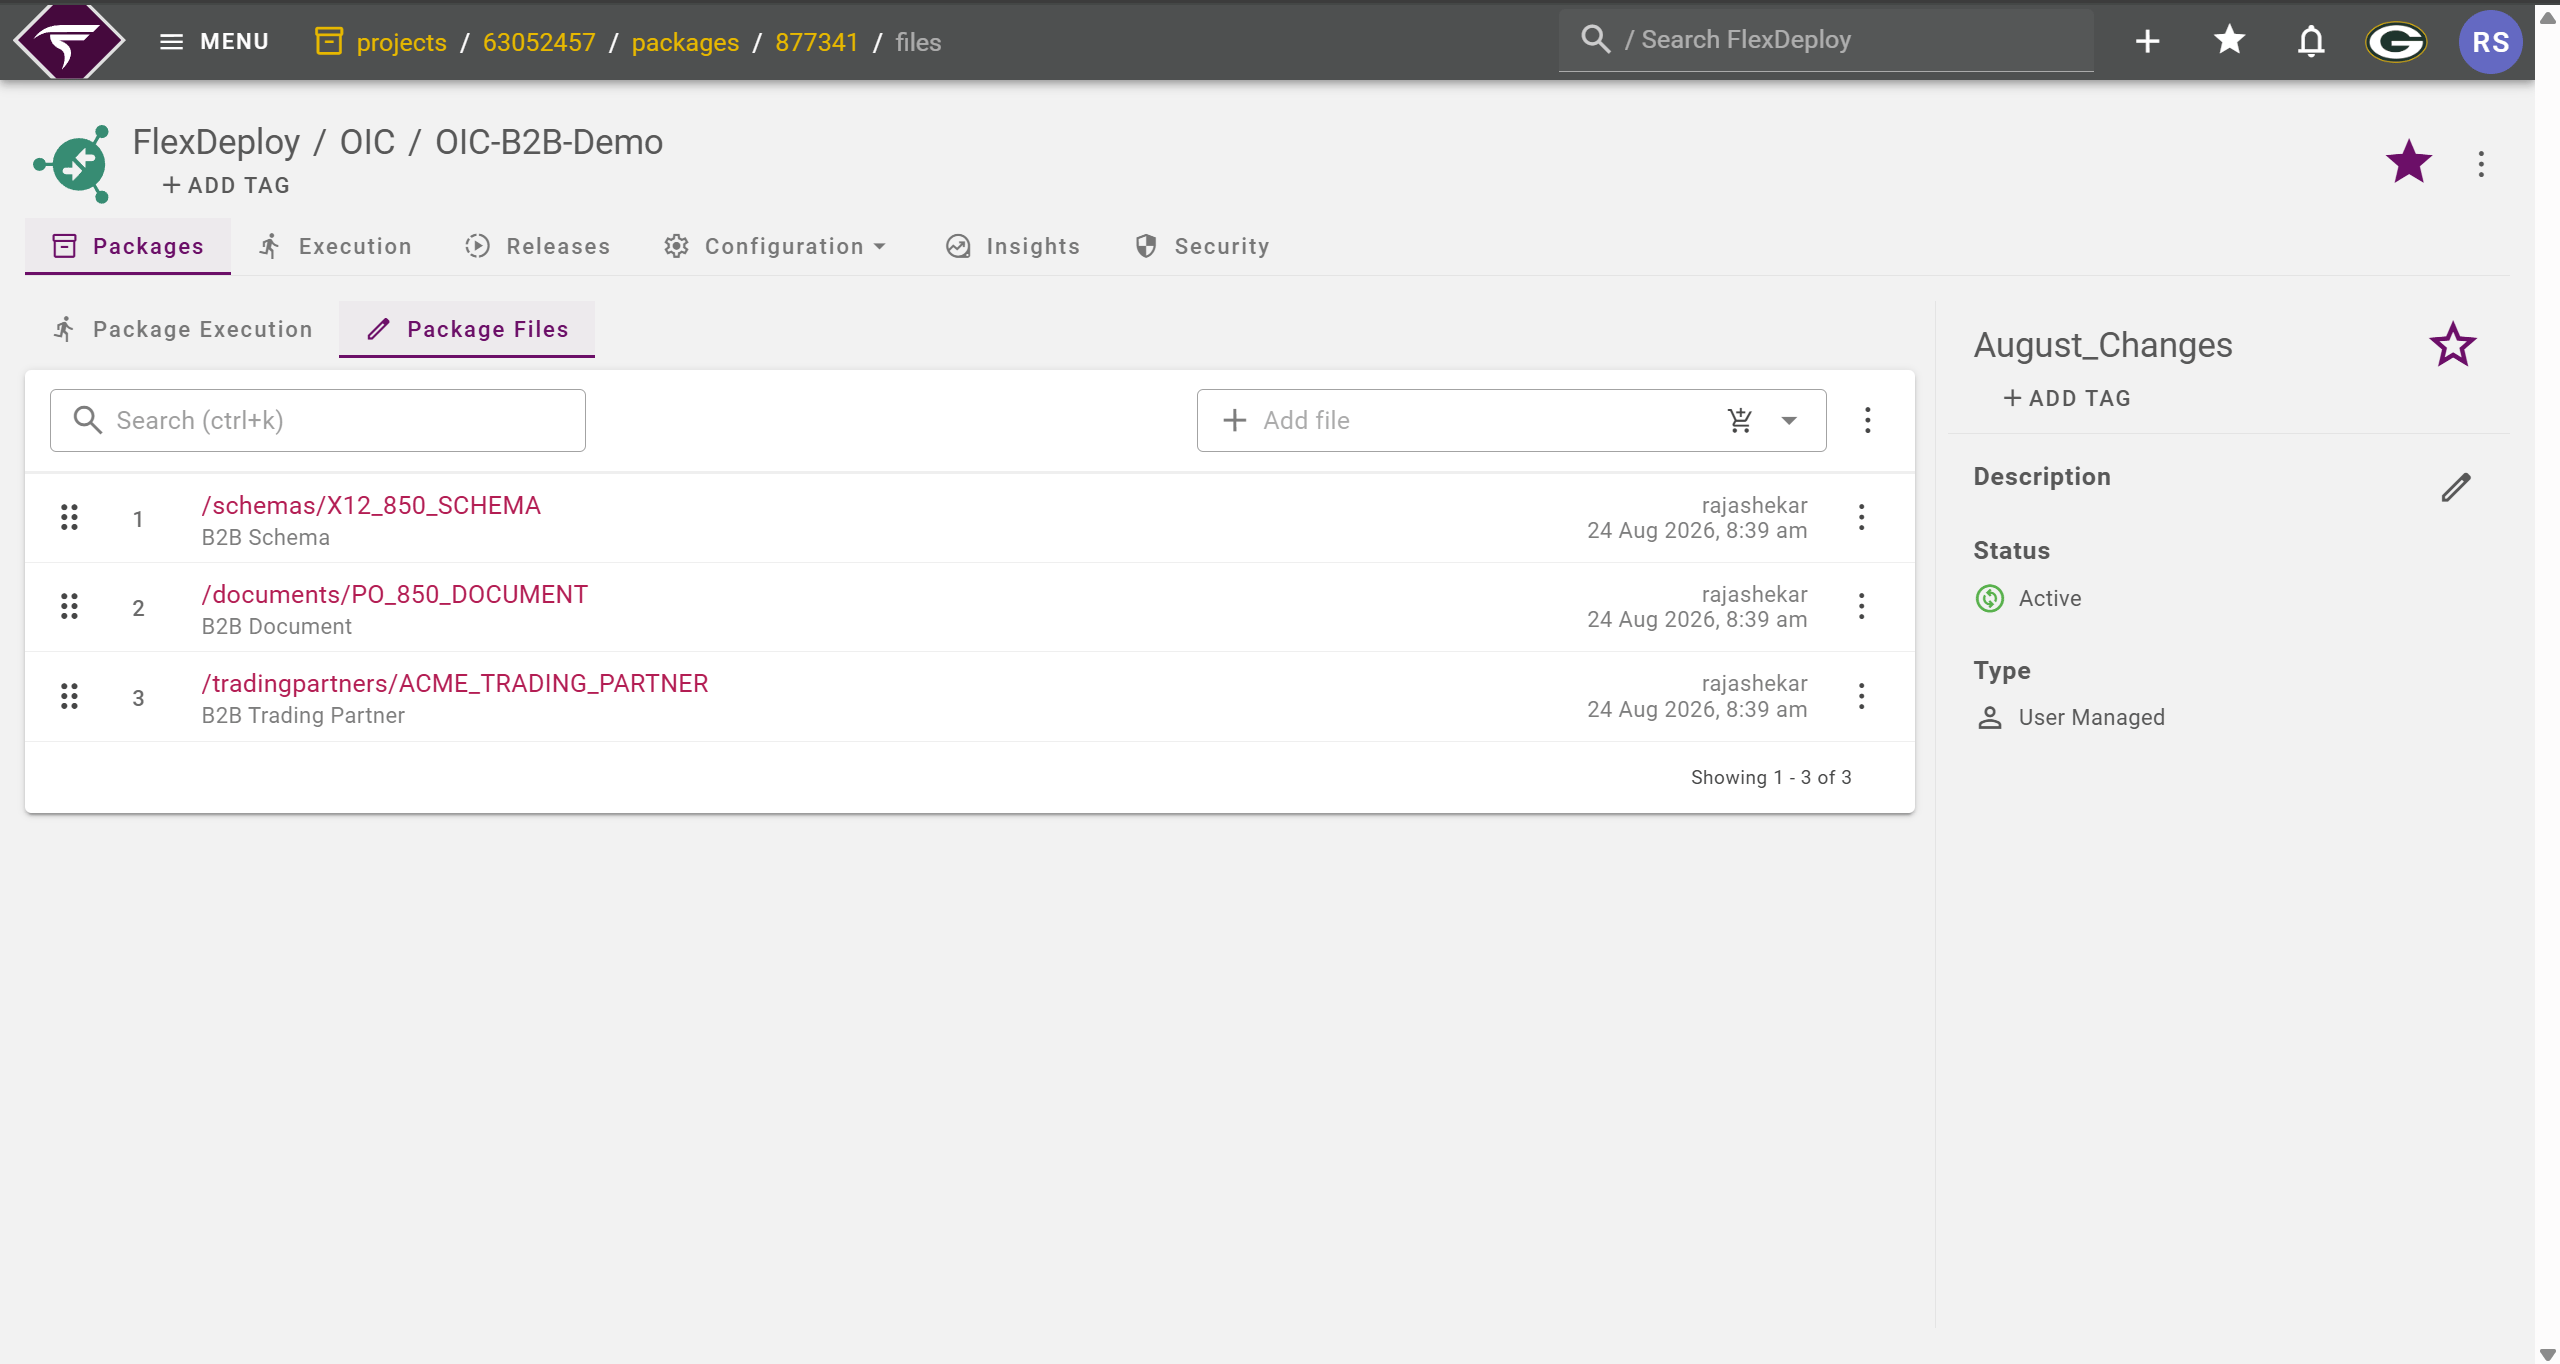
Key file attributes to review before build
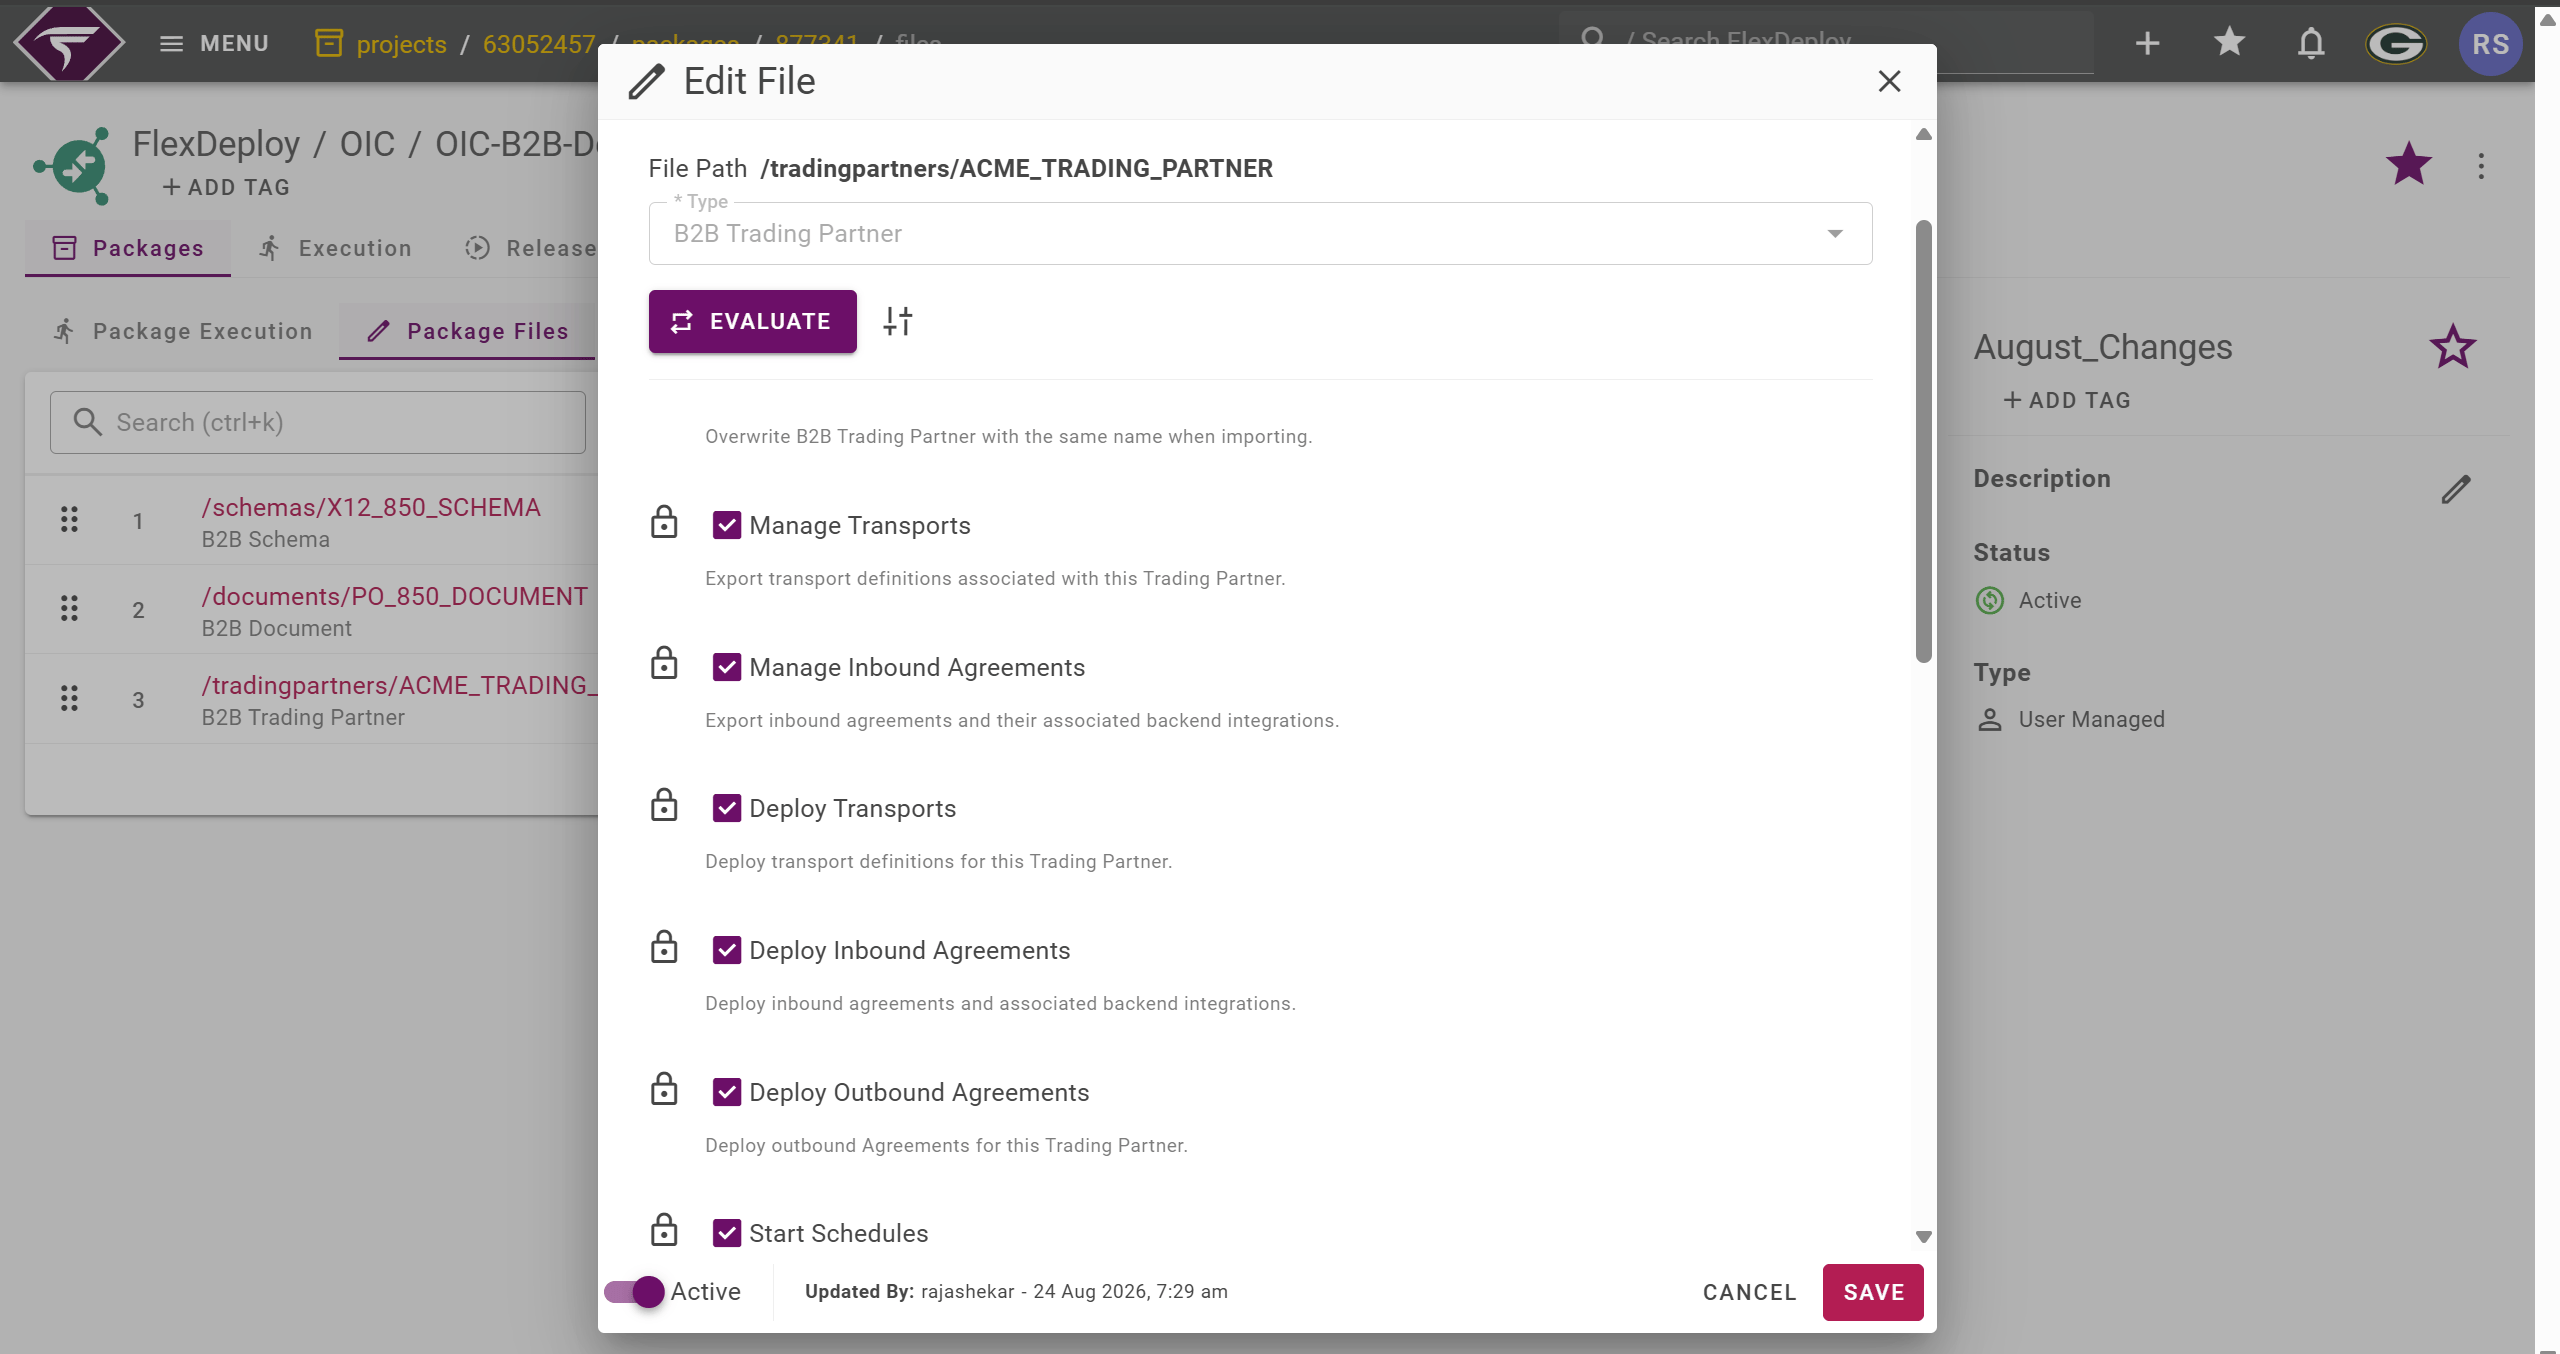
Before building the package, review the following file attributes to ensure the B2B objects are deployed as expected:- Overwrite B2B Schema / Document / Trading Partner – replace the object on the target when importing
- Re-activate associated integrations – for Schemas and Documents already linked to active integrations
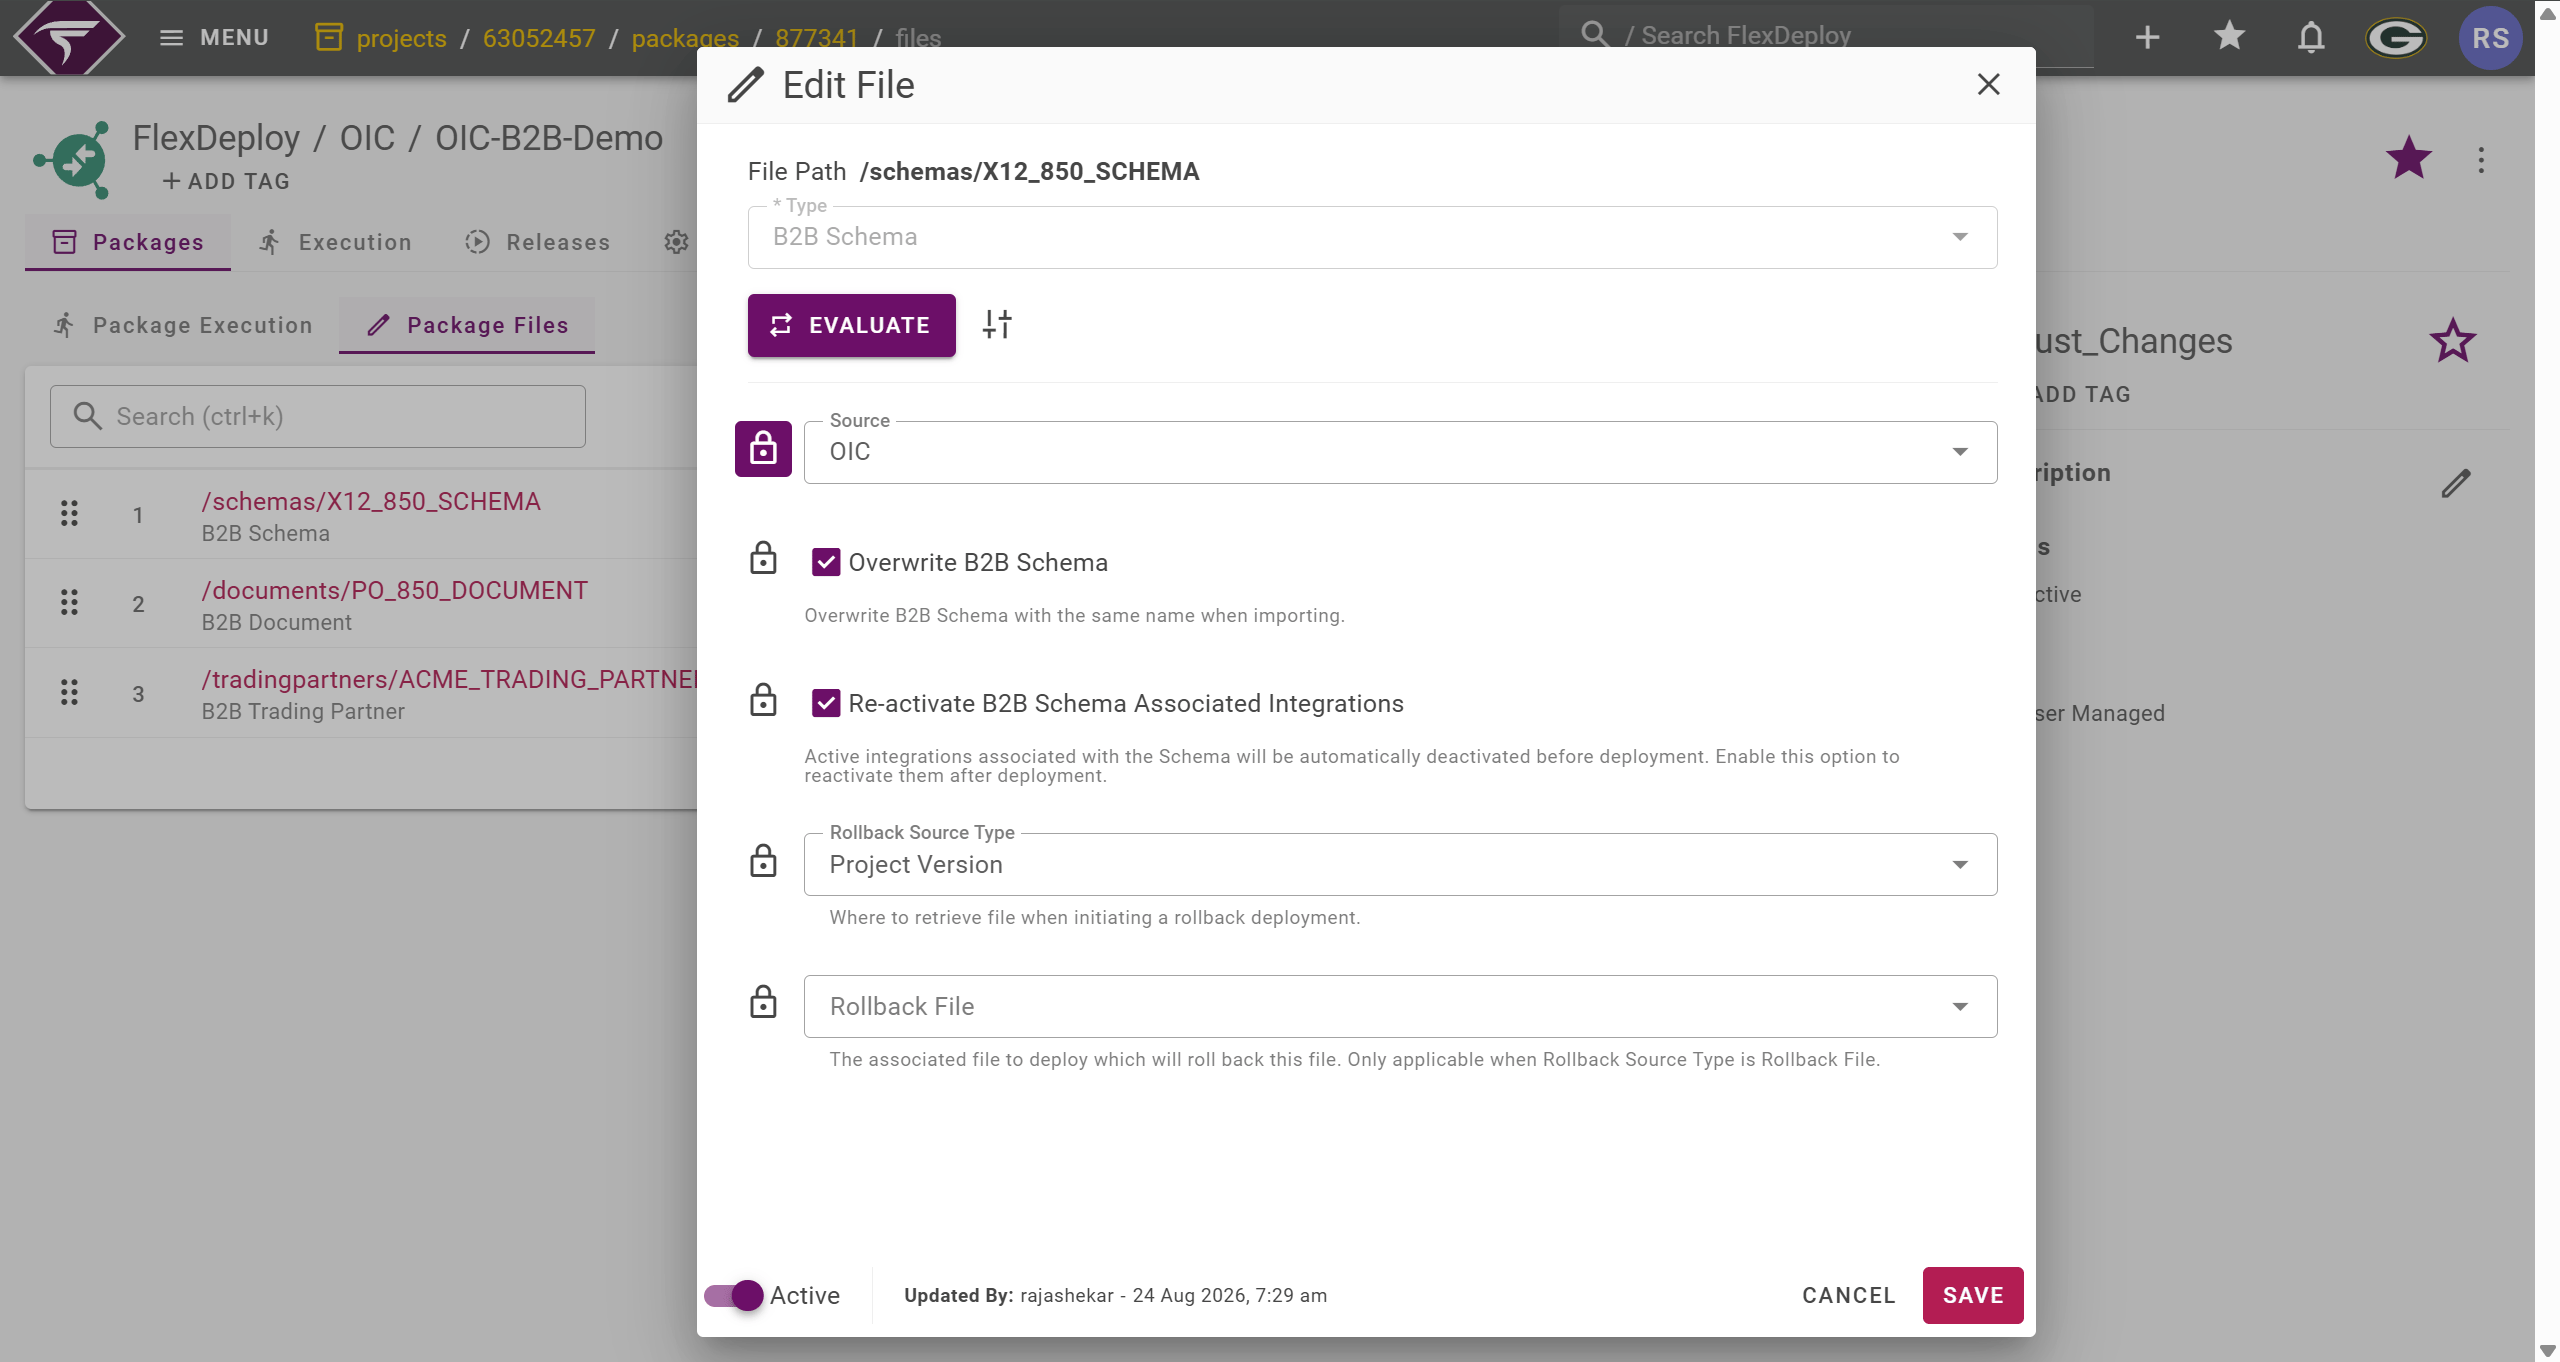
- Similarly for Trading Partner Manage Transports / Manage Inbound Agreements – include transports and inbound agreements (with backend integrations) in the Trading Partner export. For Project Trading Partners, deploy associated Integrations first, then deploy the Trading Partner.
- Deploy Transports / Deploy Inbound Agreements / Deploy Outbound Agreements – control what is applied on the target for Trading Partners
- Activate Integration / Start Schedules / Update Schedules – apply when inbound agreements bring along backend integrations
Build and Deploy Package
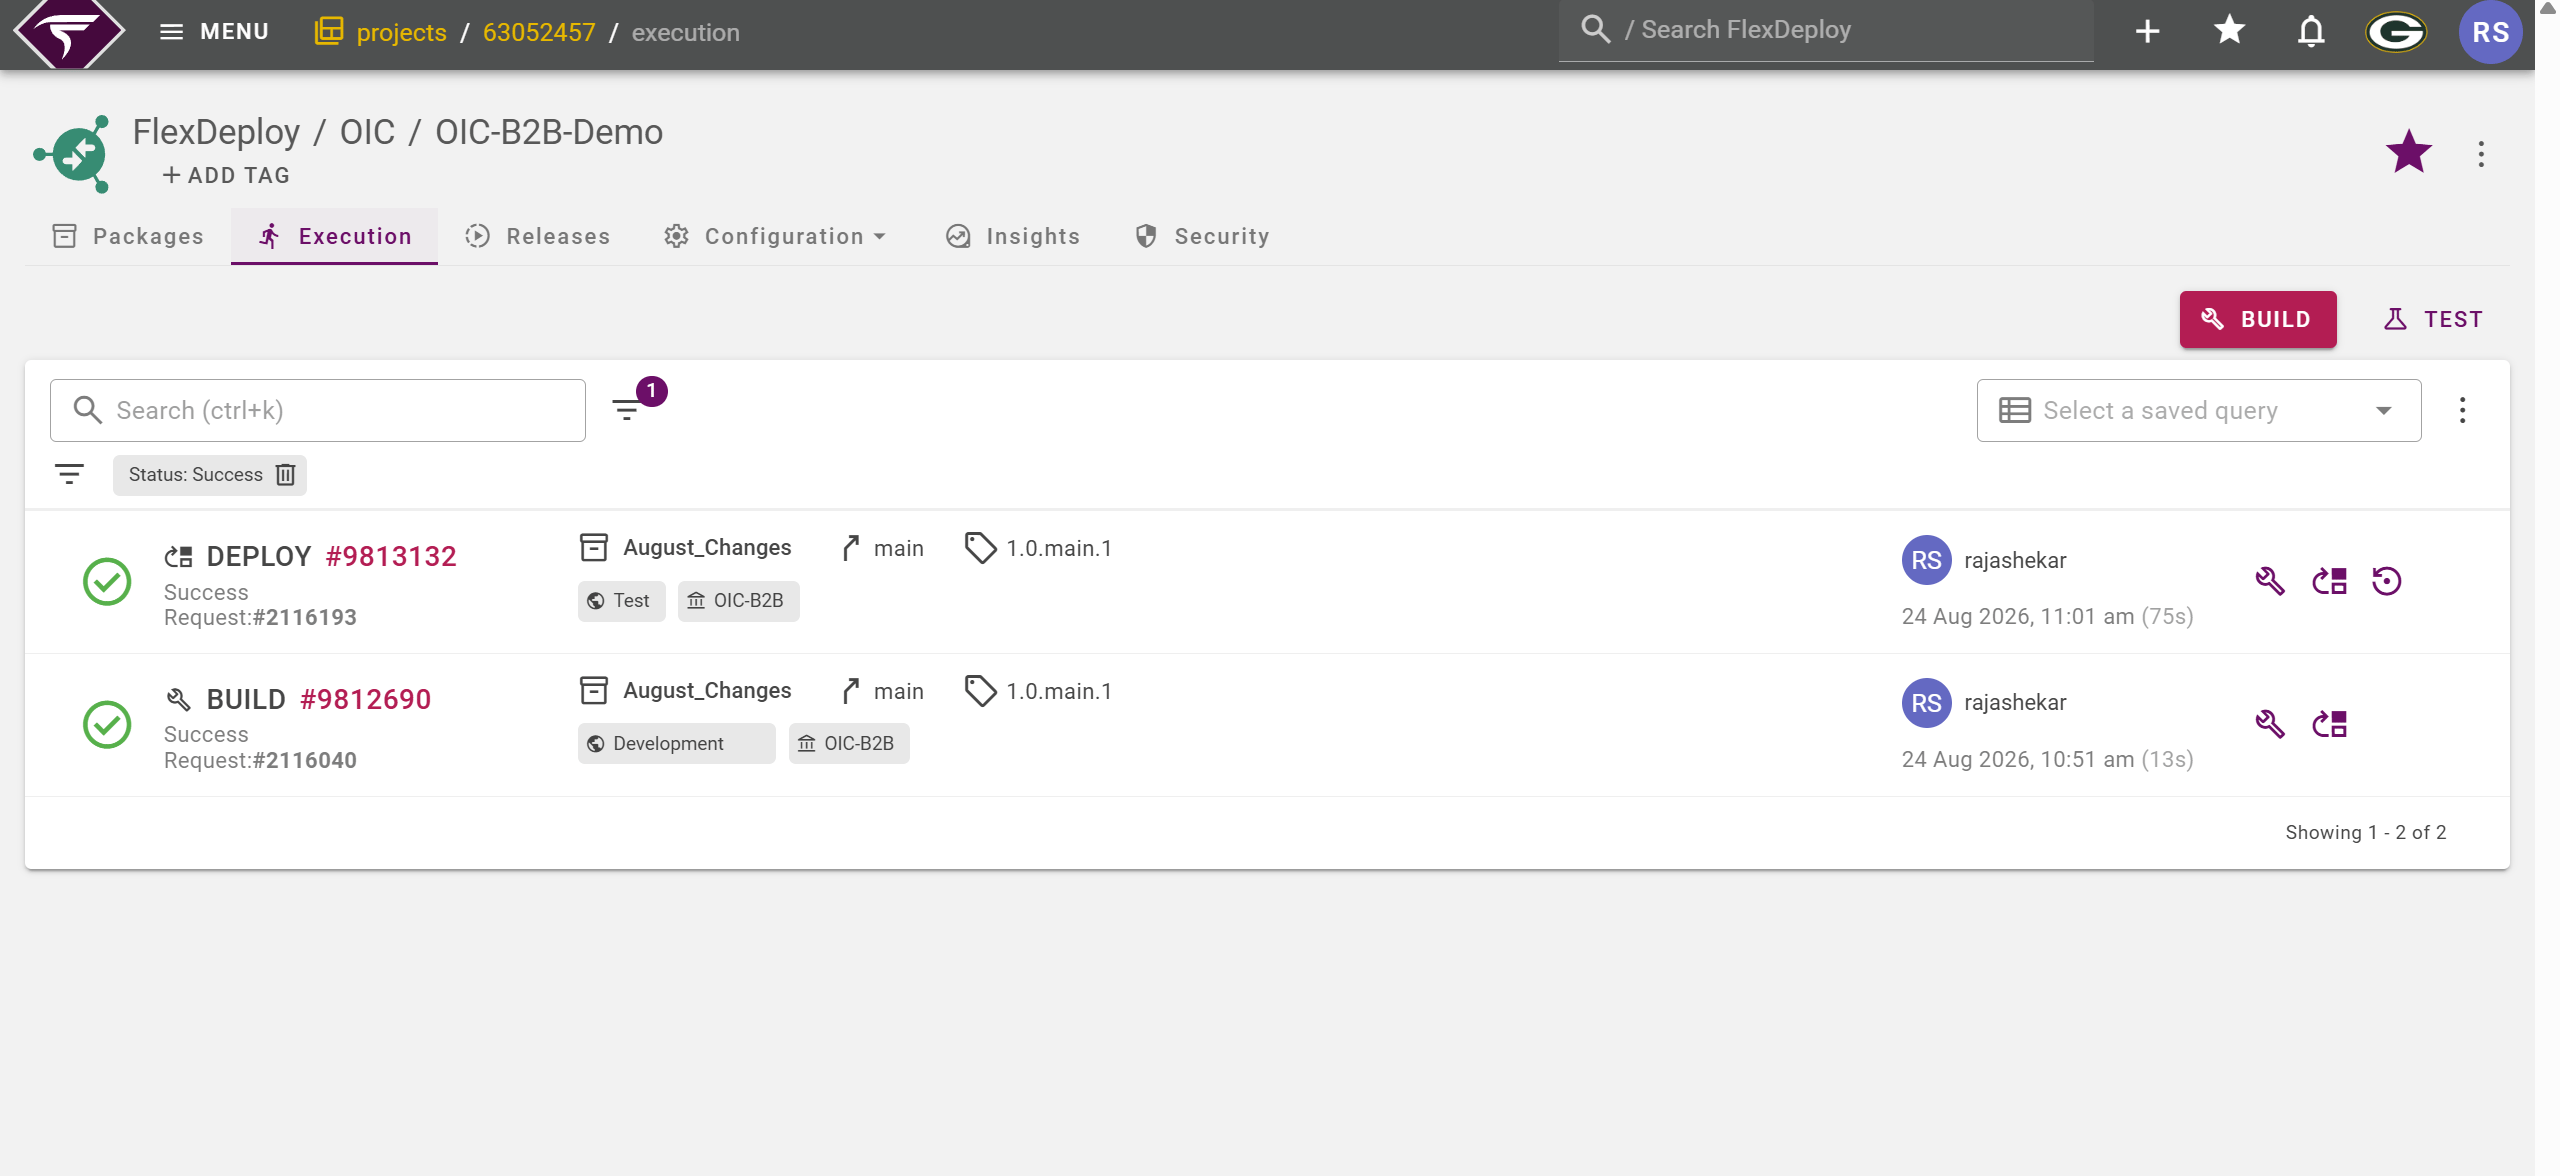
With the configurations in place, we can now build and deploy the package to Test.