- Setup docker volume folder and copy plugins in it from download zip.
- Setup FlexDeploy Database
- Pull docker image
- Start container using specific image.
Step 1 - Setup Docker Volume Folder on Docker Host
Theapplication, artifacts, backups, apiext, and vsm folders are stored outside of the container, so when the container is upgraded that data is not lost.
You will need to download FlexDeploy Tomcat distribution for database scripts and plugins.
-
application/plugins- copy plugin jars from FlexDeploy download zip. Once application starts, plugin jars from this folder will be automatically uploaded to FlexDeploy. -
apiext- copy custom Jar files here which will be incorporated in application. These jar files are only picked up at startup, so if you place something here, restart of docker container will be needed. For example, custom implementation for Issue Tracking, Change Management, Credential Store etc. -
artifacts- Artifacts Repository -
backups- Backups Repository -
logs- application logs are also outside of the container.
Step 2 - Setup FlexDeploy Database
Manual Installation Instructions - Database Tier - Oracle Manual Installation Instructions - Database Tier - PostgreSQLStep 3 - Pull Docker Image
First let’s pull docker imageflexdeploy/fd_tcat.
We recommend selecting a particular version instead of leaving the tag off (which will pull the latest version). That way you know exactly which version you are on.
Step 4 - Run Docker Container
Now let’s run FlexDeploy docker image. This particular image contains only FlexDeploy with Tomcat, i.e. database and artifact repository is not part of the container. So we need to pass various details to docker run command. The following should be configured-
p- in this example 8000 is the port which FlexDeploy will be accessed on mapping to port 8080 in the container -
FLEX_DB_URL- jdbc URL for accessing the database. See below for syntax -
FD_ADMIN_PWD- Password for the fdadmin user in the database -
TZ- Time zone for the container. Given example is America/Chicago. -
dbtype- if you are using postgres or oracle database. -
v- This will set where your application, repository, vsm and logs folders will go on the docker host.-
Everything before the colon is on the local machine. In our example above this folder was
/scratch/FlexDeploy -
Everything after colon indicates folder inside docker container, leave that as
/dockervolume
-
Everything before the colon is on the local machine. In our example above this folder was
-
MAX_ACTIVE_CONNECTIONS- The maximum number of active DB connections that can be allocated from the connection pool at the same time. Default value is 100. -
MAX_IDLE_CONNECTIONS- The maximum number of connections that should be kept in the pool at all times. Default is 100. -
MAX_WAIT_TIME_MILLIS- The maximum number of milliseconds that the pool will wait when there are no available connections. Default is 30000(30 Secs). - Optionally, you can add a -d to run container in background and print container ID. The -a option can also be added to view logs.
- Last is the image which will be flexdeploy/fd_tcat: and the version you want to run.
/scratch/FlexDeploy/logs
Now you can launch FlexDeploy using http://<docker host>:8000/flexdeploy.
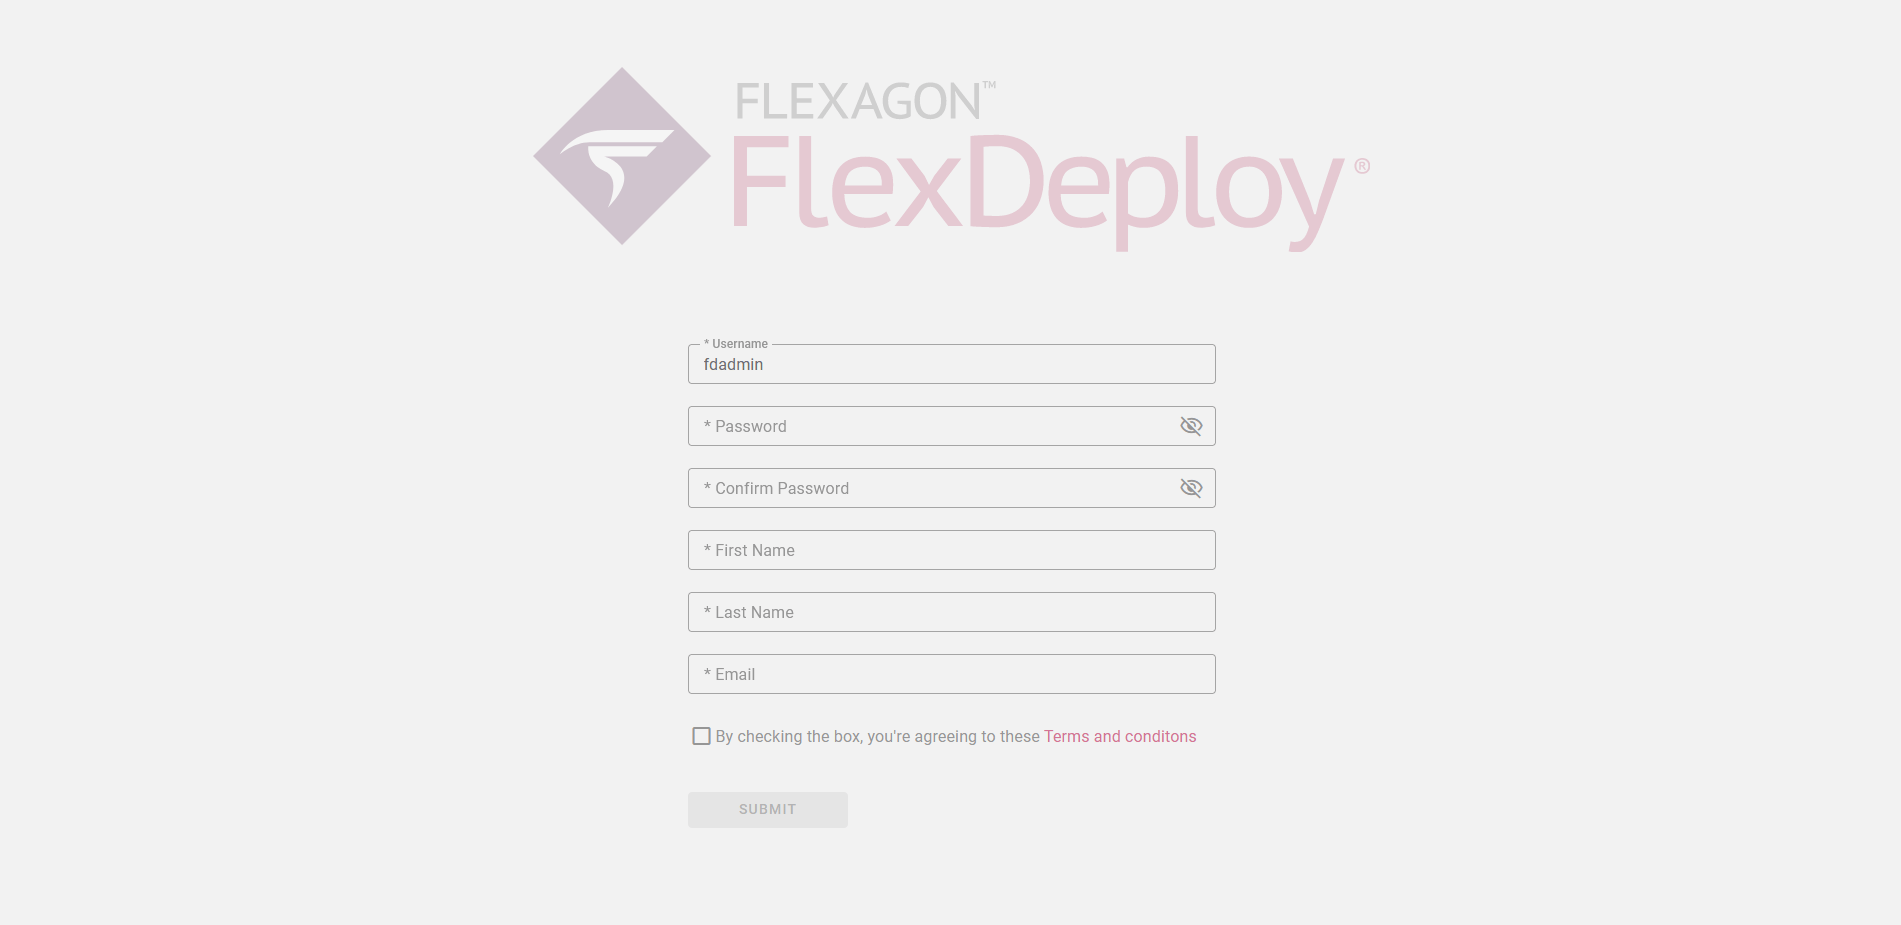
As always when you first launch FlexDeploy, you will need to complete Registration process.