Overview
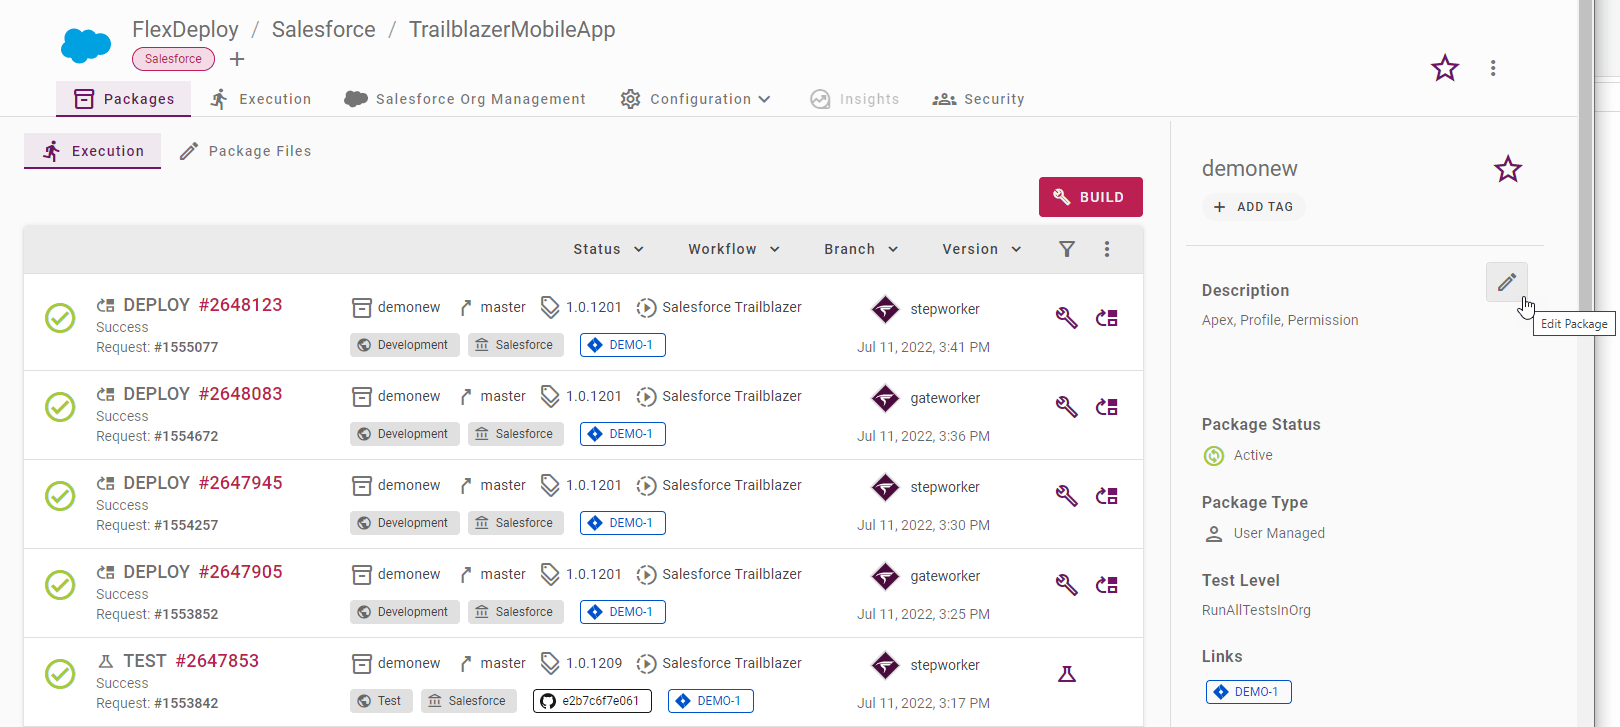
Packages are uniquely defined in each package-based project so you can have a package with the same name in multiple projects if necessary. The package list is shown on the Packages tab.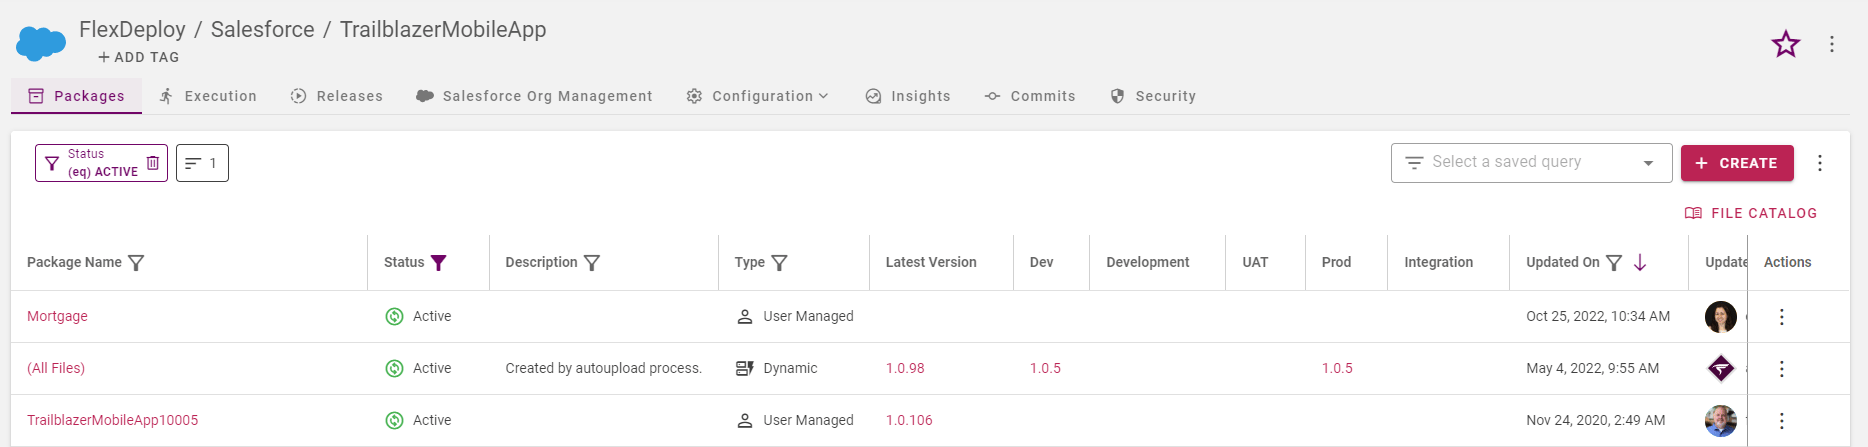
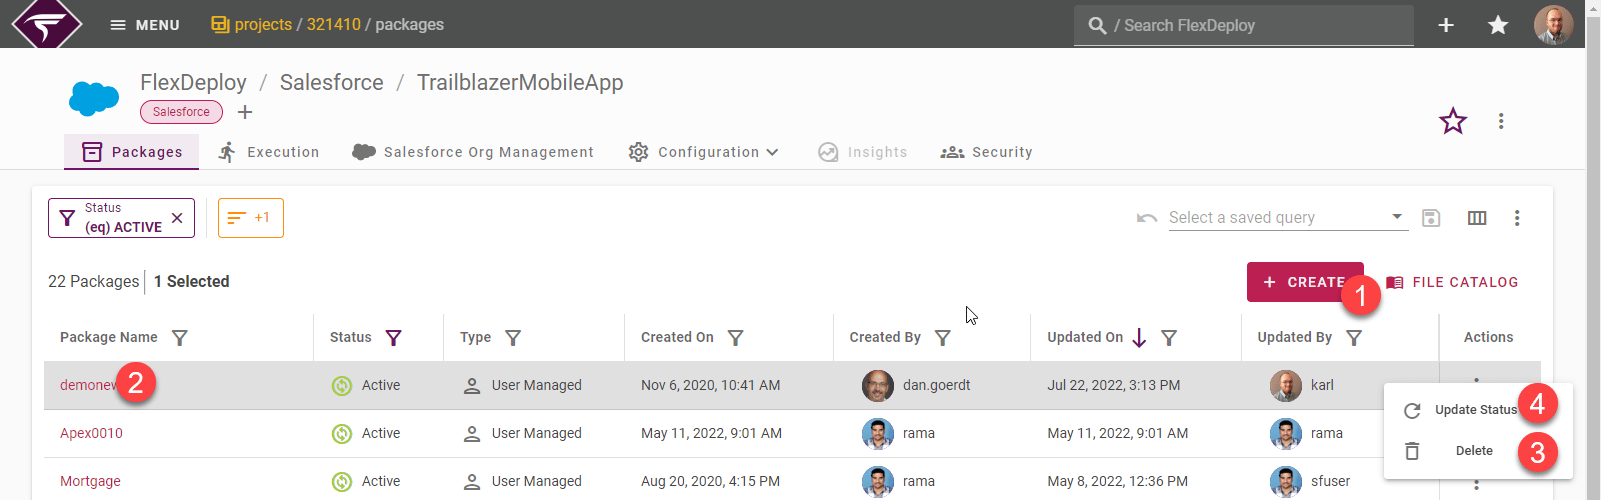
Action | Notes |
|---|---|
Create (1) | Create new package. |
Edit / View (2) | Click on package name to edit or view package details. |
Delete (3) | Delete selected package. Executions for the package will not be deleted. If package is configured in Release, delete is not allowed. |
Update Status | Inactivate, Activate, or mark the package complete. |
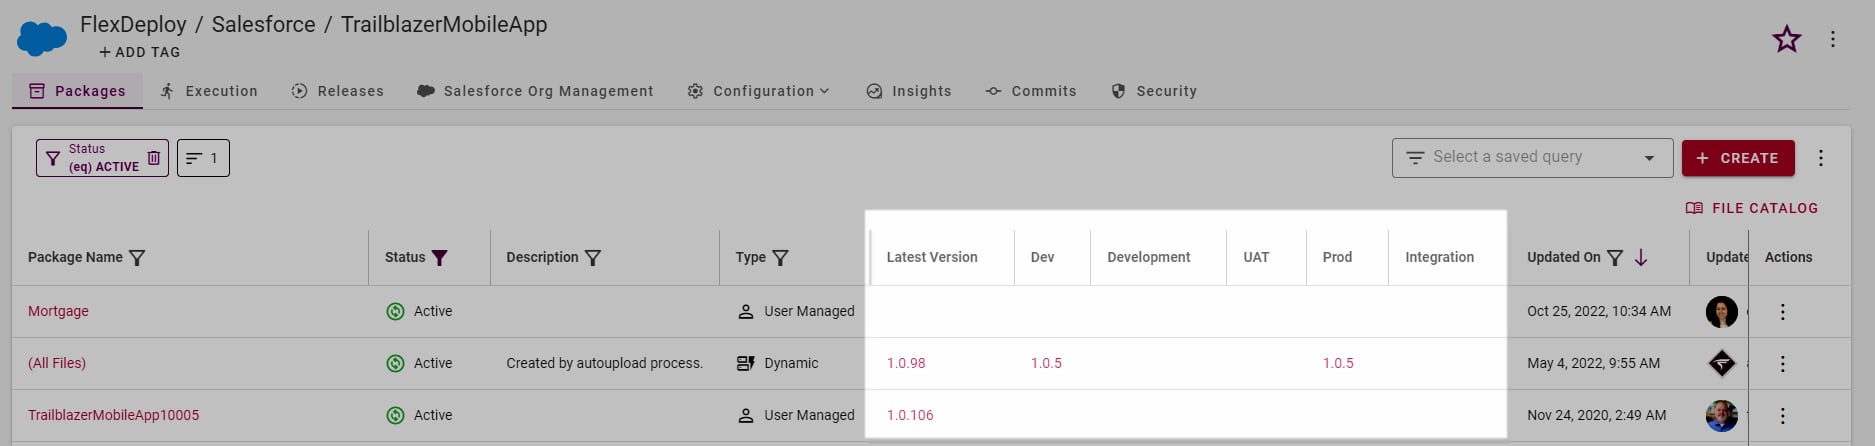
Package Statuses
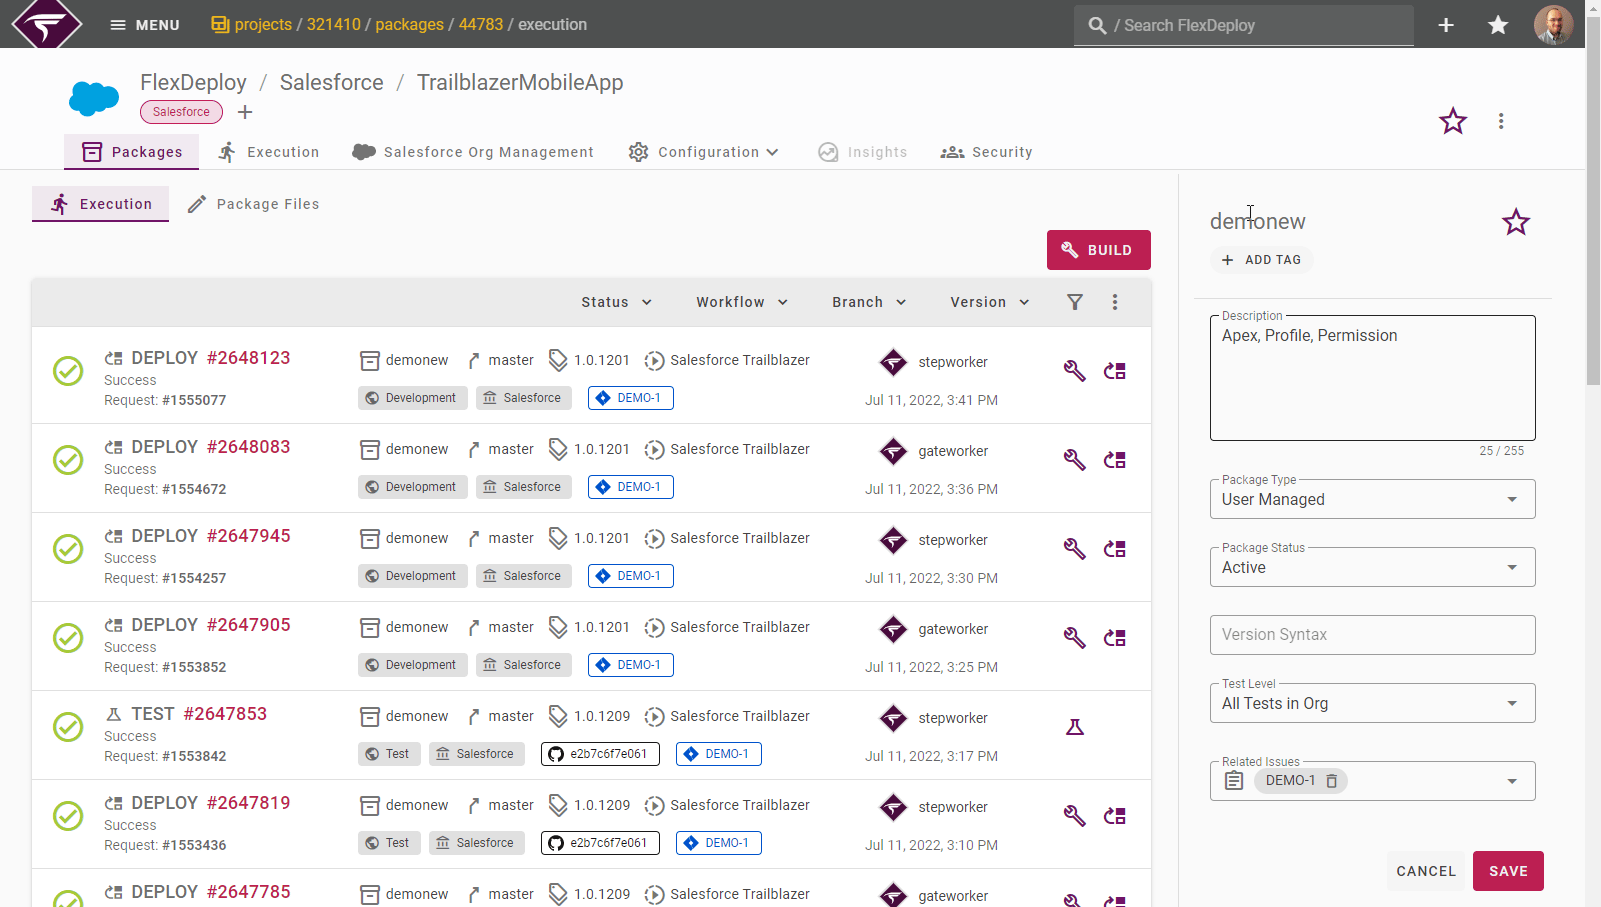
A Package can have multiple statuses that represent where it happens to be in its lifecycle.Active
:package-active: Active packages are packages that are actively being built and deployed. This is the default status for any new Package.Inactive
:package-inactive: Inactive packages can no longer be built or deployed. They can however be moved back into an Active status at any point.Completed
:package-complete: Completed packages, like Inactive, cannot be built or deployed. Unlike Inactive, Completed packages remain in a completed state indefinitely.Package Types
The package type can be defined as User Managed or Dynamic.User Managed
With User-Managed packages, the user manages the content and sort order.Dynamic
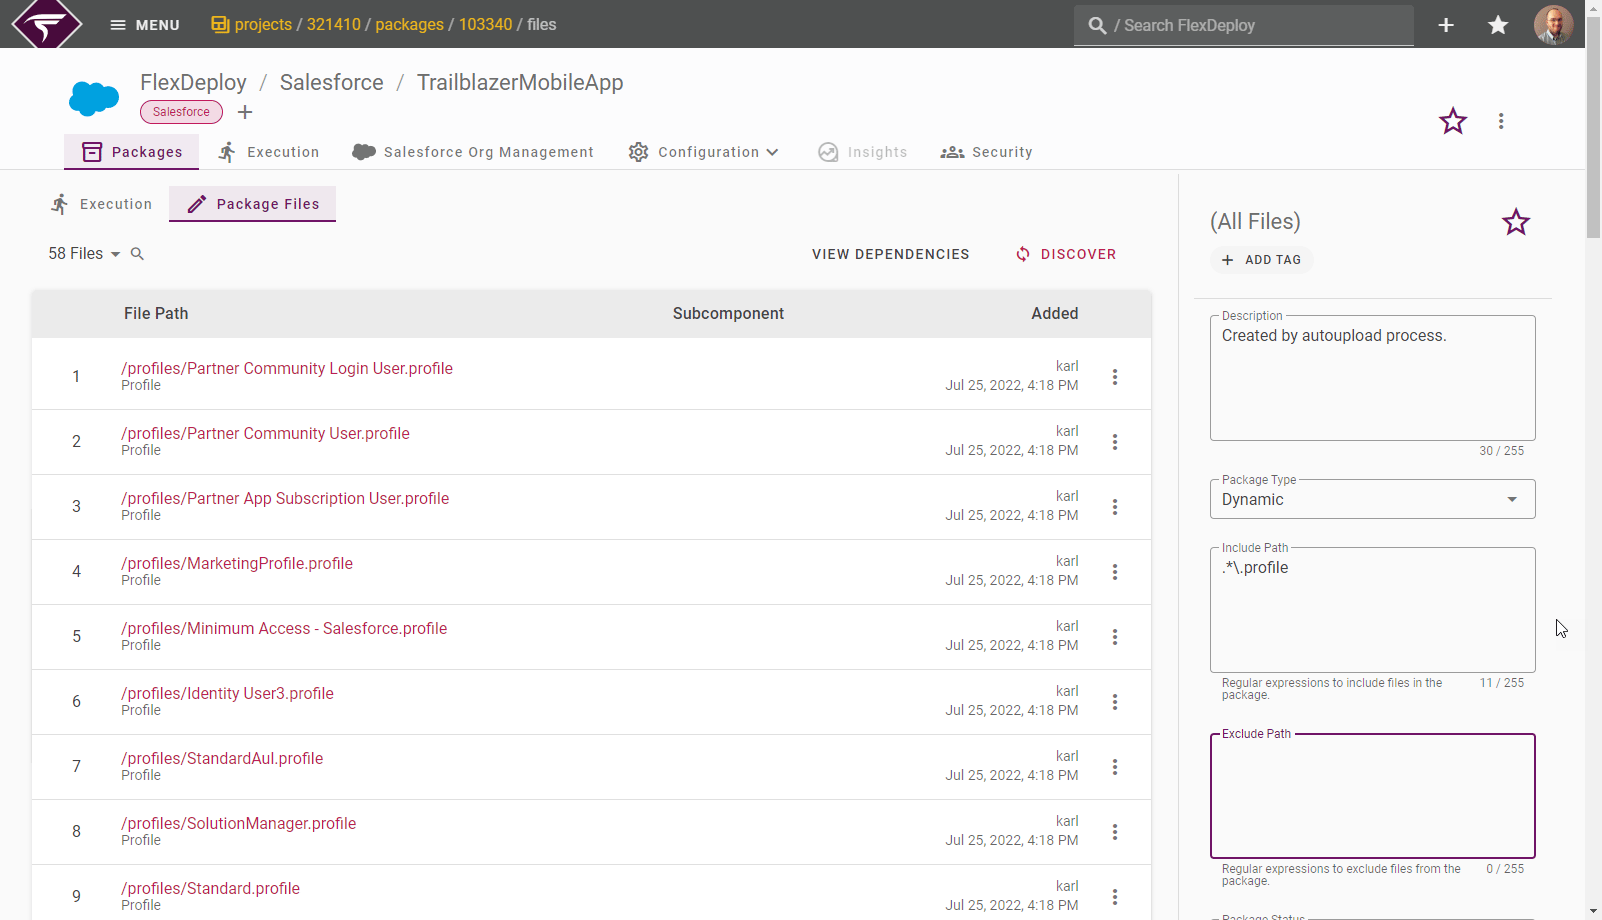
With dynamic packages, the content and sort order are managed dynamically based on an include path and/or exclude path. The include/exclude paths are regular expressions matching the project file path to determine which project files should be included or excluded from the package. More than one include or exclude path can be defined by adding that new path on the next line. By default, new packages are set to User Managed type, as well as for Salesforce DX packages created from the SFDX.json file. Note that when new files are populated from Project Files tab all dynamic packages are updated accordingly. This can be a big productivity gain when the contents of the package can be derived according to some rules. Below is an example of a dynamic package that includes all the.profile files of the project.
Include/Exclude Examples
Include | Exclude | Description |
|---|---|---|
| Include all | |
| Include any file ending in a | |
| Include any file as long as it is somewhere under a folder named | |
|
| Include all |
| Include all files except files ending in Alternative it can be written as a single exclude: |
Building a Package
To build a package, go to the execution screen and click Build.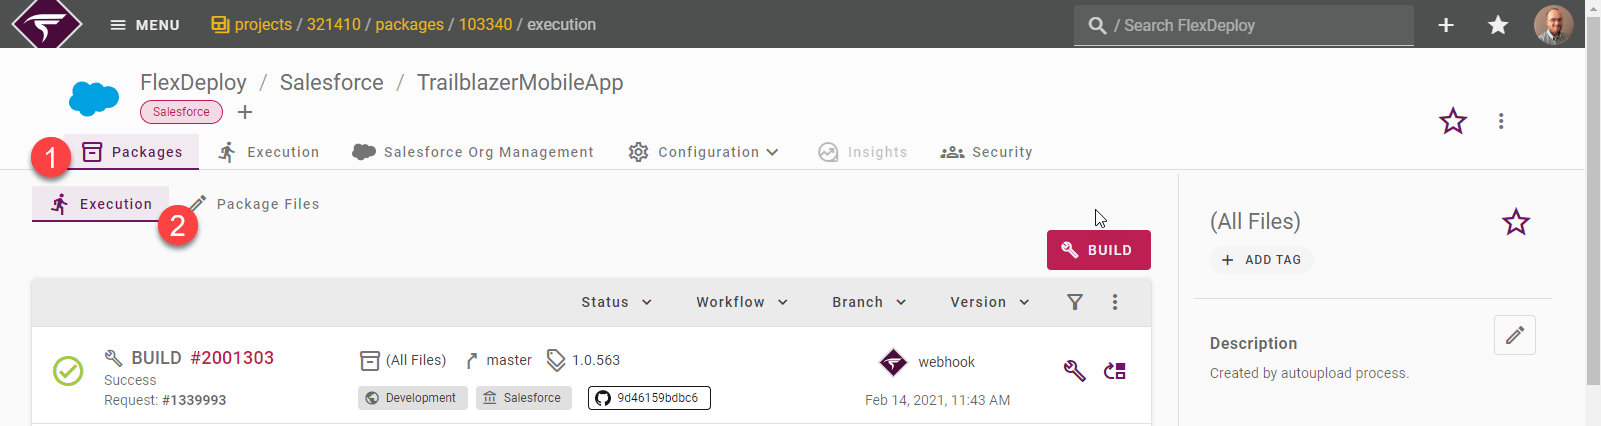
Associating Work Items to a Package
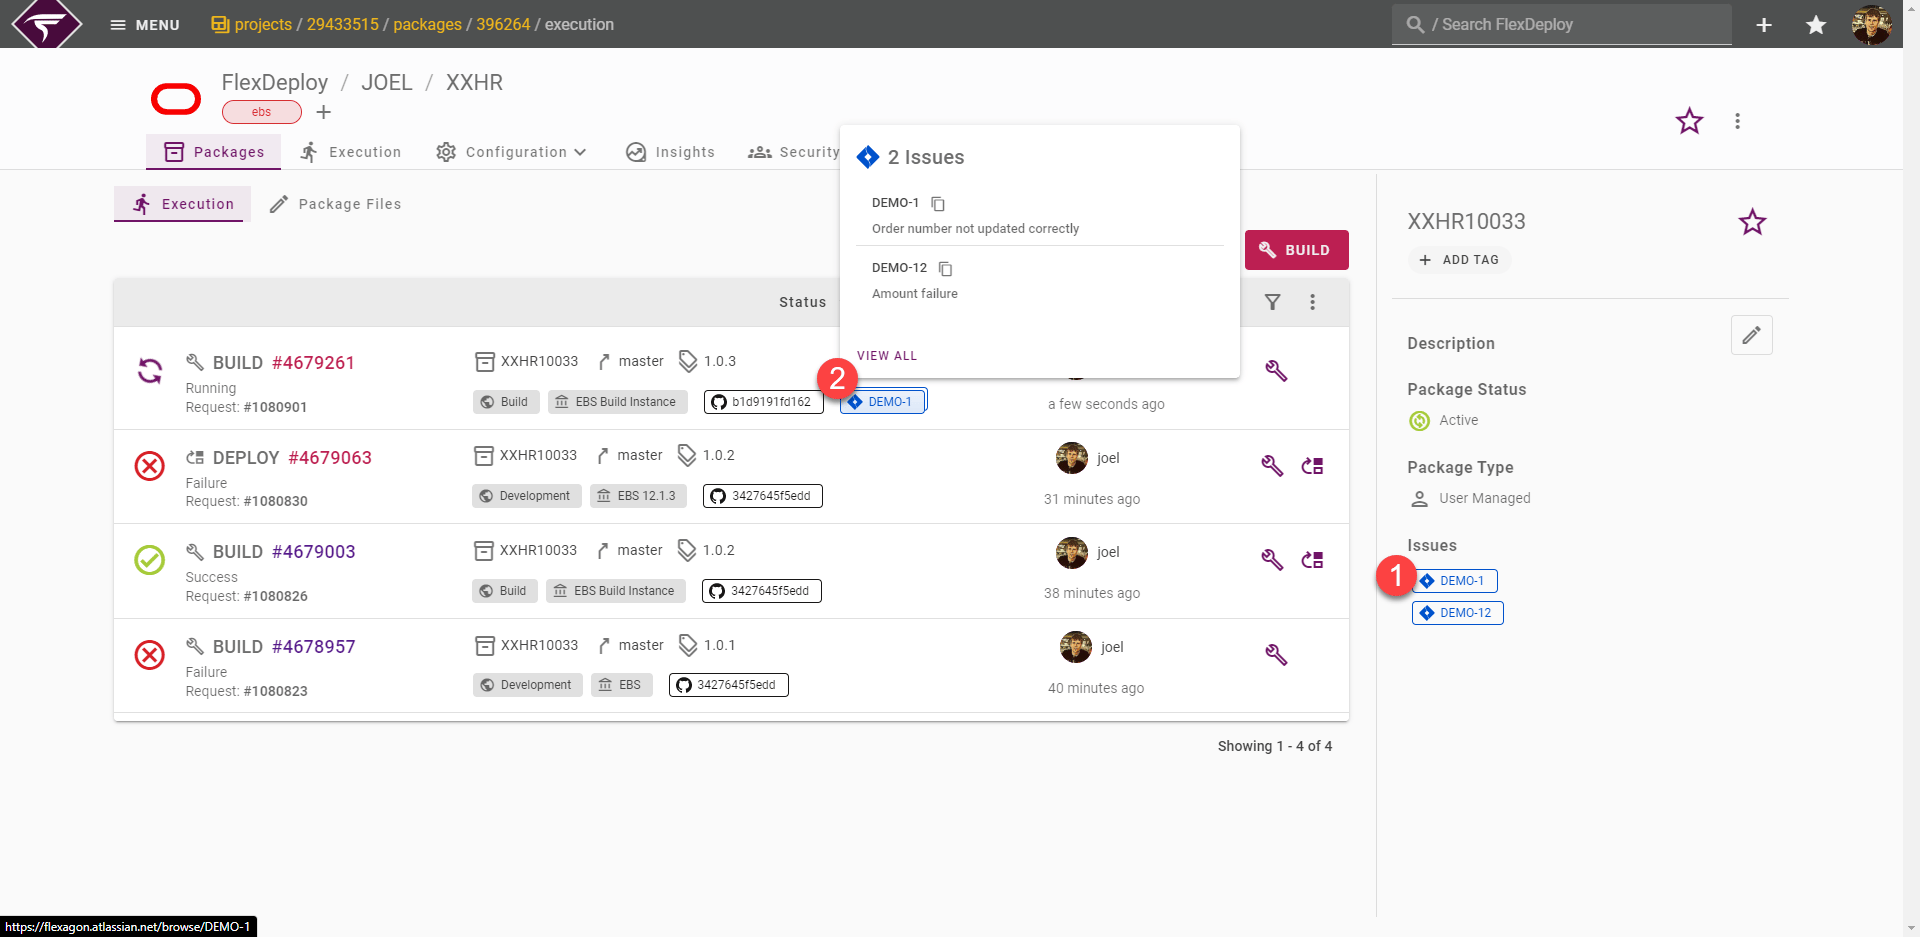
Packages typically correlate to a smaller subset of work which more often than not relates to a work item in an Issue Tracking System like Jira. Packages that fall in this bucket can link the relevant work items directly to the package. Doing this saves the hassle of having to mention the work item number in the commit message or manually specifying it on the build request form. To associate work items to a package, edit the package as demonstrated above, and in the Related Work Items field, you can search and select or manually enter work item numbers. For instances using FlexDeploy ITS, Jira, or Azure Boards, all external tickets are searchable in the list. For other ITS providers, the list will only display previously built/linked work items that FlexDeploy is aware of, but the full work item number can still be entered to link work items not displayed.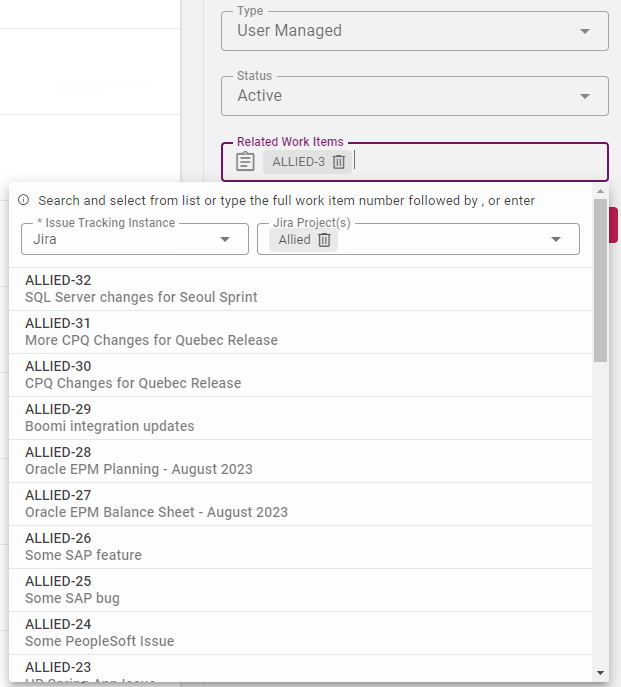
Add File(s) from Change Logs
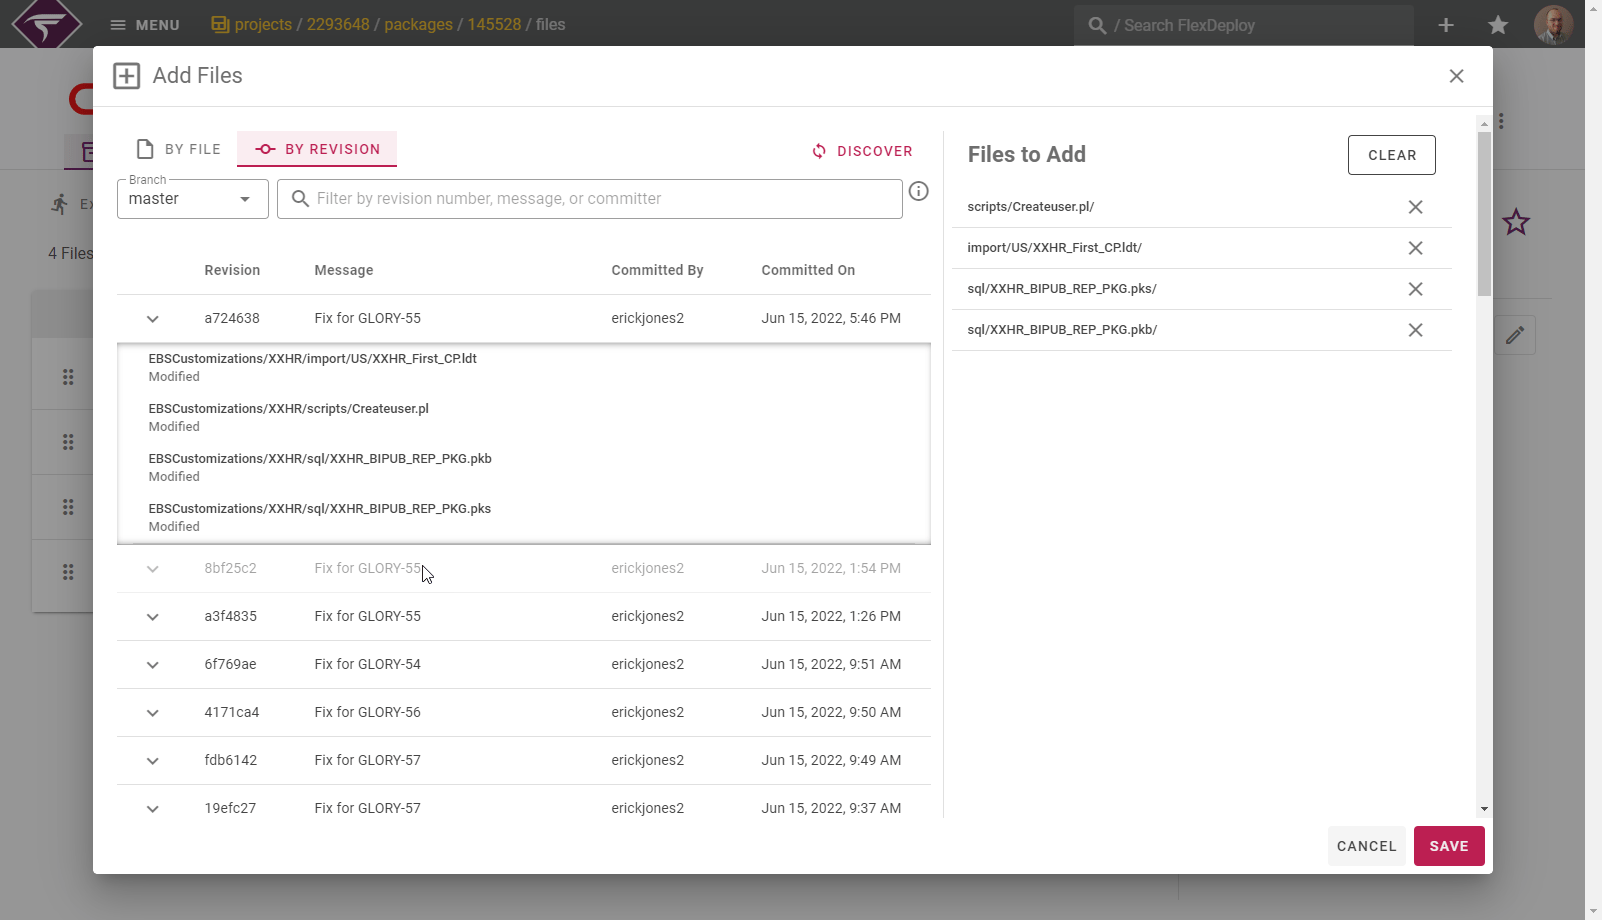
When the user clicks on Add File(s) from the Change Logs button, the search and select file revision screen is displayed, as shown below. Clicking a revision will add all files that were changed in that commit to this package.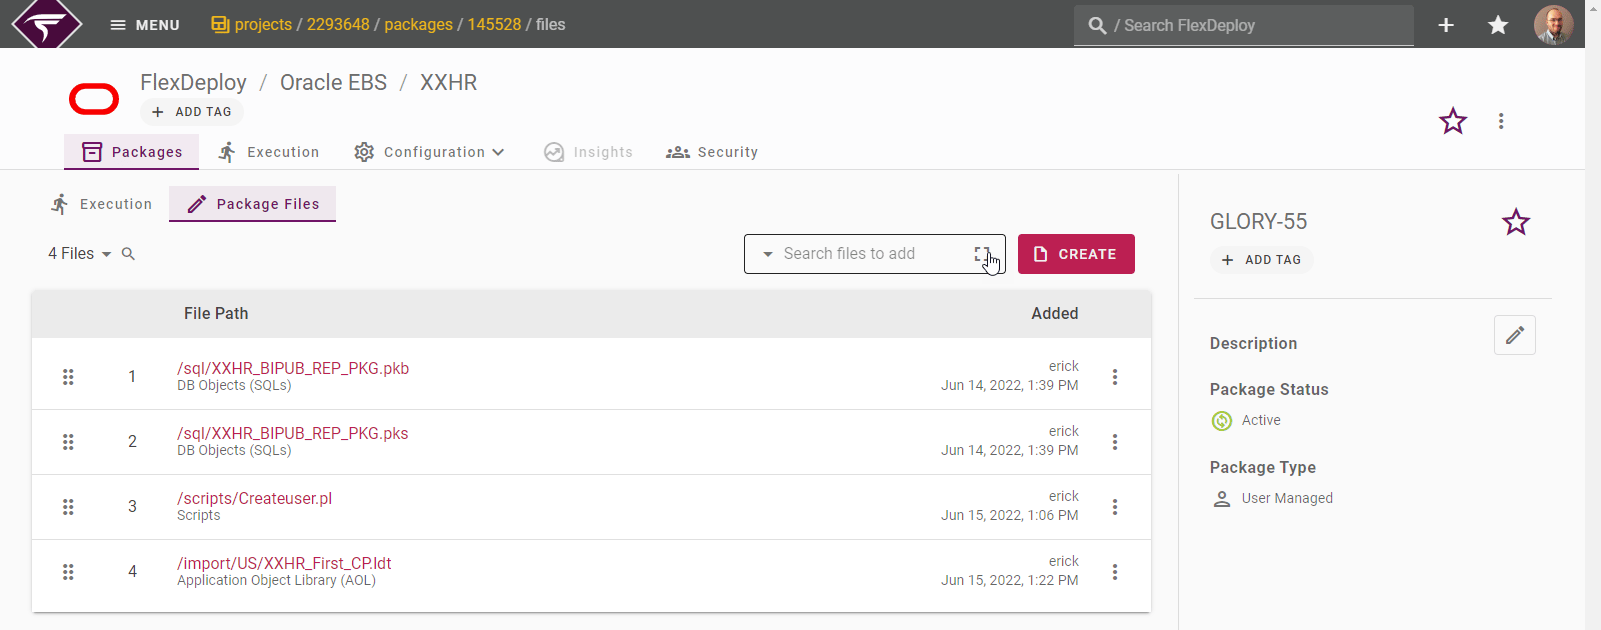
Dependencies
If your project type supports dependencies, you will see an additional Dependency button on the package files toolbar.Add Profiles and Permissions
FlexDeploy allows you to choose specific portions of the Profile or Permission and migrate them to different organizations using Subcomponents. With a simple button click, you can identify all associated changes in Profiles and Permissions and add them to your package by clicking on the Dependency >> Add Profiles and Permissions and selecting the desired Branch.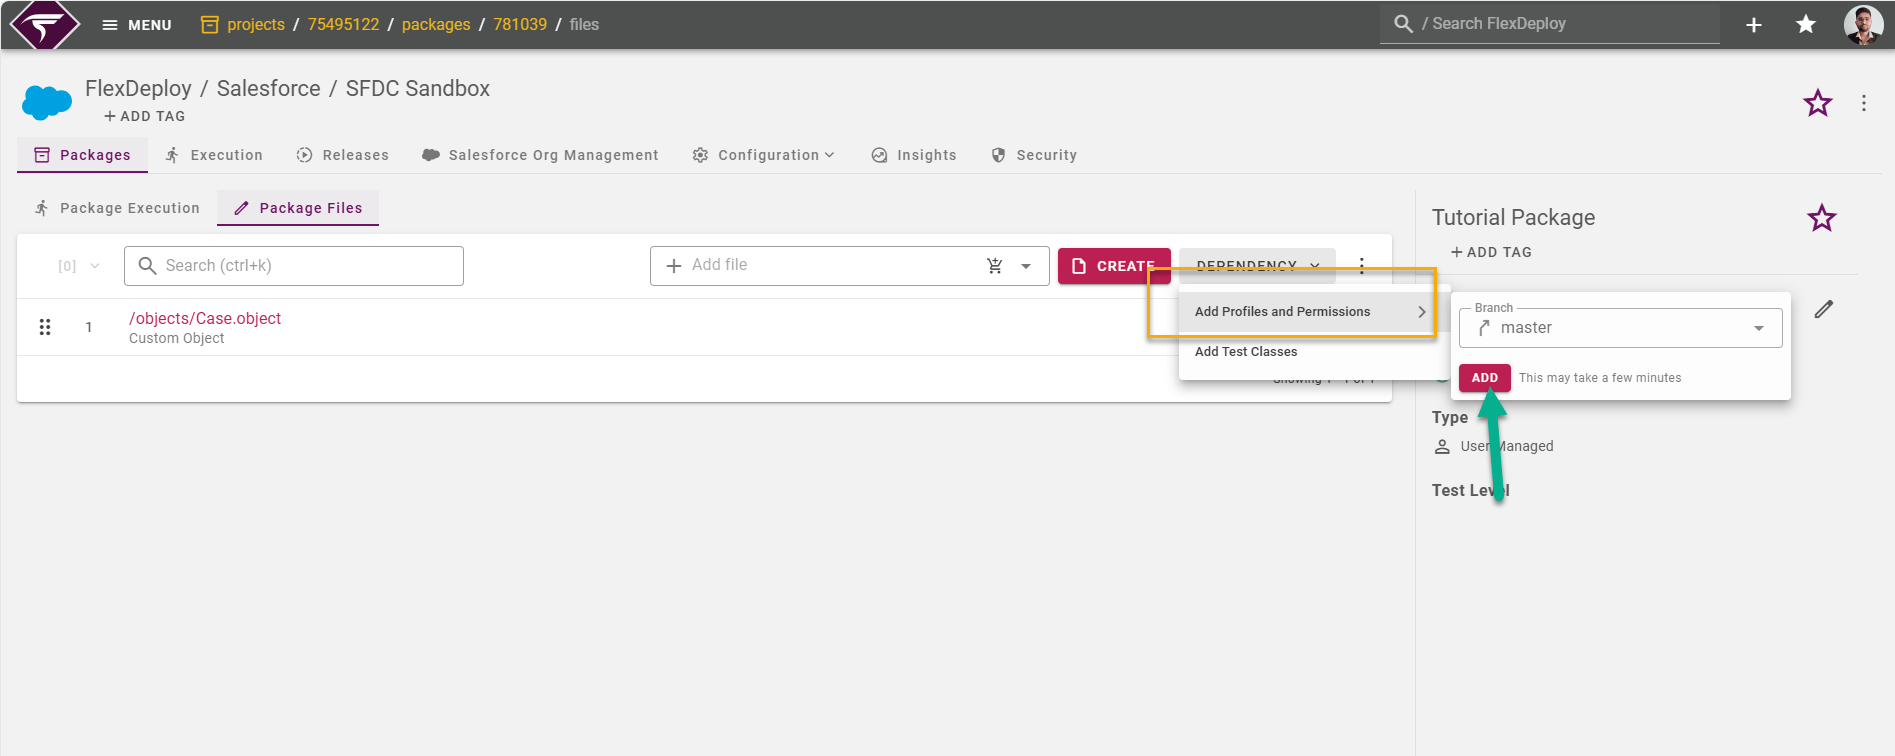
Add Test Classes
FlexDeploy recognizes Test Cases associated with files in your packages and allows adding them to your package with the Dependency >> Add Test Classes button. This functionality involves identifying all the Test Classes related to the Apex Classes within your package and including them as part of your deployment package.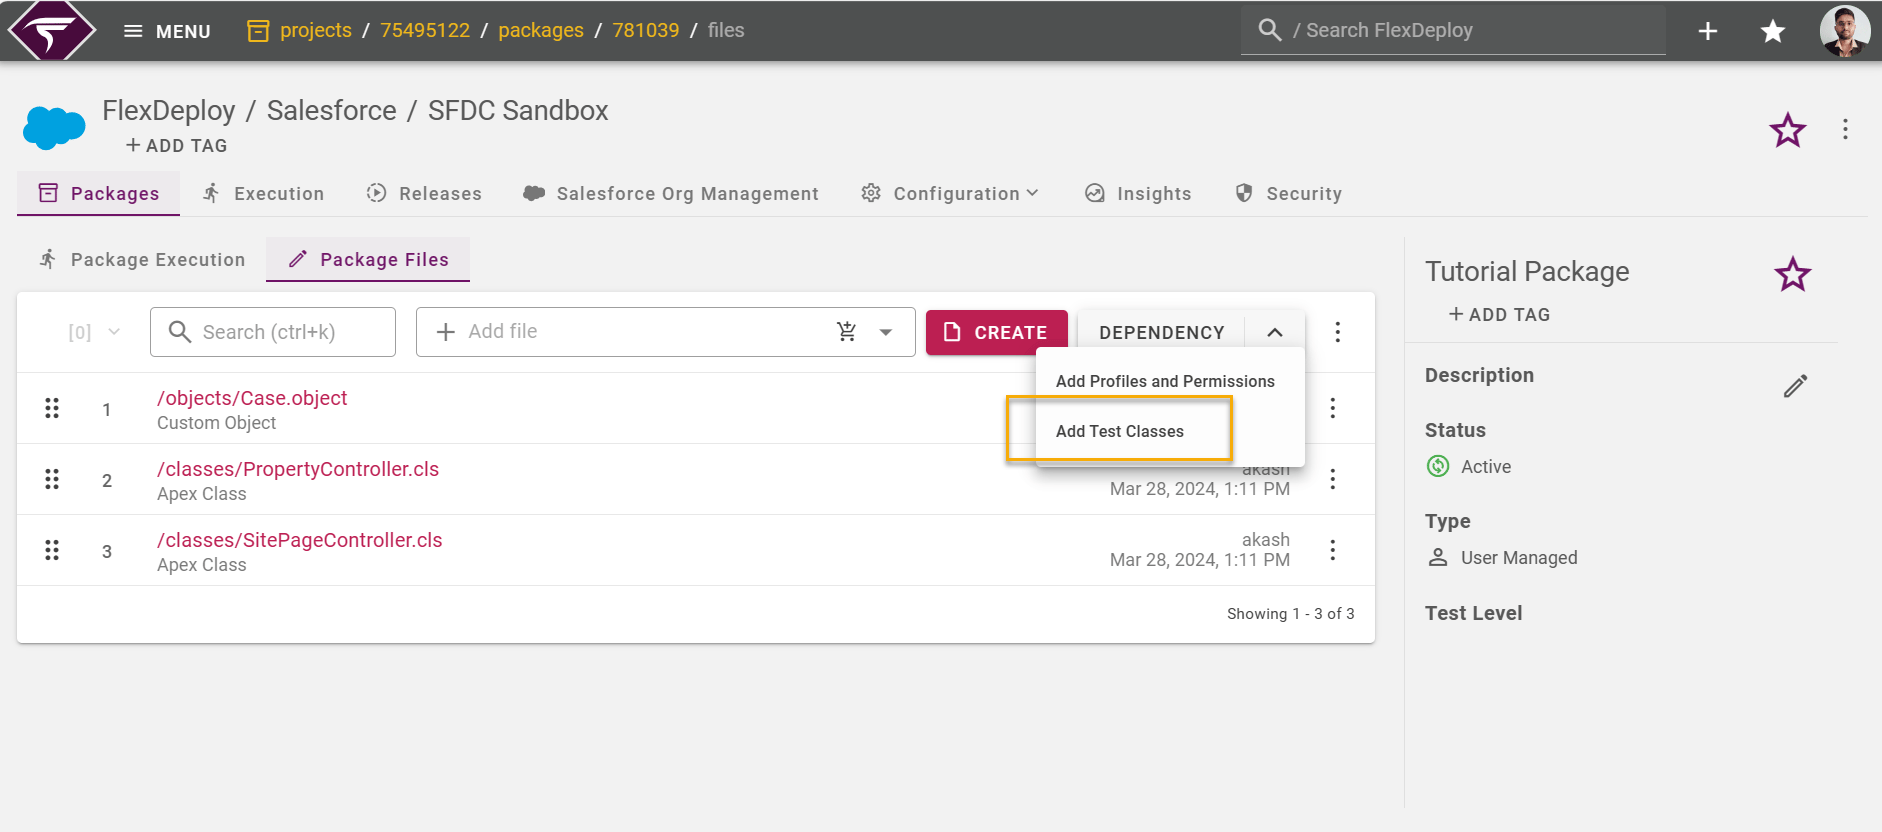
Add Subcomponents
If the project’s type supports subcomponents you will see an additional Add Subcomponents option for file types that support subcomponents. When you click the Add Subcomponents option, FlexDeploy will find all supported subcomponents for the selected file. This allows users to build and deploy only certain parts of a specific file. From this popup, you can preview and select any subcomponents to add to your package. You are able to select the branch that the selected files are sourced from if the project uses an SCM, or the Salesforce Org account if the project type is Salesforce and SCM type is set to NONE. When selecting a Salesforce Org from the drop down, FlexDeploy will attempt to source the specified files from that Salesforce Org and break the files down into subcomponents based on the content of the file from the Salesforce Org.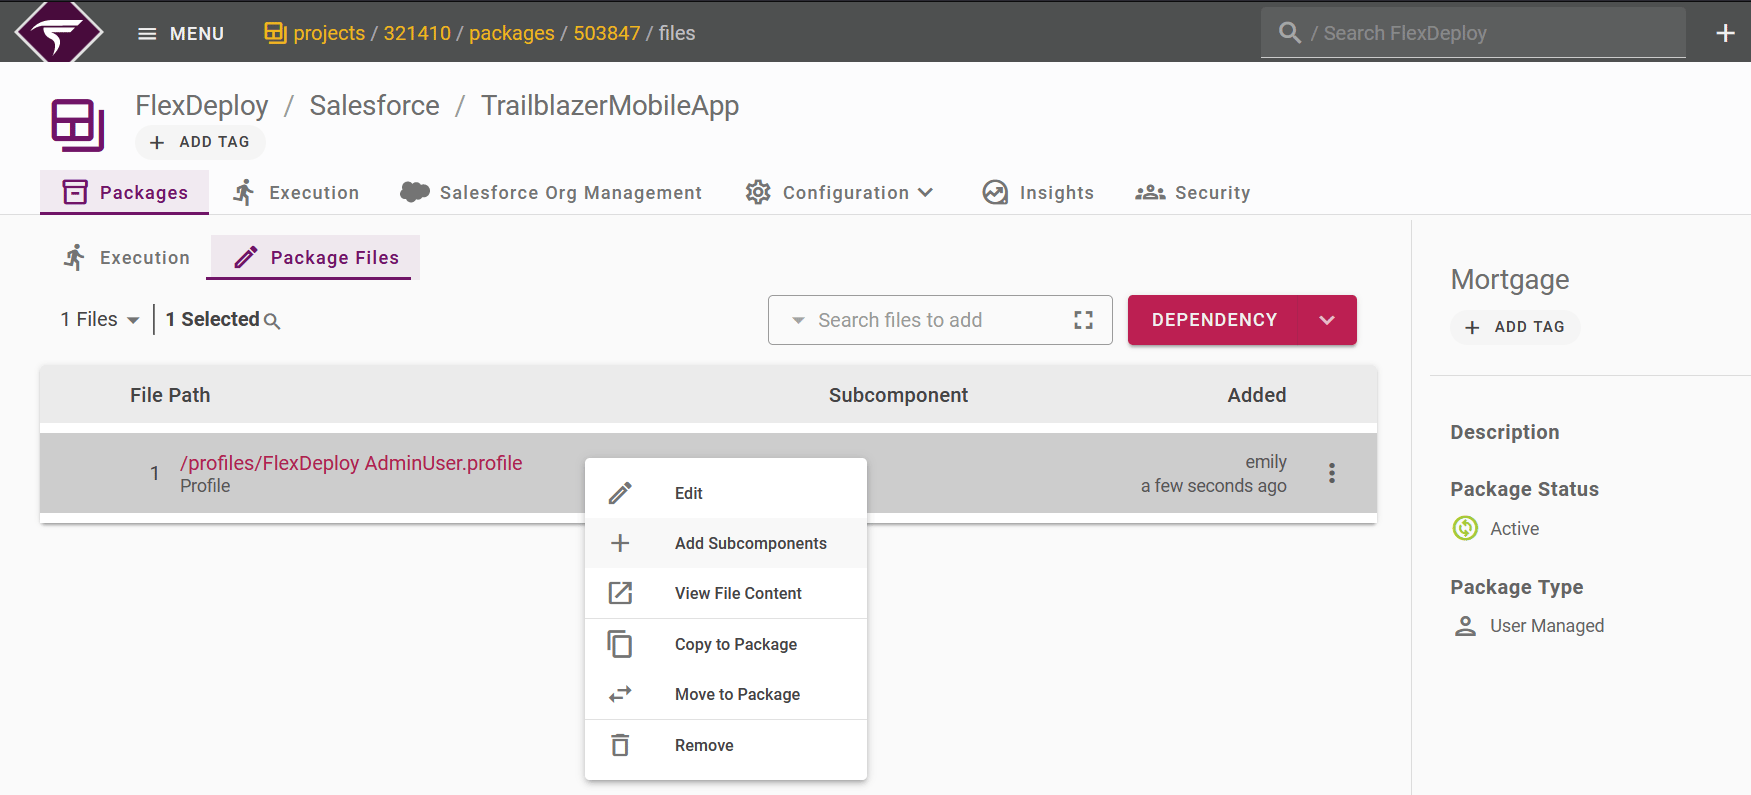
Support of Delete/Destructive Packages
If the project’s type supports the Delete / Destructive feature, you will see this option. You can mark one or multiple files in any package as delete (label is destructive for Salesforce). The migration of these deletions involves appropriate approvals, ensuring visibility and auditability. To mark a file to be deleted instead of deployed, simply right-click on it within your package and select the “Delete” option.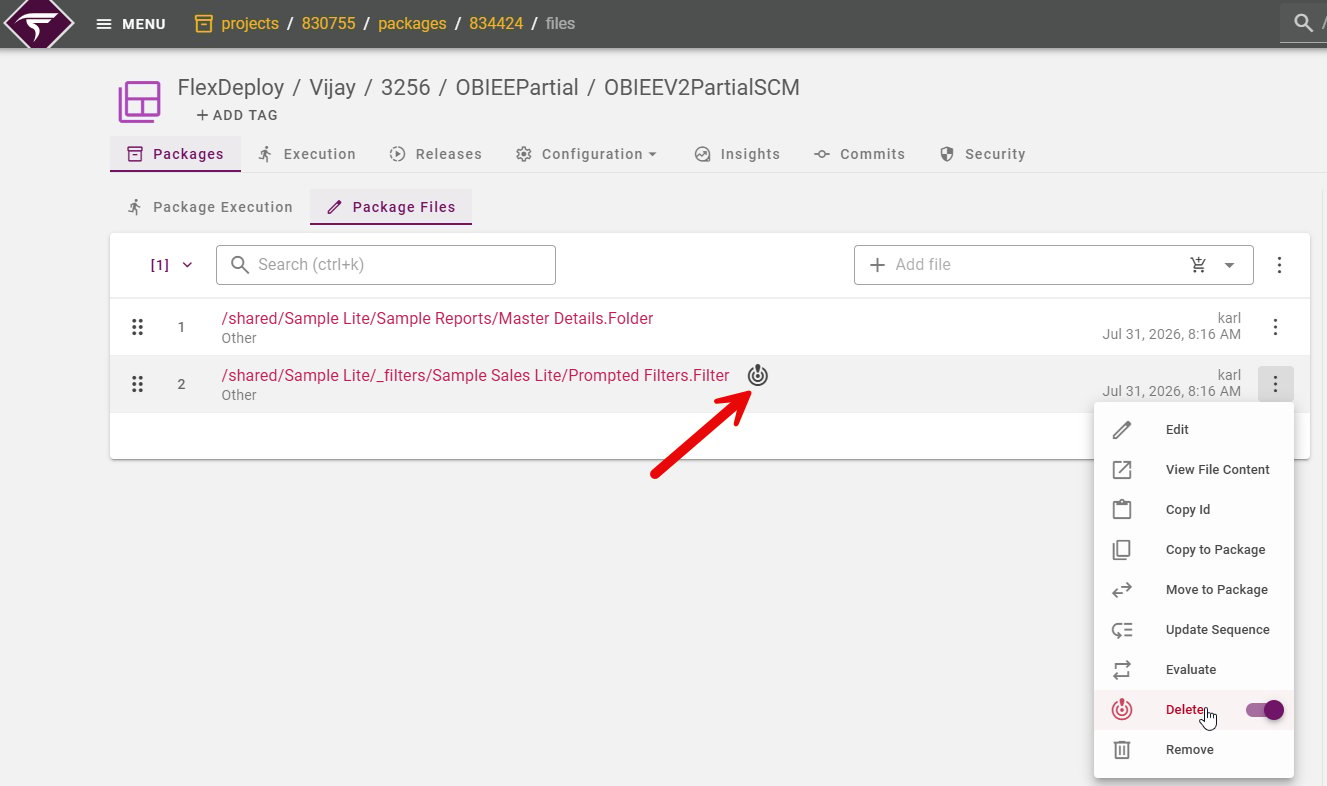
Copy to Package / Move to Package
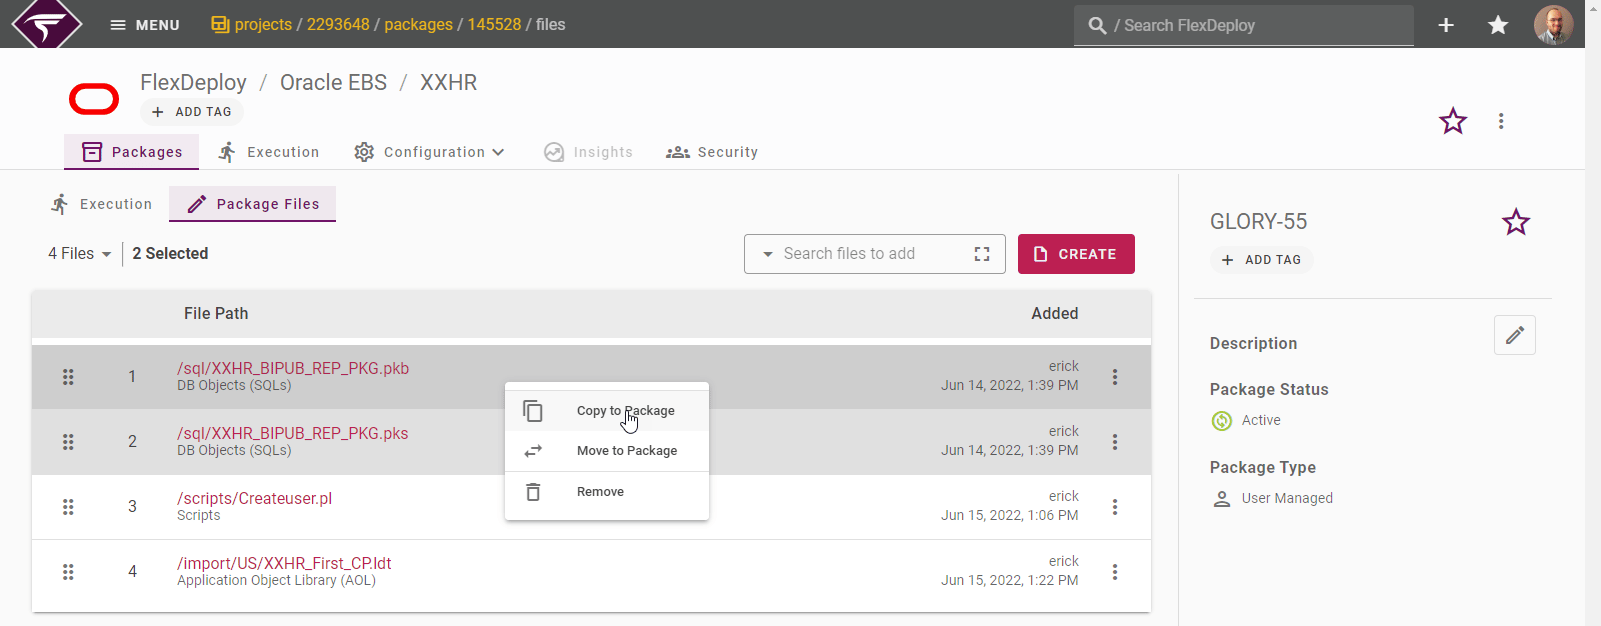
When a user selects one or more files and right clicks, Copy/Move Files to Package and Remove are available action options. Search for existing packages in the project to copy files to or create a new package to copy files to. Note that your current context will not change.